Android常用对话框大全——Dialog
2018-03-09 17:15
393 查看
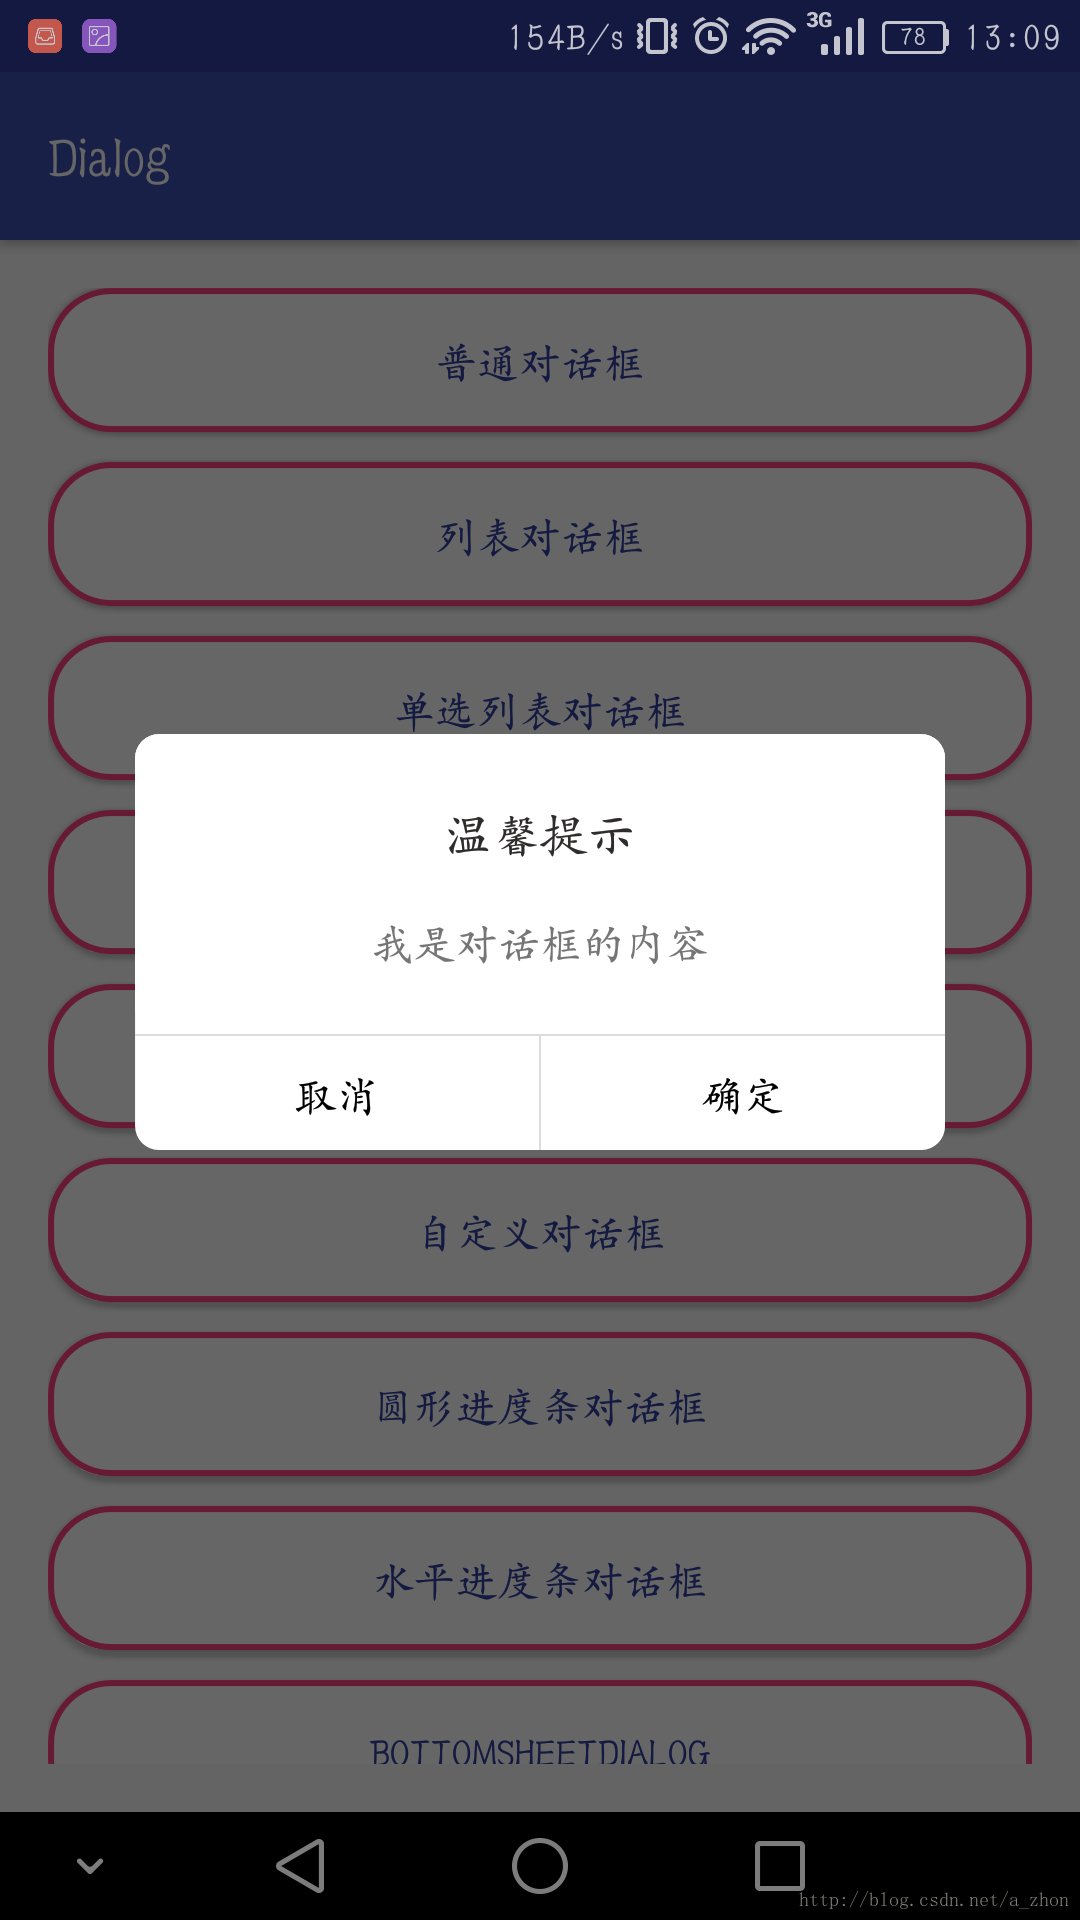
一:最简单的对话框
AlertDialog dialog = new AlertDialog.Builder(this)
.setIcon(R.mipmap.icon)//设置标题的图片
.setTitle("我是对话框")//设置对话框的标题
.setMessage("我是对话框的内容")//设置对话框的内容
//设置对话框的按钮
.setNegativeButton("取消", new DialogInterface.OnClickListener() {
@Override
public void onClick(DialogInterface dialog, int which) {
Toast.makeText(MainActivity.this, "点击了取消按钮", Toast.LENGTH_SHORT).show();
dialog.dismiss();
}
})
.setPositiveButton("确定", new DialogInterface.OnClickListener() {
@Override
public void onClick(DialogInterface dialog, int which) {
Toast.makeText(MainActivity.this, "点击了确定的按钮", Toast.LENGTH_SHORT).show();
dialog.dismiss();
}
}).create();
dialog.show();12
3
4
5
6
7
8
9
10
11
12
13
14
15
16
17
18
19
20
AlertDialog类中有一个静态内部类Builder。所以可以看出对话框使用了一个建造者模式在调用函数的时候就可以一直直点点点链式调用。 需要注意的是:NegativeButton这个按钮是在对话框的左边,PositiveButton在对话框的右边;如果你还想再加一个按钮也是可以的只需要在调用
.setNeutralButton("第三个按钮",listener)即可。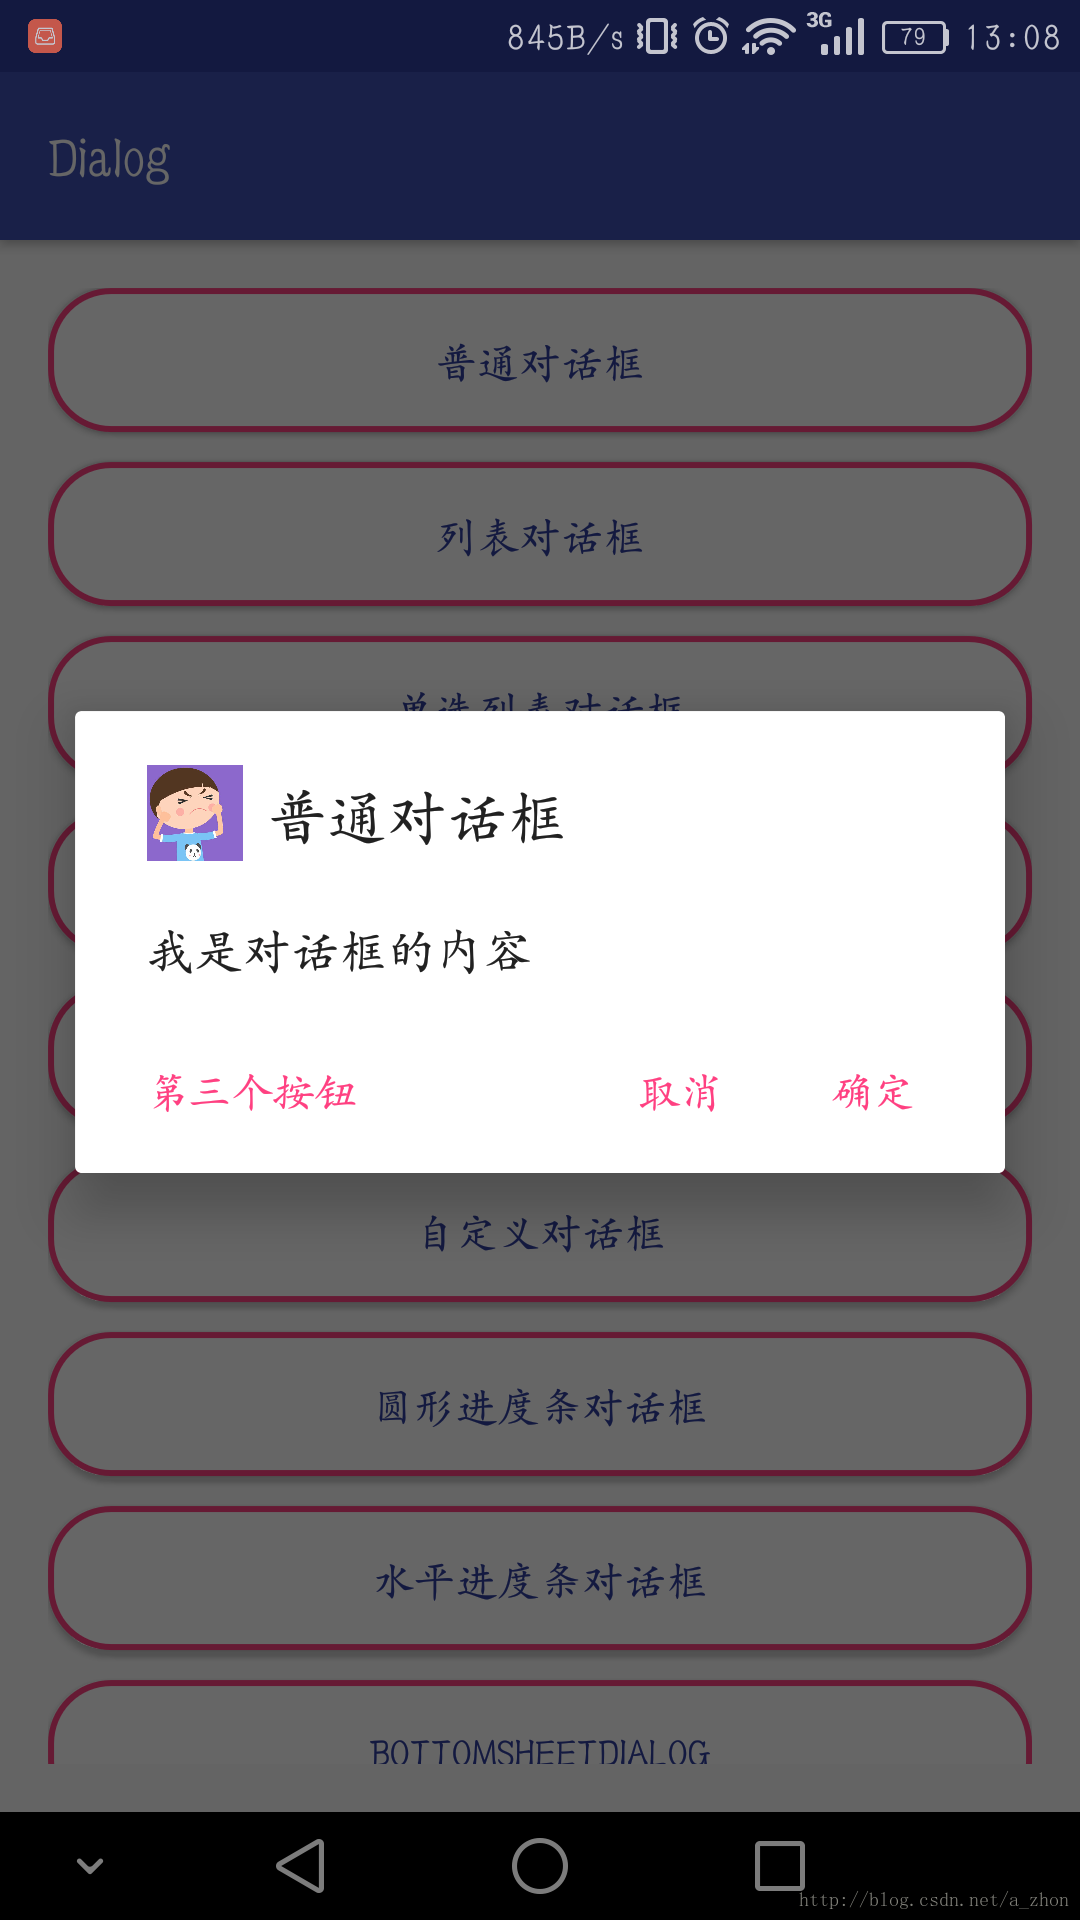
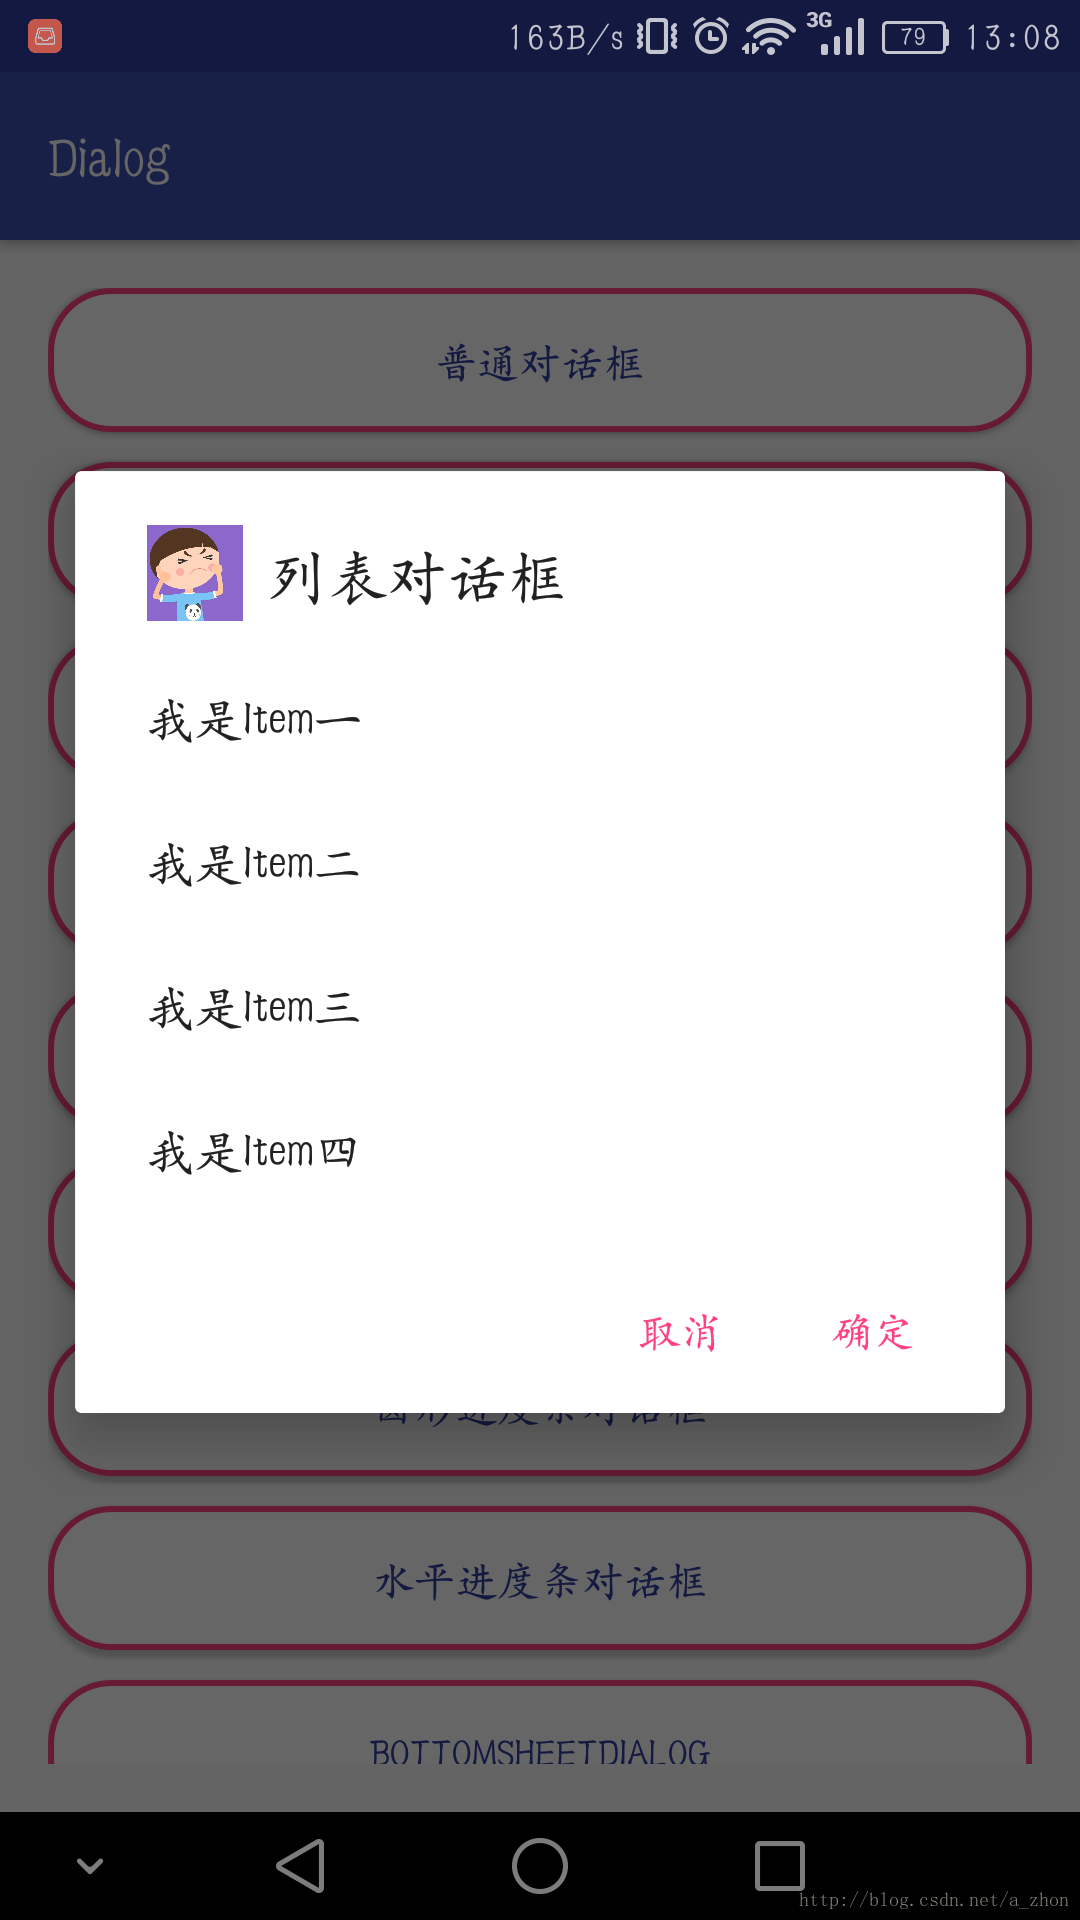
二:列表对话框
当给用户的选择就那么几条路的时候,就可在对话框上放置一个列表供用户自己选择final String items[] = {"我是Item一", "我是Item二", "我是Item三", "我是Item四"};
AlertDialog dialog = new AlertDialog.Builder(this)
.setIcon(R.mipmap.icon)//设置标题的图片
.setTitle("列表对话框")//设置对话框的标题
.setItems(items, new DialogInterface.OnClickListener() {
@Override
public void onClick(DialogInterface dialog, int which) {
Toast.makeText(MainActivity.this, items[which], Toast.LENGTH_SHORT).show();
}
})
.setNegativeButton("取消", new DialogInterface.OnClickListener() {
@Override
public void onClick(DialogInterface dialog, int which) {
dialog.dismiss();
}
})
.setPositiveButton("确定", new DialogInterface.OnClickListener() {
@Override
public void onClick(DialogInterface dialog, int which) {
dialog.dismiss();
}
}).create();
dialog.show();12
3
4
5
6
7
8
9
10
11
12
13
14
15
16
17
18
19
20
21
22
23
源码已经为我们预留好了设置方法,所以我们只需要调用
.setItems()即可,第一个参数即要显示item的数组,第二个参数也就是点击item后的监听事件还是so easy的。
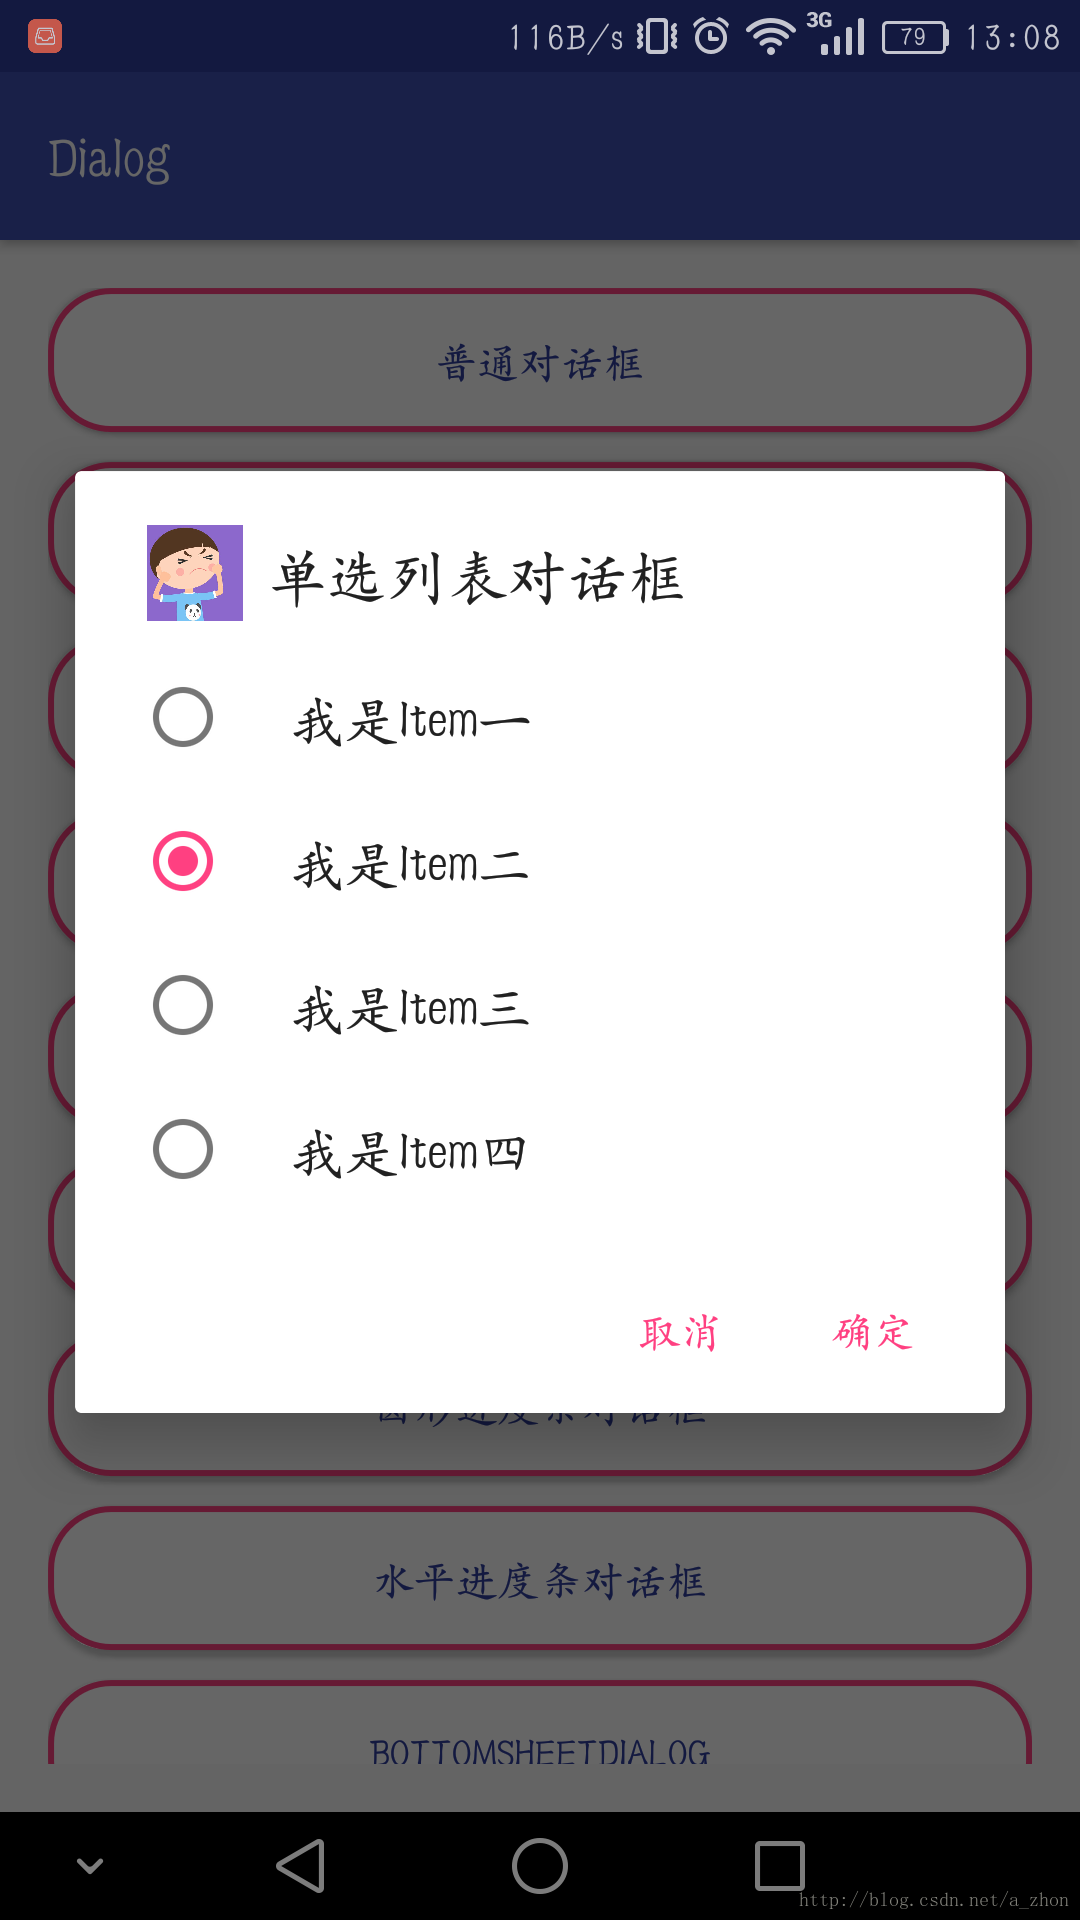
三:单选列表对话框,这个与列表对话框差不对是一样的只是它是单选
final String items[] = {"我是Item一", "我是Item二", "我是Item三", "我是Item四"};
AlertDialog dialog = new AlertDialog.Builder(this)
.setIcon(R.mipmap.icon)//设置标题的图片
.setTitle("单选列表对话框")//设置对话框的标题
.setSingleChoiceItems(items, 1, new DialogInterface.OnClickListener() {
@Override
public void onClick(DialogInterface dialog, int which) {
Toast.makeText(MainActivity.this, items[which], Toast.LENGTH_SHORT).show();
}
})
.setNegativeButton("取消", new DialogInterface.OnClickListener() {
@Override
public void onClick(DialogInterface dialog, int which) {
dialog.dismiss();
}
})
.setPositiveButton("确定", new DialogInterface.OnClickListener() {
@Override
public void onClick(DialogInterface dialog, int which) {
dialog.dismiss();
}
}).create();
dialog.show();12
3
4
5
6
7
8
9
10
11
12
13
14
15
16
17
18
19
20
21
22
23
.setSingleChoiceItems(items, 1, listener)第一个参数:设置单选的资源数组;第二个参数:设置默认选中哪一项。
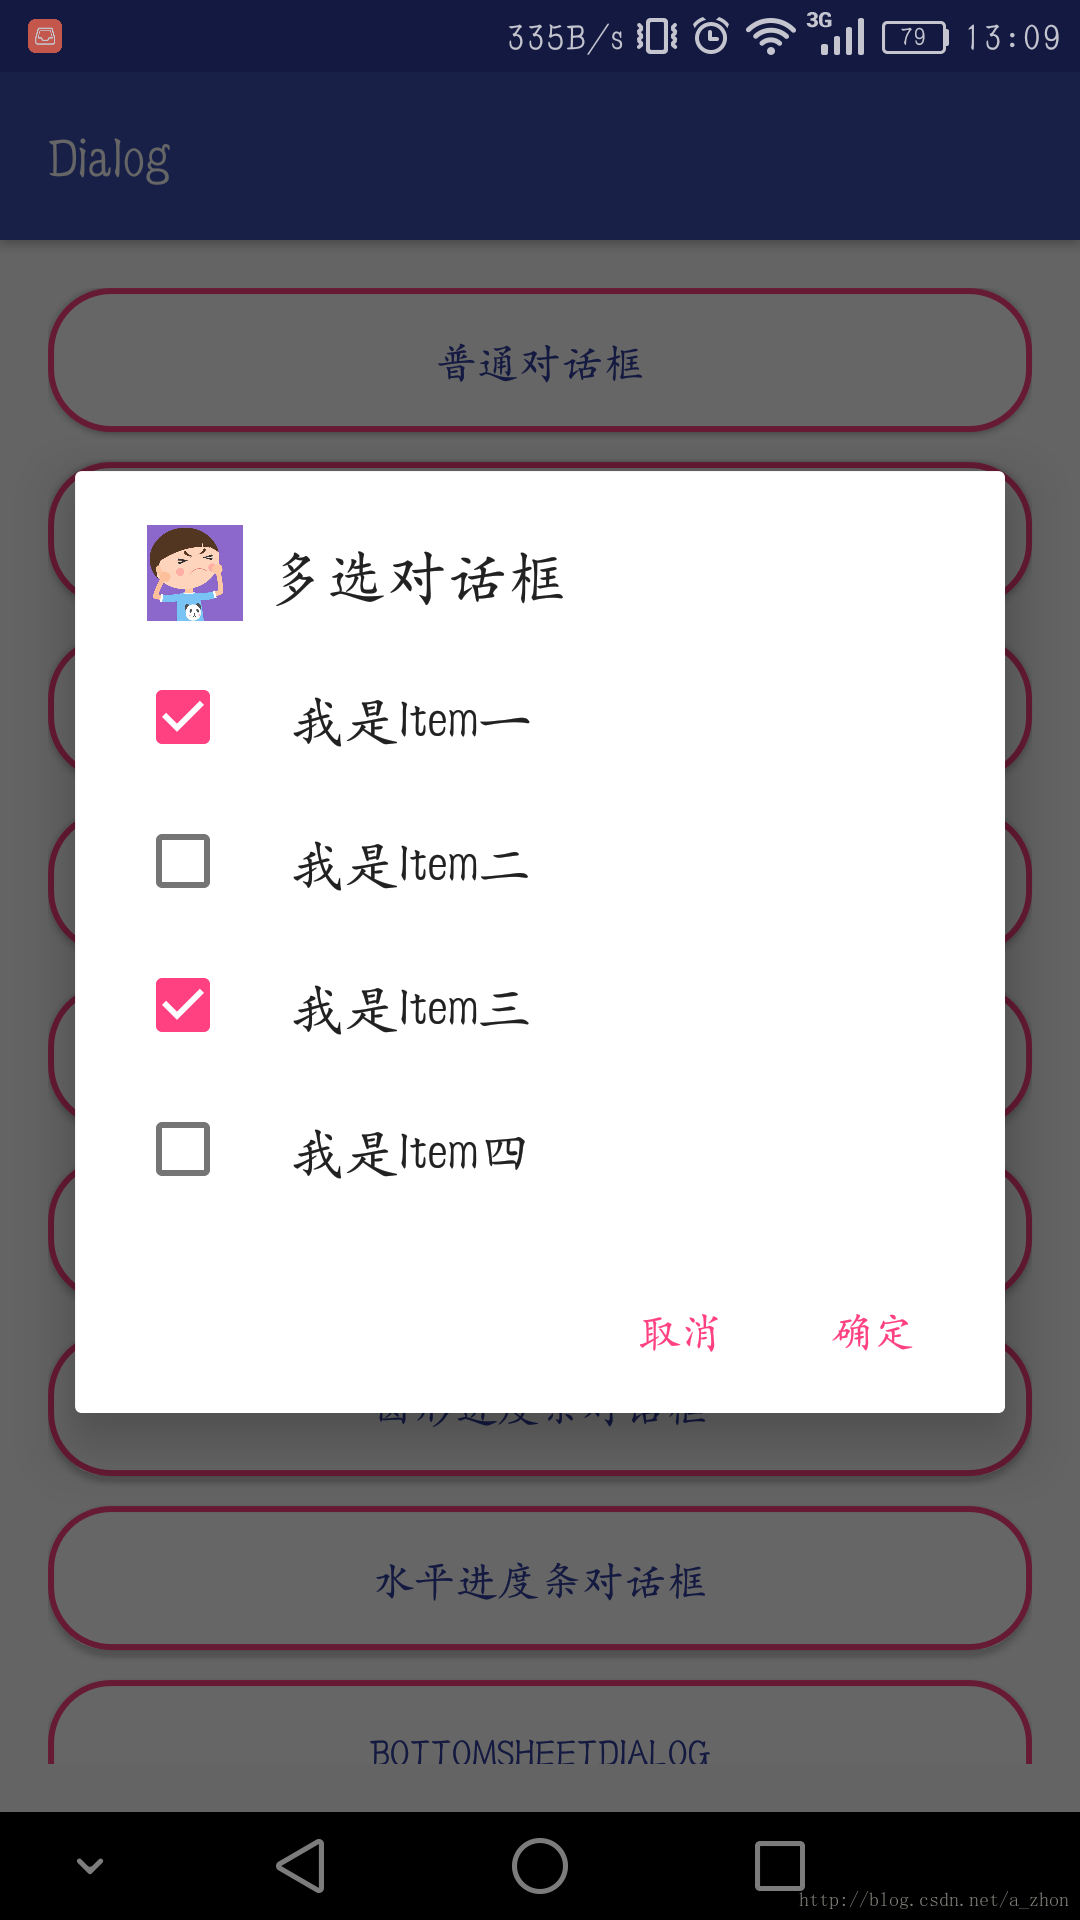
四:既然有单选列表,那自然而然也就肯定有多选列表啦
final String items[] = {"我是Item一", "我是Item二", "我是Item三", "我是Item四"};
final boolean checkedItems[] = {true, false, true, false};
AlertDialog dialog = new AlertDialog.Builder(this)
.setIcon(R.mipmap.icon)//设置标题的图片
.setTitle("多选对话框")//设置对话框的标题
.setMultiChoiceItems(items, checkedItems, new DialogInterface.OnMultiChoiceClickListener() {
@Override
public void onClick(DialogInterface dialog, int which, boolean isChecked) {
checkedItems[which] = isChecked;
}
})
.setNegativeButton("取消", new DialogInterface.OnClickListener() {
@Override
public void onClick(DialogInterface dialog, int which) {
dialog.dismiss();
}
})
.setPositiveButton("确定", new DialogInterface.OnClickListener() {
@Override
public void onClick(DialogInterface dialog, int which) {
for (int i = 0; i < checkedItems.length; i++) {
if (checkedItems[i]) {
Toast.makeText(MainActivity.this, "选中了" + i, Toast.LENGTH_SHORT).show();
}
}
dialog.dismiss();
}

}).create();

dialog.show();12
3
4
5
6
7
8
9
10
11
12
13
14
15
16
17
18
19
20
21
22
23
24
25
26
27
28
29
30
31
.setMultiChoiceItems(items, checkedItems, listener)//第一个参数:设置单选的资源;第二个参数:设置默认选中哪几项(数组);
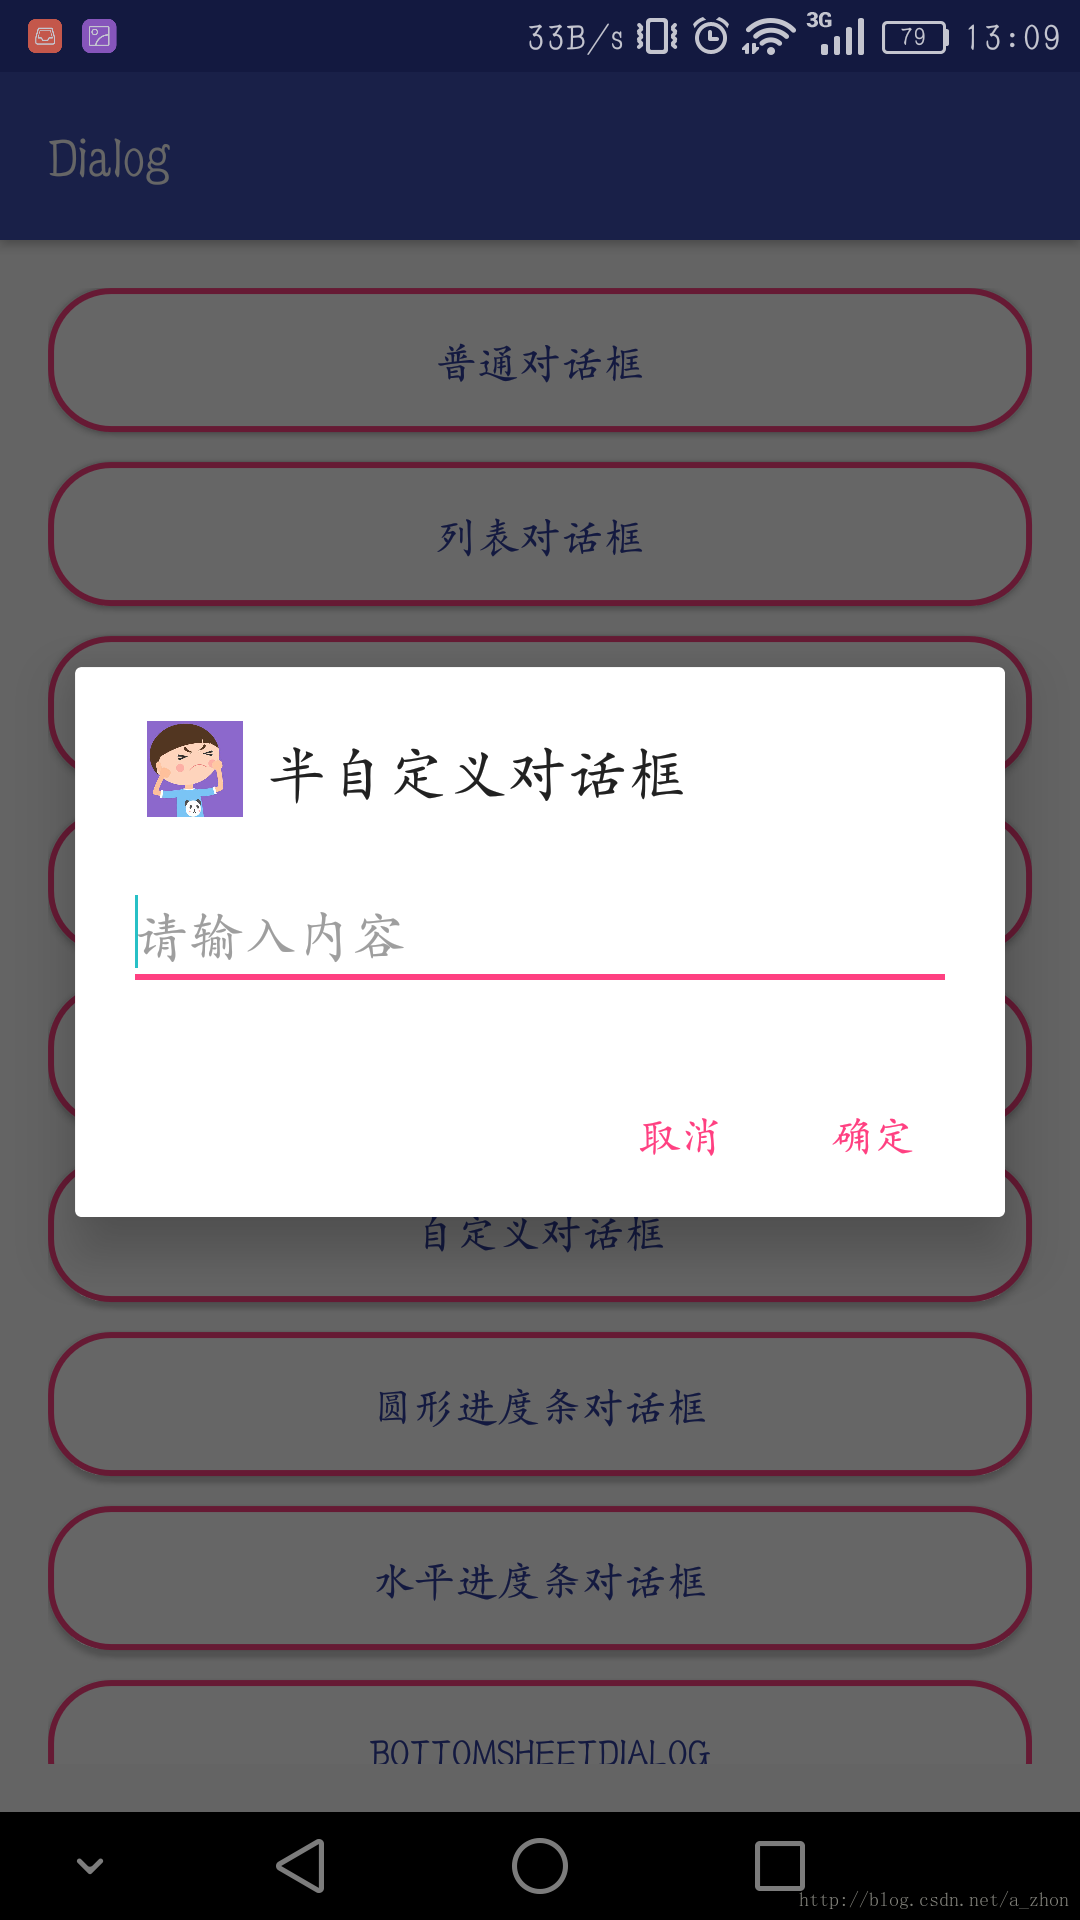
五:或许上面几种对话框的款式都不是你需要或者喜欢的,那你肯定就需要开始自定义了;源码为我们提供了一个.setView()
函数,这样我们就可以自定义对话框显示的内容了,如下代码:
View view = getLayoutInflater().inflate(R.layout.half_dialog_view, null);
final EditText editText = (EditText) view.findViewById(R.id.dialog_edit);
AlertDialog dialog = new AlertDialog.Builder(this)
.setIcon(R.mipmap.icon)//设置标题的图片
.setTitle("半自定义对话框")//设置对话框的标题
.setView(view)
.setNegativeButton("取消", new DialogInterface.OnClickListener() {
@Override
public void onClick(DialogInterface dialog, int which) {
dialog.dismiss();
}
})
.setPositiveButton("确定", new DialogInterface.OnClickListener() {
@Override
public void onClick(DialogInterface dialog, int which) {
String content = editText.getText().toString();
Toast.makeText(MainActivity.this, content, Toast.LENGTH_SHORT).show();
dialog.dismiss();
}
}).create();
dialog.show();12
3
4
5
6
7
8
9
10
11
12
13
14
15
16
17
18
19
20
21
上面代码中
half_dialog_view.xml中我就放置了一个EditText;在这里好多人在找自己布局中的控件时候经常报NullpointException,原因也很简单就是没有使用加载的布局
.findViewbyId()。到了这一步基本上就能满足开发中80%的需求了,看官如果还不能满足那别急慢慢往下看。
六:完全自定义的对话框
上面我们说了可以通过调用.setView(view)方法,自定义其显示的内容;但是你会觉得这远远不够我还想把他的标题或者底部按钮给改了,那么就需要来个完全自定义了,如下:首先我们需要自定义Dialog的style,让他自己本有的东西全部透明,然后在设置我们自己的内容就可以达到完全自定义的效果了。
<!--对话框的样式-->
<style name="NormalDialogStyle">
<!--对话框背景 -->
<item name="android:windowBackground">@android:color/transparent</item>
<!--边框 -->
<item name="android:windowFrame">@null</item>
<!--没有标题 -->
<item name="android:windowNoTitle">true</item>
<!-- 是否浮现在Activity之上 -->
<item name="android:windowIsFloating">true</item>
<!--背景透明 -->
<item name="android:windowIsTranslucent">false</item>
<!-- 是否有覆盖 -->
<item name="android:windowContentOverlay">@null</item>
<!--进出的显示动画 -->
<item name="android:windowAnimationStyle">@style/normalDialogAnim</item>
<!--背景变暗-->
<item name="android:backgroundDimEnabled">true</item>
</style>
<!--对话框动画-->
<style name="normalDialogAnim" parent="android:Animation">
<item name="@android:windowEnterAnimation">@anim/normal_dialog_enter</item>
<item name="@android:windowExitAnimation">@anim/normal_dialog_exit</item>
</style>
1
2
3
4
5
6
7
8
9
10
11
12
13
14
15
16
17
18
19
20
21
22
23
24
接下来就可以为对话框设置我们自定义的style了.
/**
* 自定义对话框
*/
private void customDialog() {
final Dialog dialog = new Dialog(this, R.style.NormalDialogStyle);
View view = View.inflate(this, R.layout.dialog_normal, null);
TextView cancel = (TextView) view.findViewById(R.id.cancel);
TextView confirm = (TextView) view.findViewById(R.id.confirm);
dialog.setContentView(view);
//使得点击对话框外部不消失对话框
dialog.setCanceledOnTouchOutside(true);
//设置对话框的大小
view.setMinimumHeight((int) (ScreenSizeUtils.getInstance(this).getScreenHeight() * 0.23f));
Window dialogWindow = dialog.getWindow();
WindowManager.LayoutParams lp = dialogWindow.getAttributes();
lp.width = (int) (ScreenSizeUtils.getInstance(this).getScreenWidth() * 0.75f);
lp.height = WindowManager.LayoutParams.WRAP_CONTENT;
lp.gravity = Gravity.CENTER;
dialogWindow.setAttributes(lp);
cancel.setOnClickListener(new View.OnClickListener() {
@Override
public void onClick(View v) {
dialog.dismiss();
}
});
confirm.setOnClickListener(new View.OnClickListener() {
@Override
public void onClick(View v) {
dialog.dismiss();
}
});
dialog.show();
}12
3
4
5
6
7
8
9
10
11
12
13
14
15
16
17
18
19
20
21
22
23
24
25
26
27
28
29
30
31
32
33
同样我门通过调用这个
dialog.setContentView(view);就可以设置我们自己的布局了。所以现在关键就是码我们的布局了一起来看看效果图
既然是自定义对话框,那么就肯定要来弄一弄他的方方面面;这里使用到了一个工具类用来计算手机屏幕的宽高,如下代码:
public class ScreenSizeUtils {
private static ScreenSizeUtils instance = null;
private int screenWidth, screenHeight;

public static ScreenSizeUtils getInstance(Context mContext) {
if (instance == null) {
synchronized (ScreenSizeUtils.class) {
if (instance == null)
instance = new ScreenSizeUtils(mContext);
}
}
return instance;
}

private ScreenSizeUtils(Context mContext) {
WindowManager manager = (WindowManager) mContext.getSystemService(Context.WINDOW_SERVICE);
DisplayMetrics dm = new DisplayMetrics();
manager.getDefaultDisplay().getMetrics(dm);
screenWidth = dm.widthPixels;// 获取屏幕分辨率宽度
screenHeight = dm.heightPixels;// 获取屏幕分辨率高度
}

//获取屏幕宽度
public int getScreenWidth() {
return screenWidth;
}

//获取屏幕高度
public int getScreenHeight() {
return screenHeight;
}
}12
3
4
5
6
7
8
9
10
11
12
13
14
15
16
17
18
19
20
21
22
23
24
25
26
27
28
29
30
31
32
我们现在可以自定义对话框了,那么我们就来实现一个经常用到的一个底部选择对话框,来看下效果图吧:
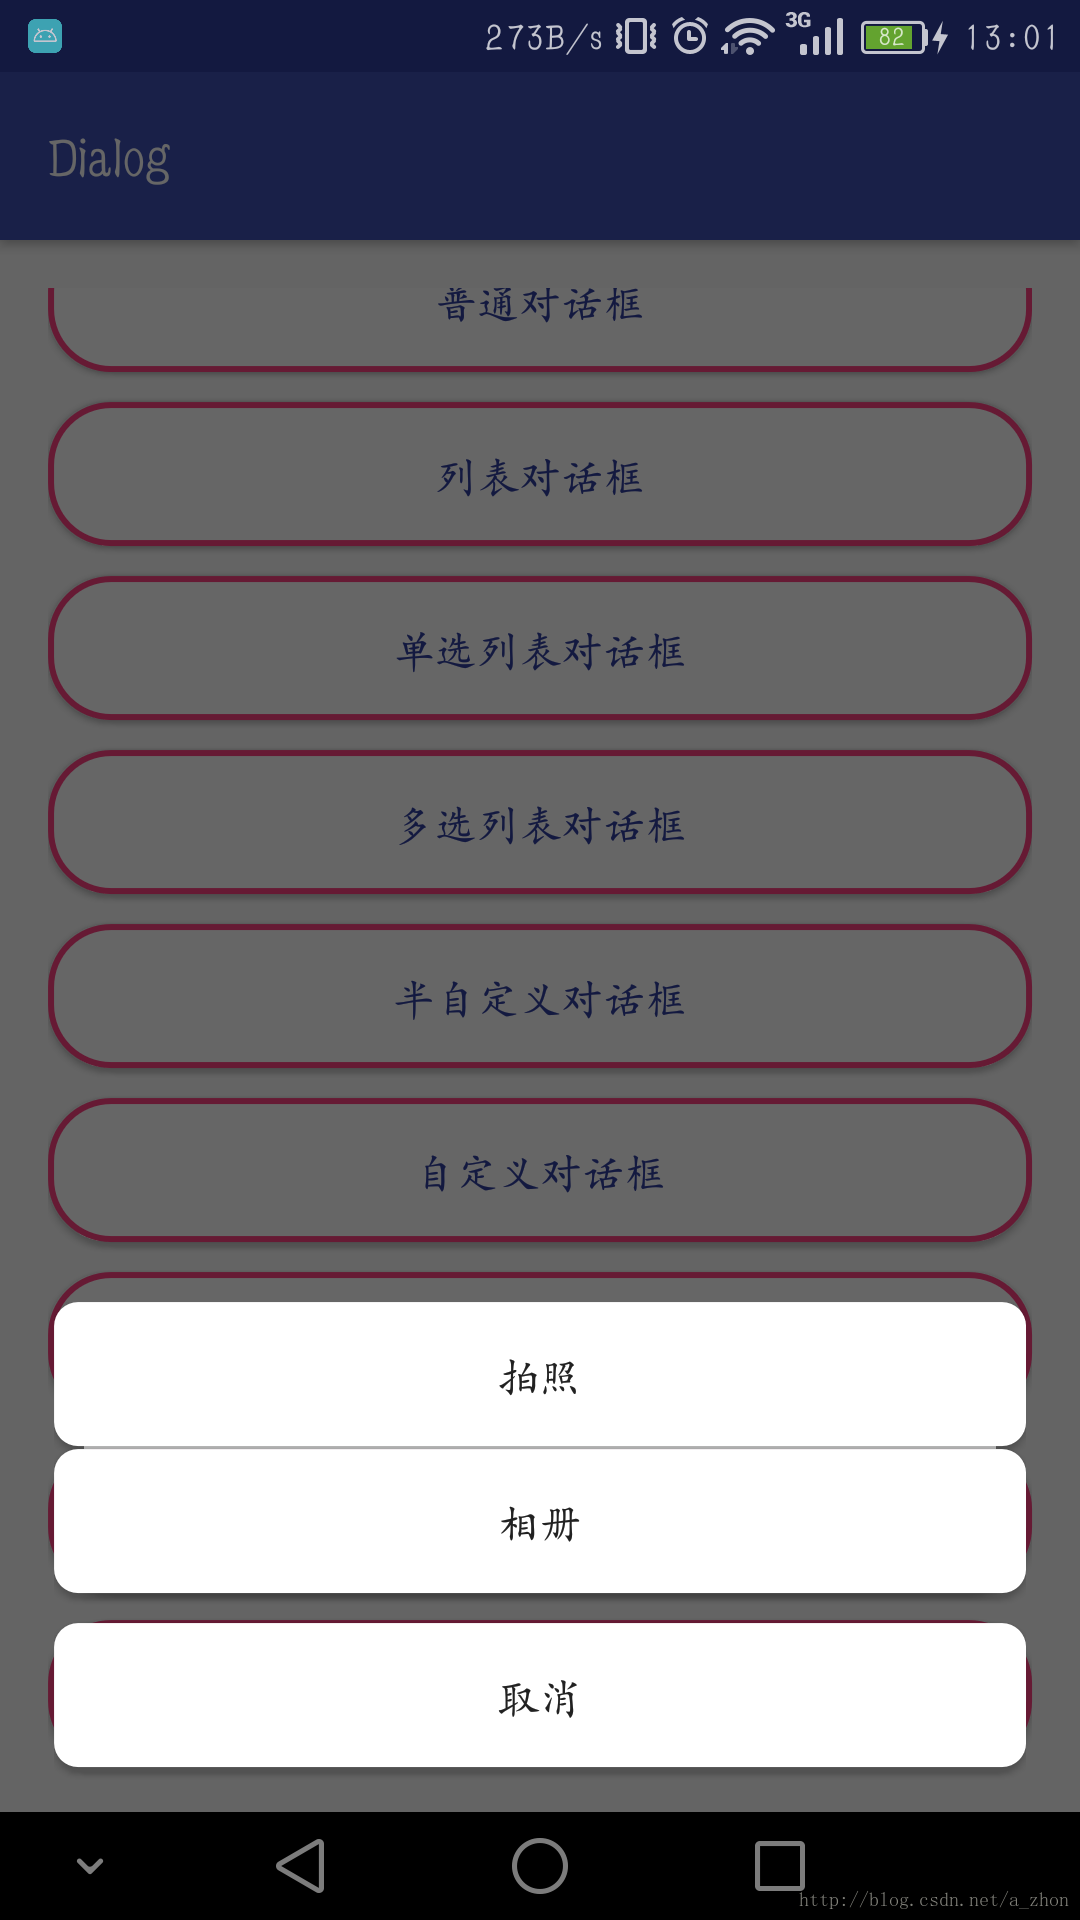
先来码这个对话框的布局,
dialog_bottom.xml里面就放置了三个按钮。
<?xml version="1.0" encoding="utf-8"?>
<LinearLayout xmlns:android="http://schemas.android.com/apk/res/android"
android:layout_width="match_parent"
android:layout_height="match_parent"
android:background="@android:color/transparent"
android:orientation="vertical">

<Button
android:layout_width="match_parent"
android:layout_height="wrap_content"
android:background="@drawable/round_corner"
android:text="拍照" />

<TextView
android:layout_width="match_parent"
android:layout_height="1dp"
android:layout_marginLeft="10dp"
android:layout_marginRight="10dp"
android:background="#ddd" />

<Button
android:layout_width="match_parent"
android:layout_height="wrap_content"
android:background="@drawable/round_corner"
android:text="相册" />

<Button
android:layout_width="match_parent"
android:layout_height="wrap_content"
android:layout_marginTop="10dp"
android:background="@drawable/round_corner"
android:text="取消" />

<View
android:layout_width="match_parent"
android:layout_height="15dp" />
</LinearLayout>
1
2
3
4
5
6
7
8
9
10
11
12
13
14
15
16
17
18
19
20
21
22
23
24
25
26
27
28
29
30
31
32
33
34
35
36
37
接下来就可以为我们的对话框加载这个布局了
Dialog dialog = new Dialog(this, R.style.NormalDialogStyle);
View view = View.inflate(this, R.layout.dialog_bottom, null);
dialog.setContentView(view);
dialog.setCanceledOnTouchOutside(true);
view.setMinimumHeight((int) (ScreenSizeUtils.getInstance(this).getScreenHeight() * 0.23f));
Window dialogWindow = dialog.getWindow();
WindowManager.LayoutParams lp = dialogWindow.getAttributes();
lp.width = (int) (ScreenSizeUtils.getInstance(this).getScreenWidth() * 0.9f);
lp.height = WindowManager.LayoutParams.WRAP_CONTENT;
lp.gravity = Gravity.BOTTOM;
dialogWindow.setAttributes(lp);
dialog.show();
1
2
3
4
5
6
7
8
9
10
11
12
上面这一段带代码的关键就是将Dialog放置在屏幕底部
lp.gravity = Gravity.BOTTOM;并设置他的宽度为屏幕的90%
lp.width = (int) (ScreenSizeUtils.getInstance(this).getScreenWidth() * 0.9f);。相信大家之前都用的是popwindow来实现这个效果的,现在学会了这个是不是可以直接把他给替换了。哈哈……
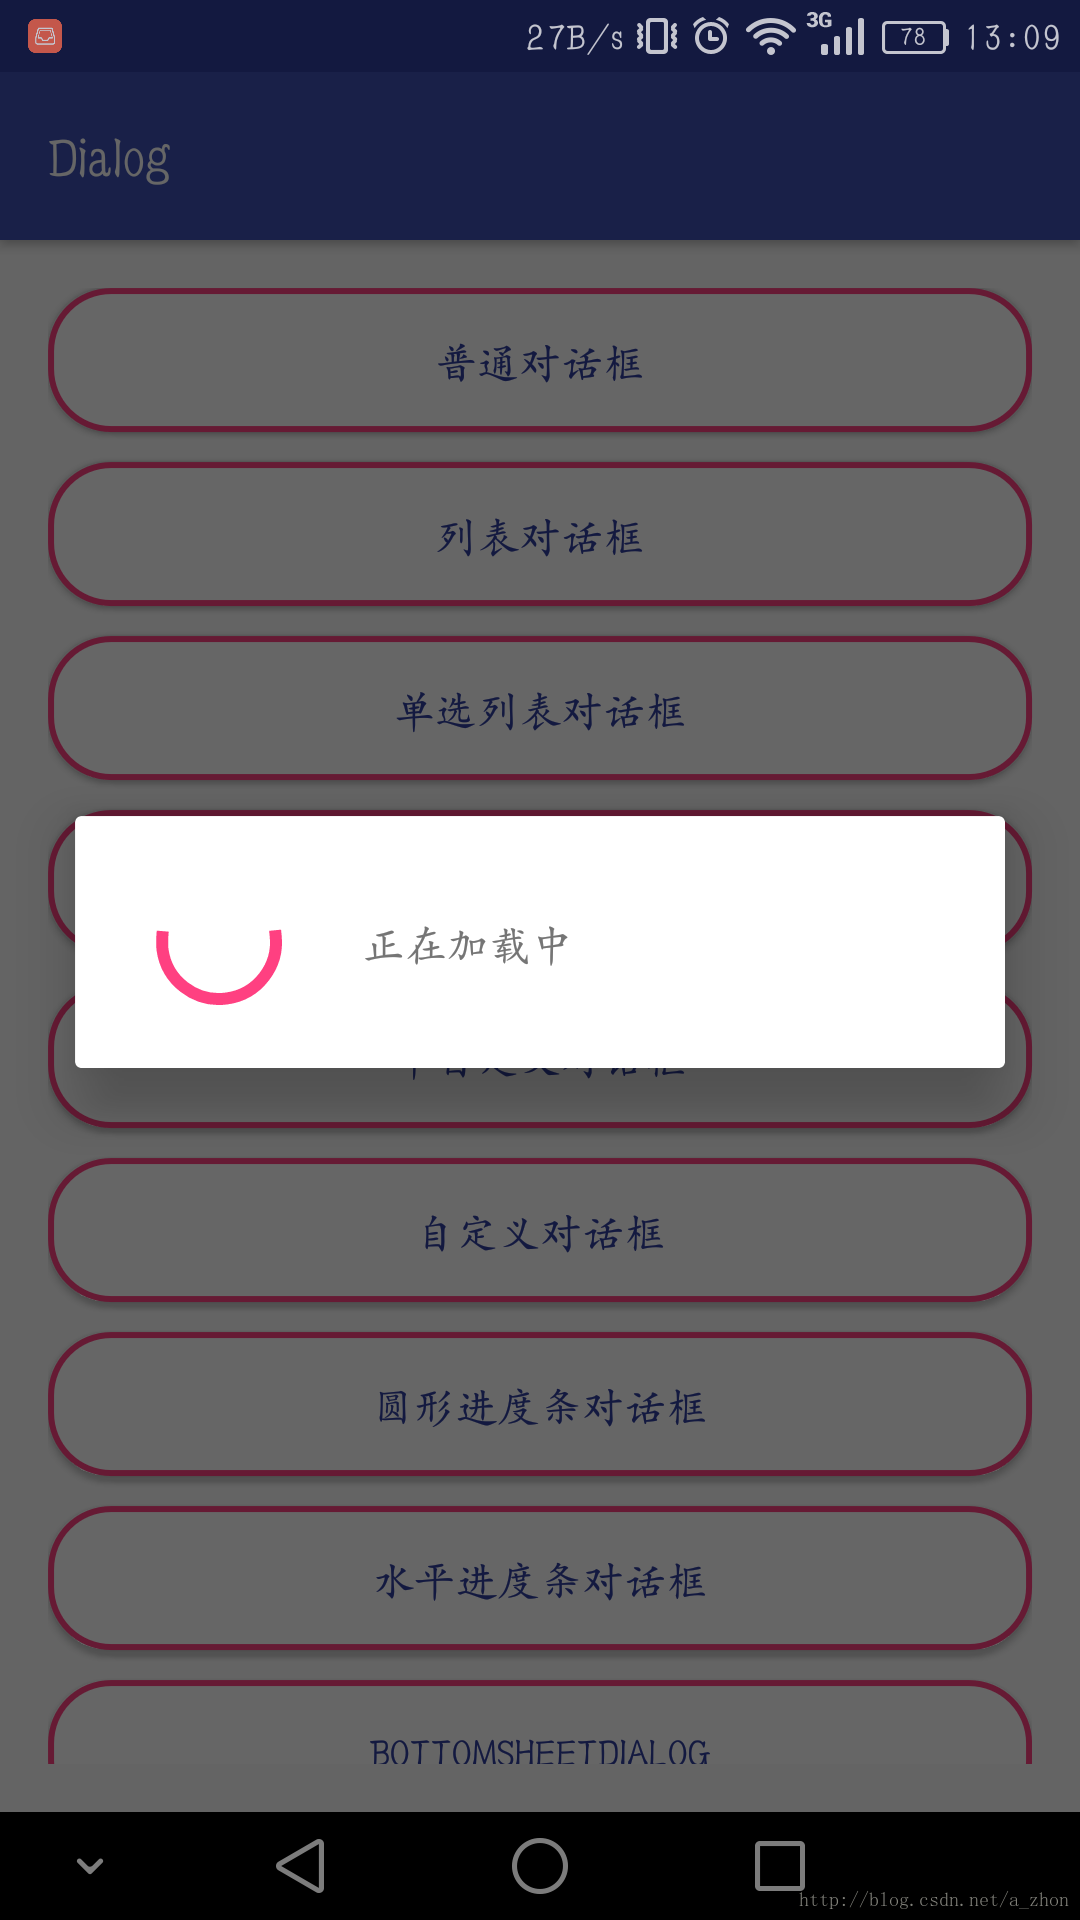
七:圆形进度条对话框
1.这个就相对比较简单了
ProgressDialog dialog = new ProgressDialog(this);
dialog.setMessage("正在加载中");
dialog.show();12
3
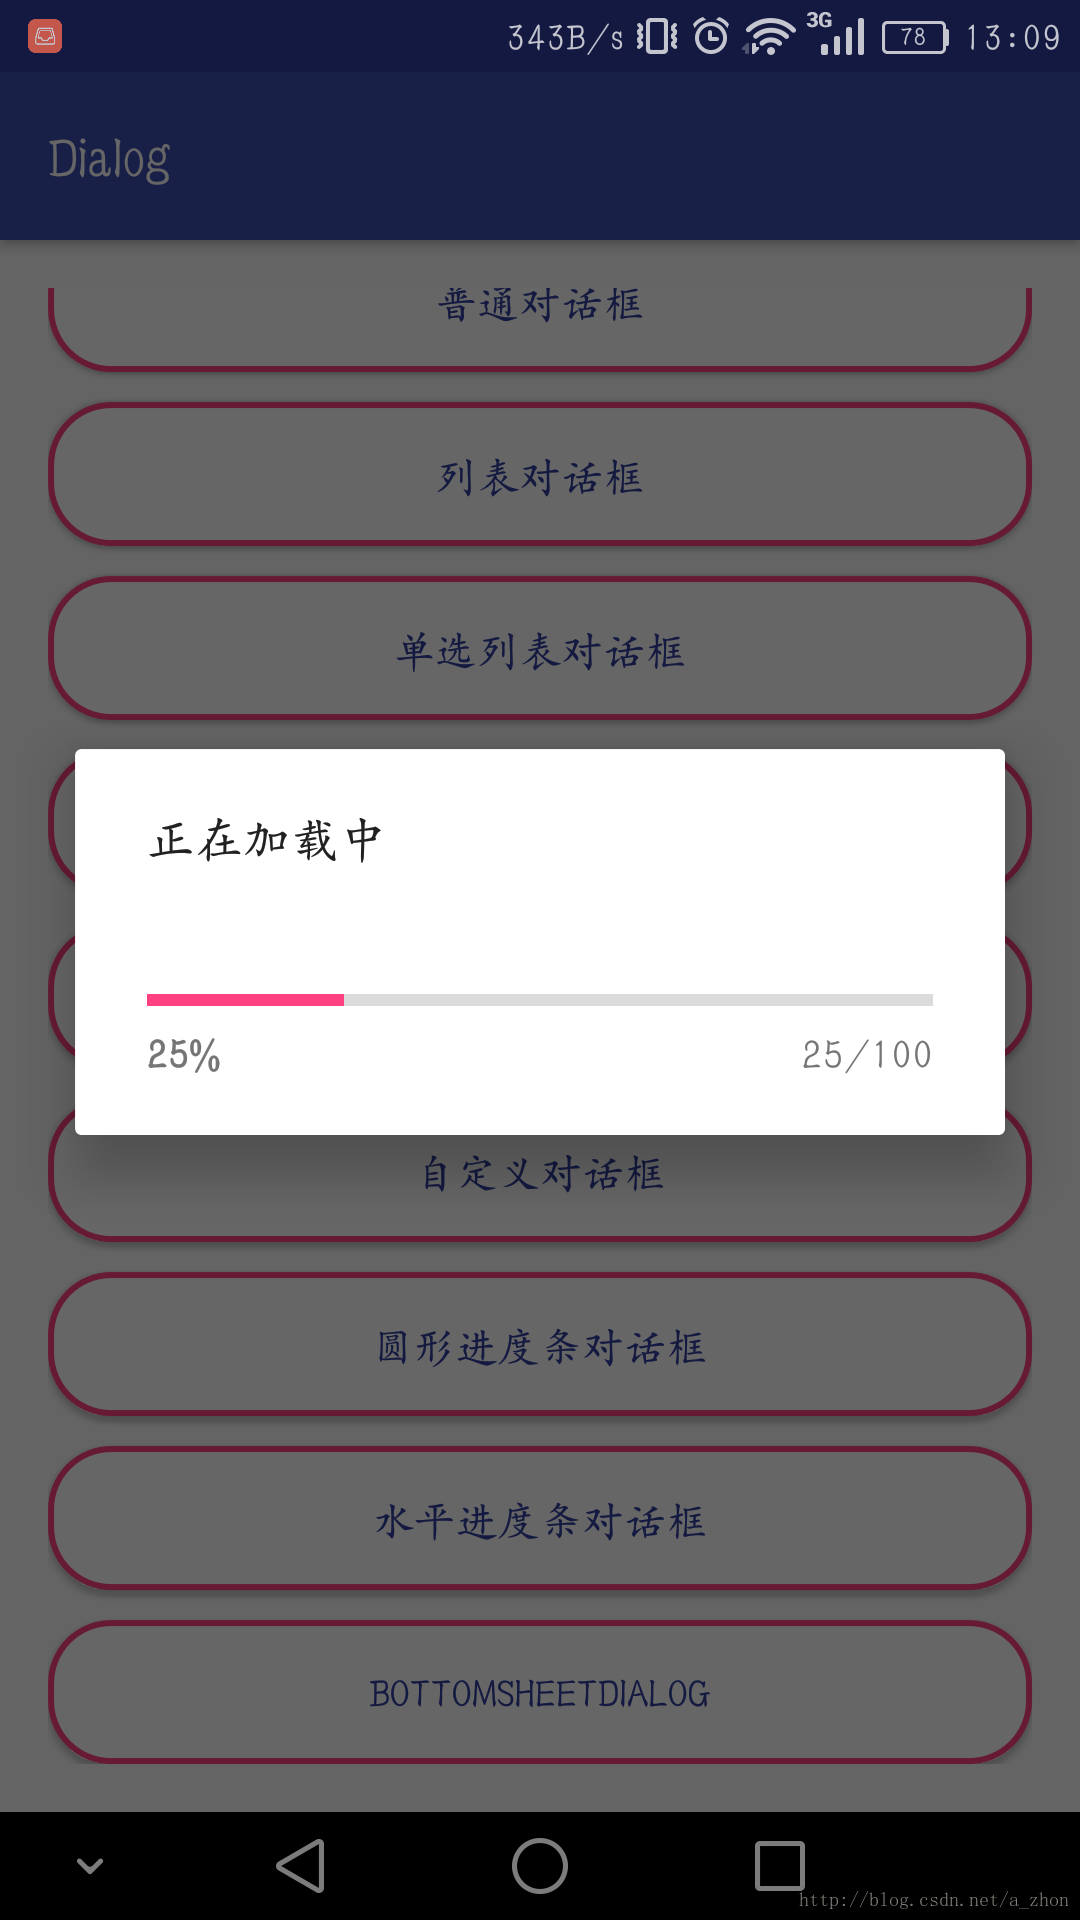
2.当然我们也可以设置一个水平的进度条并显示当前进度,只需要把他的样式设置为ProgressDialog.STYLE_HORIZONTAL
即可。
final ProgressDialog dialog = new ProgressDialog(this);
dialog.setProgressStyle(ProgressDialog.STYLE_HORIZONTAL);
dialog.setMessage("正在加载中");
dialog.setMax(100);
final Timer timer = new Timer();
timer.schedule(new TimerTask() {
int progress = 0;

@Override
public void run() {
dialog.setProgress(progress += 5);
if (progress == 100) {
timer.cancel();
}
}
}, 0, 1000);
dialog.show();12
3
4
5
6
7
8
9
10
11
12
13
14
15
16
17
八:BottomSheetDialog,一个可以上下拖动的对话框使用方法和Dialog还是差不多的。
BottomSheetDialog dialog = new BottomSheetDialog(this);
View view = getLayoutInflater().inflate(R.layout.activity_main, null);
dialog.setContentView(view);//设置显示的内容,我这为了方便就直接把主布局设置进去了。
dialog.show();
1
2
3
4
BottomSheetDialog会根据你设置的View大小来计算默认显示出来的高度,内容越多显示的越多反之则越少。当显示的内容比较少的时候他默认显示一点,这个时候就比较蛋疼了所以我们就要让他一显示就默认全部展开。
/**
* 默认展开对话框
*/
final FrameLayout frameLayout = (FrameLayout) dialog.findViewById(android.support.design.R.id.design_bottom_sheet);
frameLayout.getViewTreeObserver().addOnGlobalLayoutListener(new ViewTreeObserver.OnGlobalLayoutListener() {
@Override
public void onGlobalLayout() {
//获得BottomSheetBehavior
BottomSheetBehavior behavior = BottomSheetBehavior.from(frameLayout);
//设置对话框的的状态
behavior.setState(BottomSheetBehavior.STATE_EXPANDED);
}
});12
3
4
5
6
7
8
9
10
11
12
13
BottomSheetDialog的操作基本上都是通过Behavior来设置的,所以关键就是获得他的Behavior;
这里还有小坑就是:当你向下滑动让他消失的时候,对话框是看不见了但是他却并没有dismiss需要在点击一次屏幕才能完全消失。下面给出解决办法:通过监听他的状态来手动dismiss();
behavior.setBottomSheetCallback(new BottomSheetBehavior.BottomSheetCallback() {
@Override
public void onStateChanged(@NonNull View bottomSheet, int newState) {
if (newState == BottomSheetBehavior.STATE_HIDDEN)
dialog.dismiss();
}

@Override
public void onSlide(@NonNull View bottomSheet, float slideOffset) {

}
});

相关文章推荐
- Android常用对话框大全——Dialog
- Android常用Dialog对话框大全
- Android常用对话框大全——Dialog
- Android 对话框(Dialog)大全 建立你自己的对话框
- Android 对话框(Dialog)大全 建立你自己的对话框
- Android 对话框(Dialog)大全 建立你自己的对话框
- Android -- 对话框 Dialog: 确定取消,单选多选,进度显示, 常用控件示例:单选多选框,下拉列表,进度条,自动完成文本框, 菜单显示
- Android 对话框(Dialog)大全
- Android 对话框(Dialog)大全
- Android 对话框(Dialog)大全 建立你自己的对话框
- 【Android 对话框(Dialog)大全 建立你自己的对话框】
- Android 对话框(Dialog)大全(转)
- Android 对话框(Dialog)【大全】
- Android 对话框(Dialog)大全
- android 对话框Dialog大全 实现
- Android 对话框(Dialog)大全 建立你自己的对话框
- Android 对话框(Dialog)大全 建立你自己的对话框
- Android 对话框(Dialog)大全 建立你自己的对话框
- Android 对话框(Dialog)大全详解及示例代码
- Android控件大全(一)——DialogFragment创建对话框