ActiveMQ-在Centos7下安装和安全配置
2018-03-08 23:21
465 查看
环境准备:
JDK1.8ActiveMQ-5.11
Centos7
1、下载Linux版本的ActiveMQ:
$ wget http://apache.fayea.com/activemq/5.11.1/apache-activemq-5.11.1-bin.tar.gz2、解压安装:
$ tar -zxvf apache-activemq-5.11.1-bin.tar.gz$mv apache-activemq-5.11.1 /usr/local/
3、配置防火墙:
ActiveMQ 需要用到两个端口:一个是消息通讯的端口(默认为 61616)
一个是管理控制台端口(默认为 8161)
可在 conf/jetty.xml 中修改, 如下:
<bean id="jettyPort" class="org.apache.activemq.web.WebConsolePort" init-method="start">
<!-- the default port number for the web console -->
<property name="host" value="0.0.0.0"/>
<property name="port" value="8161"/>
</bean>
$ vi /etc/sysconfig/iptables
添加:
-A INPUT -m state --state NEW -m tcp -p tcp --dport 61616 -j ACCEPT
-A INPUT -m state --state NEW -m tcp -p tcp --dport 8161 -j ACCEPT
重启防火墙:
$ service iptables restart
4、启动ActiveMQ:
进入到ActiveMQ的bin目录下$ cd /usr/local/apache-activemq-5.11.1/bin
启动:
$ ./activemq start
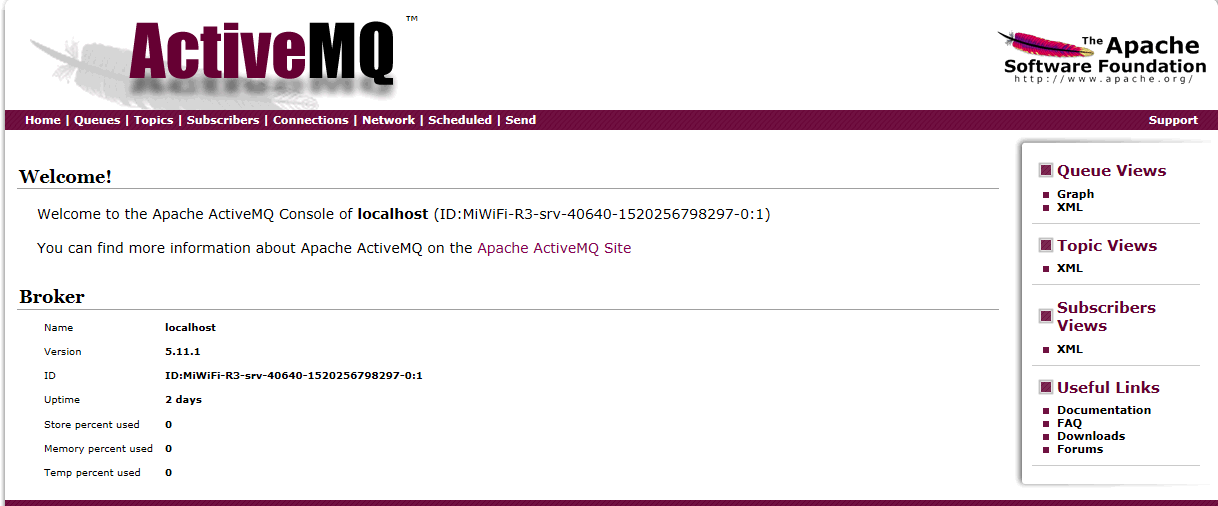
5、打开管理界面:
http://192.168.xx.xx:8161
点击 Manage ActiveMQ broker 输入:admin/admin 登陆
6、安全验证配置:
安全验证有两个概念:1.控制台安全配置;2.JMS服务安全配置6.1、 控制台安全配置
打开conf/jetty.xml文件,找到
<bean id="securityConstraint" class="org.eclipse.jetty.util.security.Constraint">
<property name="name" value="BASIC" />
<property name="roles" value="user,admin" />
<!-- set authenticate=false to disable login -->
<property name="authenticate" value="true" />
</bean>
将"false" 改为"true",重启ActiveMQ 即可。
控制台的登录用户名密码保存在conf/credentials.properties文件中。
activemq.username=system
activemq.password=manager
guest.password=password
6.2. JMS服务安全配置 在conf/activemq.xml文件中加入以下内容
<broker xmlns="http://activemq.apache.org/schema/core" brokerName="localhost" dataDirectory="${activemq.data}">
......
<transportConnectors>
<!-- DOS protection, limit concurrent connections to 1000 and frame size to 100MB -->
<transportConnector name="openwire" uri="tcp://0.0.0.0:61616?maximumConnections=1000&wireFormat.maxFrameSize=104857600"/>
<transportConnector name="amqp" uri="amqp://0.0.0.0:5672?maximumConnections=1000&wireFormat.maxFrameSize=104857600"/>
<transportConnector name="stomp" uri="stomp://0.0.0.0:61613?maximumConnections=1000&wireFormat.maxFrameSize=104857600"/>
<transportConnector name="mqtt" uri="mqtt://0.0.0.0:1883?maximumConnections=1000&wireFormat.maxFrameSize=104857600"/>
<transportConnector name="ws" uri="ws://0.0.0.0:61614?maximumConnections=1000&wireFormat.maxFrameSize=104857600"/>
</transportConnectors>

<!-- destroy the spring context on shutdown to stop jetty -->
<shutdownHooks>
<bean xmlns="http://www.springframework.org/schema/beans" class="org.apache.activemq.hooks.SpringContextHook" />
</shutdownHooks>
<plugins>
<!-- Configure authentication; Username, passwords and groups -->
<simpleAuthenticationPlugin>
<users>
<authenticationUser username="system" password="${activemq.password}"   groups="users,admins"/>
<authenticationUser username="user" password="${guest.password}"  groups="users"/>
<authenticationUser username="guest" password="${guest.password}" groups="guests"/>
</users>
</simpleAuthenticationPlugin>
</plugins>
</broker>这个${activemq.password} 在conf/credentials.properties文件中配置
7、在程序中运行
public class Sendser {
public static void main(String[] args) throws Exception{
//第一步,建立ConnectionFactory工厂对象,需要填写用户名,密码,以及要连接的地址
//输入账号密码
/*ConnectionFactory connectionFactory = new ActiveMQConnectionFactory(
ActiveMQConnectionFactory.DEFAULT_USER,
ActiveMQConnectionFactory.DEFAULT_PASSWORD,
"tcp://localhost:61616"
);*/
ConnectionFactory connectionFactory = new ActiveMQConnectionFactory(
"system",
"manager",
"tcp://localhost:61616"
);
......
}

相关文章推荐
- centos7下安装docker(26如何配置Health Check)
- Centos7下安装配置mysql5
- centos7下nginx的安装和https配置多端口访问
- CentOS 7下安装配置FTP
- mysql(5.7)在CentOs7下的安装、配置与应用
- centos7下安装并配置mysql
- linux-Centos 7下tftp-server服务的安装与配置
- centos 7下安装配置nginx
- php-fpm 在centos 7下的安装配置
- CentOS 7下的Vim自动补齐插件YouCompleteMe安装及配置
- centos7下安装gitlab并配置必要的依赖关系
- centOS7下Spark安装配置教程详解
- Centos7下安装配置elasticsearch 6.3.1
- CentOS下安装MySQL5.6.10和安全配置教程详解
- Centos 7下mysql的安装与配置
- Centos7下完美安装并配置mysql5.6
- Centos7下yum安装配置nginx与php
- centos7/rhel7下配置PXE+Kickstart自动安装linux系统
- CentOS7下安装MySQL并配置远程连接
- CentOS Linux下MySQL 5.1.x的安装、优化和安全配置