LayoutInflater的基本用法
2018-01-19 09:51
211 查看
1.对于LayoutInflater我们在项目中都会经常看到,也会用到!其实LayoutInflater的主要用途是用来加载布局的。在项目中加载布局的任务通常都是在Activity中调用setContentView()方法来完成的。其实setContentView()方法的内部也是使用LayoutInflater来加载布局的,首先先来看一下LayoutInflater的基本用法:
首先我们需要获取LayoutInflater的实例,有两种方法:
第一种获取实例的方法:
第二种获取实例的方法:
2.得到了LayoutInflater的实例之后就可以调用它的inflate()方法来加载布局了,inflate()有两个参数:
第一个参数是要加载的布局,第二个参数是指给该布局的外部再嵌套一层父布局。如果不需要直接传null
下面一个小的案例,加载一个布局到主布局中
假如我们要在主布局中加载一个按钮,首先我们的创建一个子视图,如button_item.xml代码如下:
我们要做的就是把这个按钮加载到主布局里面去,主布局activity_main.xml代码如下:
相对来说子视图的布局只有一个button,相对来说就是比较简单了,我们按照上面的步骤一步一步的来,下面是修改Acticity中的代码:
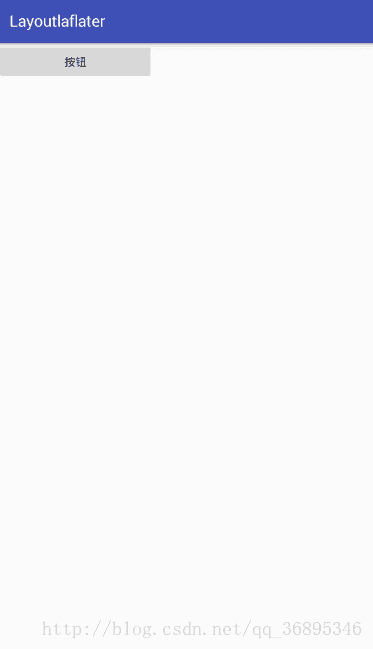
运行结果
首先我们需要获取LayoutInflater的实例,有两种方法:
第一种获取实例的方法:
LayoutInflater inflater = LayoutInflater.from(this);
第二种获取实例的方法:
LayoutInflater inflater1= (LayoutInflater) this.getSystemService(this.LAYOUT_INFLATER_SERVICE);
2.得到了LayoutInflater的实例之后就可以调用它的inflate()方法来加载布局了,inflate()有两个参数:
第一个参数是要加载的布局,第二个参数是指给该布局的外部再嵌套一层父布局。如果不需要直接传null
View view=inflater.inflate(R.layout.button_item,null);
下面一个小的案例,加载一个布局到主布局中
假如我们要在主布局中加载一个按钮,首先我们的创建一个子视图,如button_item.xml代码如下:
<?xml version="1.0" encoding="utf-8"?>
<LinearLayout xmlns:android="http://schemas.android.com/apk/res/android"
android:id="@+id/line_item"
android:orientation="vertical"
android:layout_width="match_parent"
android:layout_height="match_parent">

<Button
android:id="@+id/btn"
android:layout_width="wrap_content"
android:layout_height="wrap_content"
android:text="按钮"/>

</LinearLayout>
我们要做的就是把这个按钮加载到主布局里面去,主布局activity_main.xml代码如下:
<LinearLayout xmlns:android="http://schemas.android.com/apk/res/android"
xmlns:tools="http://schemas.android.com/tools"
android:id="@+id/liner"
android:layout_width="match_parent"
android:layout_height="match_parent"
android:orientation="vertical"
tools:context="com.example.administrator.layoutlaflater.MainActivity">

</LinearLayout>
相对来说子视图的布局只有一个button,相对来说就是比较简单了,我们按照上面的步骤一步一步的来,下面是修改Acticity中的代码:
package com.example.administrator.layoutlaflater;

import android.os.Bundle;
import android.support.v7.app.AppCompatActivity;
import android.view.LayoutInflater;
import android.view.View;
import android.widget.LinearLayout;

public class MainActivity extends AppCompatActivity {
private LinearLayout liner;

@Override
protected void onCreate(Bundle savedInstanceState) {
super.onCreate(savedInstanceState);
setContentView(R.layout.activity_main);
liner = (LinearLayout) findViewById(R.id.liner);
LayoutInflater inflater = LayoutInflater.from(this);
View view = inflater.inflate(R.layout.button_item, null);
liner.addView(view);
}
}
运行结果

相关文章推荐
- Android_LayoutInflater的作用与用法详解
- LayoutInflater的inflate函数用法详解
- LayoutInflater的inflate函数用法详解
- LayoutInflater和inflate()方法的用法
- LayoutInflater.from(this)的用法
- Android成长之路-LayoutInflater和inflate的用法
- 关于LayoutInflater的错误用法
- LayoutInflater的inflate函数用法详解
- Android LayoutInflater.inflate()的参数及其用法
- LayoutInflater的inflate函数用法详解
- TabLayout的基本用法
- [Android]inflate方法与 findViewById 方法区别 | LayoutInflater的inflate函数用法详解
- android LayoutInflater和inflate()方法的用法
- LayoutInflater的inflate函数用法详解
- LayoutInflater的作用和用法(转)
- 总结系列-LayoutInflater的inflate函数用法详解
- LayoutInflater和inflate()方法的用法
- Android中LayoutInflater的用法
- android LayoutInflater.inflate()的参数及其用法
- LayoutInflater的inflate函数用法详解