Maven 3.5.x 安装和配置--Linux篇
2017-12-28 00:00
190 查看
阅读目录:
1. 关闭防火墙和Selinux
2. 下载Maven 3.5.x版本
3. 配置环境并验证
4. 更换Maven镜像为阿里云
1. 关闭防火墙和Selinux
Linux的防火墙是咱们新手的噩梦,很多情况会出现能ping通,但是访问不了Web页面。所以开始就干掉它!1.1 关闭防火墙
[root@localhost ~]# /etc/init.d/iptables stop
iptables: Setting chains to policy ACCEPT: filter          [  OK  ]
iptables: Flushing firewall rules:                         [  OK  ]
iptables: Unloading modules:                               [  OK  ]
1.2 开机自动关闭防火墙
[root@localhost ~]# chkconfig iptables off
1.3 查看Selinux状态
[root@localhost ~]# sestatus
SELinux status: enabled
SELinuxfs mount: /sys/fs/selinux
SELinux root directory: /etc/selinux
Loaded policy name: targeted
Current mode: enforcing
Mode from config file: enforcing
Policy MLS status: enabled
Policy deny_unknown status: allowed
Max kernel policy version: 28
1.4 关闭selinux
[root@localhost ~]# vi /etc/selinux/config
修改 SELINUX=disabled
注:永久开启->改成:SELINUX=enforcing
2. 下载Maven 3.5.x版本
注:为了方便管理,创建一个文件夹专门放所需软件[root@localhost /]# mkdir developer [root@localhost /]# cd developer
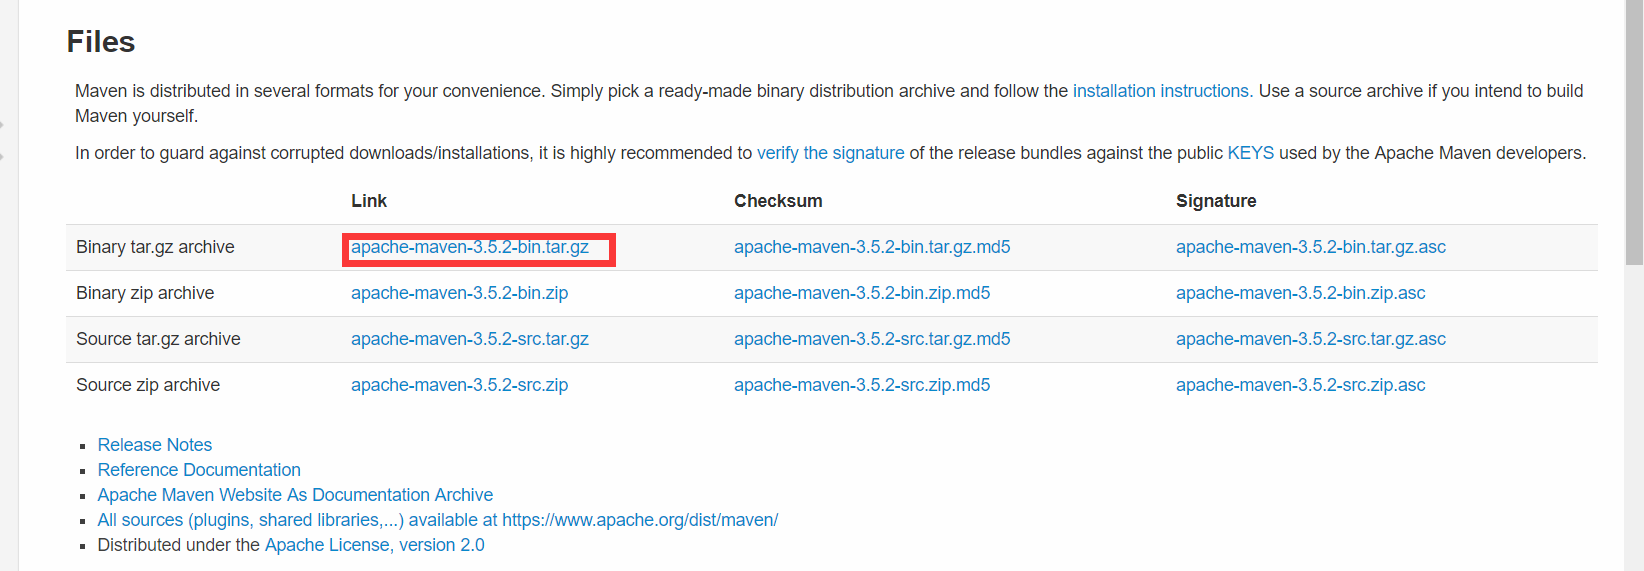
2.1 下载Maven
[root@localhost developer]# wget https://mirrors.tuna.tsinghua.edu.cn/apache/maven/maven-3/3.5.2/binaries/apache-maven-3.5.2-bin.tar.gz[/code] Maven下载的官网url:
http://maven.apache.org/download.cgi
2.2 解压Maven[root@localhost developer]# tar -zxvf apache-maven-3.5.2-bin.tar.gz3. 配置环境并验证
3.1 配置Maven的环境变量[root@localhost developer]# vim /etc/profile
在文本末最后一行添加如下代码:
export MAVEN_HOME=/developer/apache-maven-3.5.2
export PATH=$PATH:$MAVEN_HOME/bin
保存退出。
3.2 使配置立即生效[root@localhost developer]# source /etc/profile
3.3 验证Maven是否成功[root@loubobooo developer]# mvn -version Apache Maven 3.5.2 (138edd61fd100ec658bfa2d307c43b76940a5d7d; 2017-10-18T15:58:13+08:00) Maven home: /developer/apache-maven-3.5.2 Java version: 1.8.0_144, vendor: Oracle Corporation Java home: /usr/java/jdk1.8.0_144/jre Default locale: en_US, platform encoding: UTF-8 OS name: "linux", version: "2.6.32-642.el6.x86_64", arch: "amd64", family: "unix"
出现Maven版本号,Apache Maven 3.5.2 (138edd61fd100ec658bfa2d307c43b76940a5d7d; 2017-10-18T15:58:13+08:00)
便算成功。4. 更换maven镜像为阿里云
4.1 进入Maven配置文件夹[root@localhost developer]# cd /developer/apache-maven-3.5.2/conf
4.2 编辑配置[root@localhost developer]# vim settings
在<mirrors>元素里面加一个<mirror>配置
<mirror>
<id>aliyun</id>
<mirrorOf>centeral</mirrorOf>
<name>aliyun mirror</name>
<url>http://maven.aliyun.com/nexus/content/groups/public/</url>
</mirror>
在<profiles>中加一个<profile>配置
<profile>
<id>aliyun</id>
<activation>
<activeByDefault>true</activeByDefault>
</activation>
<repositories>
<repository>
<id>aliyun</id>
<url>http://maven.aliyun.com/nexus/content/groups/public/</url>
</repository>
</repositories>
<pluginRepositories>
<pluginRepository>
<id>aliyun</id>
<url>http://maven.aliyun.com/nexus/content/groups/public/</url>
</pluginRepository>
</pluginRepositories>
</profile>
</profiles>

相关文章推荐
- spring整合redis集群遇到的问题及MyEclipse下Maven的安装配置
- maven下载、安装、卸载以及MyEclipse配置maven
- eclipse maven plugin 插件 安装 和 配置
- maven 安装jar 包到本地仓库,以及maven环境变量 配置
- Maven安装配置JAVA_HOME环境变量
- Maven 安装和配置
- Mac下Maven安装配置
- [Maven]Nexus 安装与配置
- Eclipse3.X集成maven3.0.4插件详细图解(安装、配置)
- Windows7 Eclipse中Maven的安装,配置,自动生成web.xml
- Maven - 安装 配置
- 开始java的重新学习之路(一)-------maven的安装与配置
- maven 入门及安装和配置
- Maven的安装和配置
- Eclipse如何配置免安装JDK及maven
- Maven的安装、配置及使用入门+maven安装报错:JAVA_HOME【申明:来源于网络】
- 【项目管理和构建】——Maven下载、安装和配置(二)
- MyEclipse下Maven的安装配置
- linux下maven安装配置
- eclipse-maven安装配置java-web-servlet