Google ARCore 学习——ARCore与人脸识别相结合
2017-12-22 22:01
429 查看
Google于8月份正式推出了ARCore,ARCore的介绍可以参见官网。作为ARKit的竞赛对手,ARCore有一个致命的缺点,就是支持的机型较少,目前只支持Google的Pixel和三星S8手机。不过刚好有一个Pixel手机。于是想要开发一个ARCore的应用,后来有了一个想法就是ARCore和人脸结合的Demo。
一、ARCore的基础概念
根据官网上的介绍,ARCore的核心功能是:
Motion tracking:allows the phone to understand and track its position relative to the world.
Environmental understanding: allows the phone to detect the size and location of flat horizontal surfaces like the ground or a coffee table.
Light estimation :allows the phone to estimate the environment’s current lighting conditions.
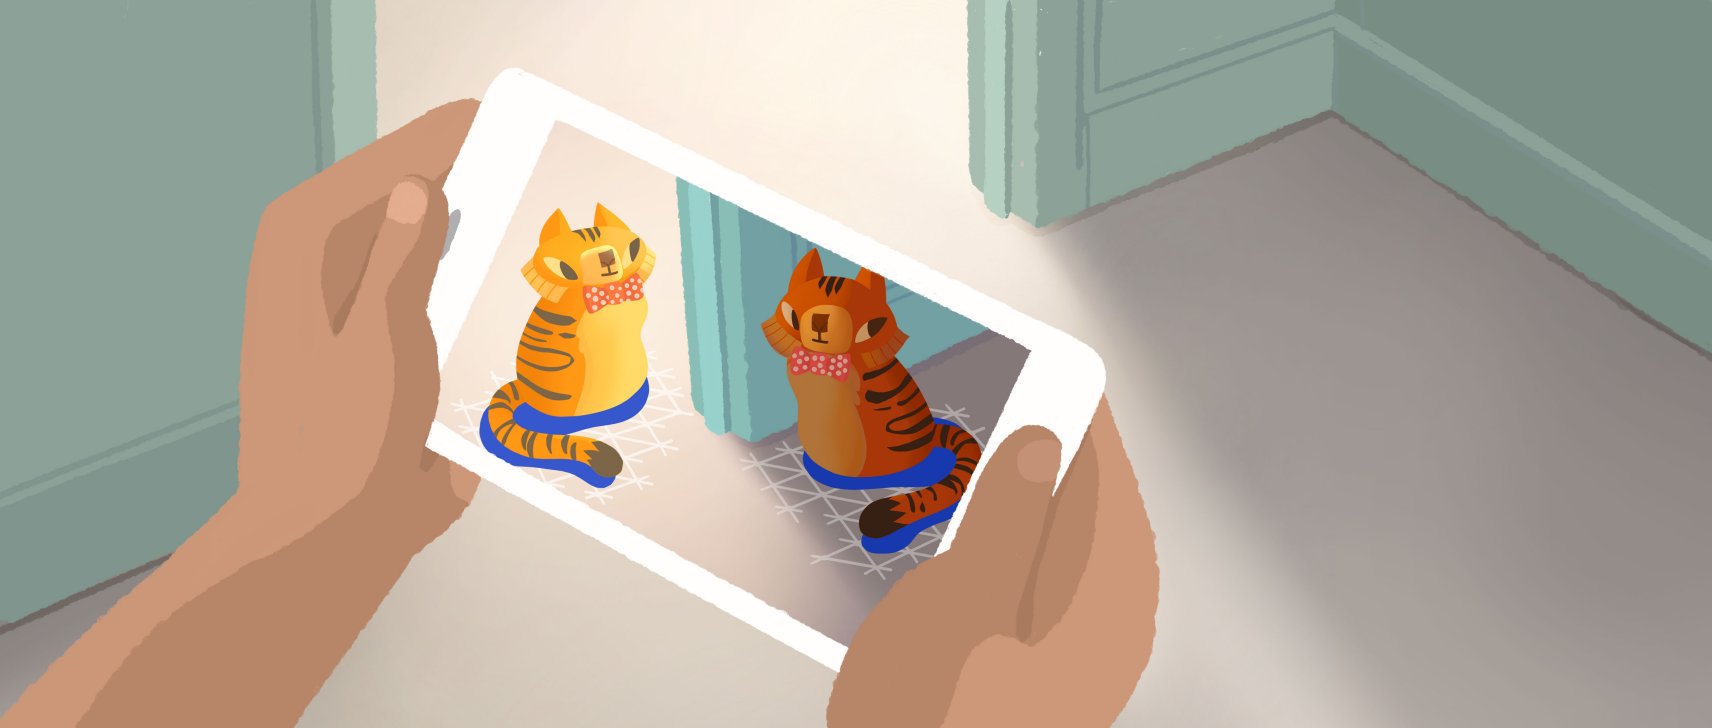
Environmental understanding功能如下所示

Light estimation 的效果如下所示

二、接入人脸识别
由于检测人脸的代码是之前项目中写的,所以使用Unity来实现不太好实现,所以选用Android对应的SDK。SDK地址:https://github.com/google-ar/arcore-android-sdk
首先看一下Demo中如何使用OpenGL实时渲染Camera数据的,整个流程位于BackgroundRenderer.class
由于ARCore并没有提供摄像头数据返回的接口,与我们之前人脸识别的逻辑冲突了,后来我们是通过OpenGL的方法glReadPixels获取GPU中显示的数据然后交给人脸检测进行处理。
我们得到了数据,可以直接交给人脸识别处理了(其实我们人脸识别只需要传灰度值就行了,但是发现glReadPixels不支持直接读取某一个分量的值,如果大家有其他方式直接获取灰度值,欢迎留言告知)。
在整个接入人脸的过程中发生了很多错误,下面说一下主要的错误。下面说一下我记得的。
1. 摄像头得到的数据时横屏的,如果你展示是竖屏,你就需要自己处理。
2. 图片上下翻转的问题,通过glReadPixels得到的是翻转的图片,主要跟texture的纹理坐标方向有关。
三、加载不同的三维模型
之后就是加载一些3D模型,官方给出的Demo中自带了一个加载obj格式的库,但是像fbx格式的3D模型不能直接加载,可以使用其他一些库实现。这里先介绍如果加载带mtl的obj格式的三维模型
之后的绘制流程与Demo中绘制obj格式的3维模型一样。
在加载obj模型的时候,是直接从网上找的一些模型,很多模型都是fbx的,然后我就是用转换工具转成obj的,但是发现加载的模型很多部分是黑的。我一直以为是整个程序哪个出错了,但是后来使用别的obj模型都可以加载成功。后来听设计说fbx的转换工具经常转换出错,所以大家最好还是使用原始obj格式测试。
像fbx等格式的3D模型我还没有试,以及骨骼动画都没有实现,感觉在接入ARCore的时候费了不少的力,至于其他3D模型的,日后我试试用第三方库能不能加载成功(如果已经有Demo,欢迎留言告知)。
一、ARCore的基础概念
根据官网上的介绍,ARCore的核心功能是:
Motion tracking:allows the phone to understand and track its position relative to the world.
Environmental understanding: allows the phone to detect the size and location of flat horizontal surfaces like the ground or a coffee table.
Light estimation :allows the phone to estimate the environment’s current lighting conditions.
Environmental understanding功能如下所示

Light estimation 的效果如下所示

二、接入人脸识别
由于检测人脸的代码是之前项目中写的,所以使用Unity来实现不太好实现,所以选用Android对应的SDK。SDK地址:https://github.com/google-ar/arcore-android-sdk
首先看一下Demo中如何使用OpenGL实时渲染Camera数据的,整个流程位于BackgroundRenderer.class
/**
* This class renders the AR background from camera feed. It creates and hosts the texture
* given to ARCore to be filled with the camera image.
*/
public class BackgroundRenderer {
//可以看到这个定义了textureId,所以是通过surfaceTexture对摄像头的数据进行了处理
private int mTextureId = -1;
public void setTextureId(int textureId) {
mTextureId = textureId;
}

public void createOnGlThread(Context context) {
// Generate the background texture.
int textures[] = new int[1];
GLES20.glGenTextures(1, textures, 0);
mTextureId = textures[0];
//可以看到我们在这里生成了一个textureId。然后绑定纹理对象ID。
GLES20.glBindTexture(mTextureTarget, mTextureId);
...
}
public void draw(Frame frame) {
// If display rotation changed (also includes view size change), we need to re-query the uv
// coordinates for the screen rect, as they may have changed as well.
//这两行很重要,用来更新视图矩阵
if (frame.isDisplayRotationChanged()) {
frame.transformDisplayUvCoords(mQuadTexCoord, mQuadTexCoordTransformed);
}

// No need to test or write depth, the screen quad has arbitrary depth, and is expected
// to be drawn first.
GLES20.glDisable(GLES20.GL_DEPTH_TEST);
//禁止向深度缓冲区写入数据
GLES20.glDepthMask(false);

GLES20.glBindTexture(GLES11Ext.GL_TEXTURE_EXTERNAL_OES, mTextureId);

// Restore the depth state for further drawing.
// 后面需要绘制3维模型渲染,所以仍然开启深度
GLES20.glDepthMask(true);
GLES20.glEnable(GLES20.GL_DEPTH_TEST);

ShaderUtil.checkGLError(TAG, "Draw");
}
由于ARCore并没有提供摄像头数据返回的接口,与我们之前人脸识别的逻辑冲突了,后来我们是通过OpenGL的方法glReadPixels获取GPU中显示的数据然后交给人脸检测进行处理。
//之前交给人脸处理的数据来自Camera的回调
private class CameraPreviewCallback implements Camera.PreviewCallback {
boolean isFirst = true;
@Override
public void onPreviewFrame(byte[] data, Camera camera) {
long tm = System.currentTimeMillis();
synchronized (graydata) {
System.arraycopy(data, 0, graydata, 0, graydata.length);
isDataReady = true;
}
camera.addCallbackBuffer(data);
Log.e(LOG_TAG, "onPreviewFrame used " + (System.currentTimeMillis() - tm));
}
}

//现在我们获取不到Camera的回调,我是通过glReadPixels来读取的
ByteBuffer mFrameBuffer = ByteBuffer.allocate(mRecordWidth * mRecordHeight * 4);
mFrameBuffer.position(0);
GLES20.glReadPixels(0, 0, mRecordWidth, mRecordHeight, GLES20.GL_RGBA, GLES20.GL_UNSIGNED_BYTE, mFrameBuffer);
我们得到了数据,可以直接交给人脸识别处理了(其实我们人脸识别只需要传灰度值就行了,但是发现glReadPixels不支持直接读取某一个分量的值,如果大家有其他方式直接获取灰度值,欢迎留言告知)。
在整个接入人脸的过程中发生了很多错误,下面说一下主要的错误。下面说一下我记得的。
1. 摄像头得到的数据时横屏的,如果你展示是竖屏,你就需要自己处理。
2. 图片上下翻转的问题,通过glReadPixels得到的是翻转的图片,主要跟texture的纹理坐标方向有关。
三、加载不同的三维模型
之后就是加载一些3D模型,官方给出的Demo中自带了一个加载obj格式的库,但是像fbx格式的3D模型不能直接加载,可以使用其他一些库实现。这里先介绍如果加载带mtl的obj格式的三维模型
public void createOnGlThread(Context context, String path) throws IOException {
String[] pathes = path.split("/");
String parentDirectory = pathes.length >= 2 ? path.split("/")[0] + "/" : "";
Log.d(TAG, "parentDirectory:" + parentDirectory);
// Read the obj file.
InputStream objInputStream = context.getAssets().open(path);
mObj = ObjReader.read(objInputStream);

if (mObj.getNumMaterialGroups() == 0 && mObj.getMtlFileNames().size() == 0) {
Log.e(TAG, "No mtl file defined for this model.");
return;
}

// Prepare the Obj so that its structure is suitable for
// rendering with OpenGL:
// 1. Triangulate it
// 2. Make sure that texture coordinates are not ambiguous
// 3. Make sure that normals are not ambiguous
// 4. Convert it to single-indexed data

mObj = ObjUtils.convertToRenderable(mObj);

vectorArrayObjectIds = new int[mObj.getNumMaterialGroups()];
GLES30.glGenVertexArrays(mObj.getNumMaterialGroups(), vectorArrayObjectIds, 0);

FloatBuffer vertices = ObjData.getVertices(mObj);
FloatBuffer texCoords = ObjData.getTexCoords(mObj, 2);
FloatBuffer normals = ObjData.getNormals(mObj);
mTextures = new int[mObj.getNumMaterialGroups()];
GLES20.glGenTextures(mTextures.length, mTextures, 0);

//Iterate each material group to create a VAO
for (int i = 0; i < mObj.getNumMaterialGroups(); i++) {
int currentVAOId = vectorArrayObjectIds[i];
ObjGroup currentMatGroup = mObj.getMaterialGroup(i);

IntBuffer wideIndices = createDirectIntBuffer(currentMatGroup.getNumFaces() * 3);

for (int j = 0; j < currentMatGroup.getNumFaces(); j++) {

ObjFace currentFace = currentMatGroup.getFace(j);
wideIndices.put(currentFace.getVertexIndex(0));
wideIndices.put(currentFace.getVertexIndex(1));
wideIndices.put(currentFace.getVertexIndex(2));

}
wideIndices.position(0);

//Load texture
if (!mObj.getMtlFileNames().isEmpty()) {
Log.d(TAG, "mtl path is: " + parentDirectory + mObj.getMtlFileNames().get(0));
List<Mtl> mtlList = MtlReader.read(
context.getAssets().open(parentDirectory + mObj.getMtlFileNames().get(0)));
Mtl targetMat = null;
for (Mtl mat : mtlList) {
if (currentMatGroup.getName().equals(mat.getName())) {
targetMat = mat;
break;
}
}

if (targetMat == null) {
return;
}

if (targetMat.getMapKd() != null && !targetMat.getMapKd().isEmpty()) {
// Read the texture.
Bitmap textureBitmap;
if (targetMat.getMapKd().contains("tga") || targetMat.getMapKd().contains("TGA")) {
textureBitmap = readTgaToBitmap(context, parentDirectory + targetMat.getMapKd());
} else {
Log.d(TAG, "texture path is: " + parentDirectory + targetMat.getMapKd());
textureBitmap = BitmapFactory.decodeStream(
context.getAssets().open(parentDirectory + targetMat.getMapKd()));
}

GLES20.glBindTexture(GLES20.GL_TEXTURE_2D, mTextures[i]);

GLES20.glTexParameteri(GLES20.GL_TEXTURE_2D,
GLES20.GL_TEXTURE_MIN_FILTER, GLES20.GL_LINEAR_MIPMAP_LINEAR);
GLES20.glTexParameteri(GLES20.GL_TEXTURE_2D,
GLES20.GL_TEXTURE_MAG_FILTER, GLES20.GL_LINEAR);
GLUtils.texImage2D(GLES20.GL_TEXTURE_2D, 0, textureBitmap, 0);
GLES20.glGenerateMipmap(GLES20.GL_TEXTURE_2D);
GLES20.glBindTexture(GLES20.GL_TEXTURE_2D, 0);

textureBitmap.recycle();

}

ShaderUtil.checkGLError(TAG, "Texture loading");
}

// Convert int indices to shorts for GL ES 2.0 compatibility
ShortBuffer indices = ByteBuffer.allocateDirect(2 * wideIndices.limit())
.order(ByteOrder.nativeOrder()).asShortBuffer();
while (wideIndices.hasRemaining()) {
indices.put((short) wideIndices.get());
}
indices.rewind();

int[] buffers = new int[2];
GLES20.glGenBuffers(2, buffers, 0);
mVertexBufferId = buffers[0];
mIndexBufferId = buffers[1];

// Load vertex buffer
mVerticesBaseAddress = 0;
mTexCoordsBaseAddress = mVerticesBaseAddress + 4 * vertices.limit();
mNormalsBaseAddress = mTexCoordsBaseAddress + 4 * texCoords.limit();
final int totalBytes = mNormalsBaseAddress + 4 * normals.limit();

//Bind VAO for this material group
GLES30.glBindVertexArray(currentVAOId);

//Bind VBO
GLES20.glBindBuffer(GLES20.GL_ARRAY_BUFFER, mVertexBufferId);
GLES20.glBufferData(GLES20.GL_ARRAY_BUFFER, totalBytes, null, GLES20.GL_STATIC_DRAW);
GLES20.glBufferSubData(
GLES20.GL_ARRAY_BUFFER, mVerticesBaseAddress, 4 * vertices.limit(), vertices);
GLES20.glBufferSubData(
GLES20.GL_ARRAY_BUFFER, mTexCoordsBaseAddress, 4 * texCoords.limit(), texCoords);
GLES20.glBufferSubData(
GLES20.GL_ARRAY_BUFFER, mNormalsBaseAddress, 4 * normals.limit(), normals);

// Bind EBO
GLES20.glBindBuffer(GLES20.GL_ELEMENT_ARRAY_BUFFER, mIndexBufferId);
mIndexCount = indices.limit();
GLES20.glBufferData(
GLES20.GL_ELEMENT_ARRAY_BUFFER, 2 * mIndexCount, indices, GLES20.GL_STATIC_DRAW);

ShaderUtil.checkGLError(TAG, "OBJ buffer load");

//Compile shaders
final int vertexShader = ShaderUtil.loadGLShader(TAG, context,
GLES20.GL_VERTEX_SHADER, R.raw.object_vertex);
final int fragmentShader = ShaderUtil.loadGLShader(TAG, context,
GLES20.GL_FRAGMENT_SHADER, R.raw.object_fragment);

mProgram = GLES20.glCreateProgram();
GLES20.glAttachShader(mProgram, vertexShader);
GLES20.glAttachShader(mProgram, fragmentShader);
GLES20.glLinkProgram(mProgram);
GLES20.glUseProgram(mProgram);

ShaderUtil.checkGLError(TAG, "Program creation");

//Get handle of vertex attributes
mPositionAttribute = GLES20.glGetAttribLocation(mProgram, "a_Position");
mNormalAttribute = GLES20.glGetAttribLocation(mProgram, "a_Normal");
mTexCoordAttribute = GLES20.glGetAttribLocation(mProgram, "a_TexCoord");

// Set the vertex attributes.
GLES20.glVertexAttribPointer(
mPositionAttribute, COORDS_PER_VERTEX, GLES20.GL_FLOAT, false, 0, mVerticesBaseAddress);
GLES20.glVertexAttribPointer(
mNormalAttribute, 3, GLES20.GL_FLOAT, false, 0, mNormalsBaseAddress);
GLES20.glVertexAttribPointer(
mTexCoordAttribute, 2, GLES20.GL_FLOAT, false, 0, mTexCoordsBaseAddress);

// Enable vertex arrays
GLES20.glEnableVertexAttribArray(mPositionAttribute);
GLES20.glEnableVertexAttribArray(mNormalAttribute);
GLES20.glEnableVertexAttribArray(mTexCoordAttribute);

//Unbind VAO,VBO and EBO
GLES30.glBindVertexArray(0);
GLES20.glBindBuffer(GLES20.GL_ARRAY_BUFFER, 0);
GLES20.glBindBuffer(GLES20.GL_ELEMENT_ARRAY_BUFFER, 0);

//Get handle of other shader inputs
mModelViewUniform = GLES20.glGetUniformLocation(mProgram, "u_ModelView");
mModelViewProjectionUniform =
GLES20.glGetUniformLocation(mProgram, "u_ModelViewProjection");

mTextureUniform = GLES20.glGetUniformLocation(mProgram, "u_Texture");

mLightingParametersUniform = GLES20.glGetUniformLocation(mProgram, "u_LightingParameters");
mMaterialParametersUniform = GLES20.glGetUniformLocation(mProgram, "u_MaterialParameters");

ShaderUtil.checkGLError(TAG, "Program parameters");

Matrix.setIdentityM(mModelMatrix, 0);
}

}
之后的绘制流程与Demo中绘制obj格式的3维模型一样。
在加载obj模型的时候,是直接从网上找的一些模型,很多模型都是fbx的,然后我就是用转换工具转成obj的,但是发现加载的模型很多部分是黑的。我一直以为是整个程序哪个出错了,但是后来使用别的obj模型都可以加载成功。后来听设计说fbx的转换工具经常转换出错,所以大家最好还是使用原始obj格式测试。
像fbx等格式的3D模型我还没有试,以及骨骼动画都没有实现,感觉在接入ARCore的时候费了不少的力,至于其他3D模型的,日后我试试用第三方库能不能加载成功(如果已经有Demo,欢迎留言告知)。
相关文章推荐
- 人脸识别——FaceBook的DeepFace、Google的FaceNet、DeepID
- 集天气预报,TTS,深度学习人脸识别,邮件发送,温湿度采集,消息推送,lcd1602一体的树莓派开源项目
- 【学习日记】人脸识别之FaceNet
- opencv 学习人脸识别
- TensorFlow:实战Google深度学习框架(四)MINIST数据集识别问题
- ROS学习--人脸识别NODE
- 人脸识别---利用caffe实现多层特征学习人脸识别网络
- google facenet+ROS实现人脸识别
- matlab学习:人脸识别之HOG(Histograms of Oriented Gradients)
- 人脸识别学习资料
- 深度学习基于VGGNet的人脸识别系统及fine-tuing
- [置顶] Tensorflow学习笔记-基于LeNet5结构的ORL数据集人脸识别
- python3.6.3+opencv3.3.0学习笔记八--本地视频人脸识别后另存
- 人脸识别入门学习《一》
- TensorFlow:实战Google深度学习框架(五)图像识别与卷积神经网络
- FaceNet---深度学习与人脸识别的二次结合
- 资料网址大全 (数学,深度学习,机器学习,计算机视觉,人脸识别,图像处理等)
- 吴恩达深度学习-人脸识别和人脸验证
- 机器学习-人脸识别
- 可学习的多人人脸识别程序(基于Emgu CV)
