Qt笔记(5)重新搭建Qt开发环境 一
2017-11-17 09:43
423 查看
刚开始的时候图省事,直接下载了1.3G的 Qt SDK 完整开发环境下来安装,结果就出问题了:学习开发自定义控件时安装不上,提示:The plugin' 'uses incompatible Qt library.Expected build key"windows msve release full-config",got"windows mingw debug"
关于这个错误,官方说:
The version of QT Creator shipped with the QT SDK Open Source version for windows is build using Visual Studio, whereas the SDK is build with and supports g++ (MinGW). This doesn’t cause too many problems, but it totally defeats building and installing QT Designer
plugins into QT Creator. The error message is:
也就是说,QtCreator是用Visual Studio编译的,但QtCreator的编译器是MinGW,编译出来的控件自然就加载不到QtCreator上了。
网上说解决方法有三种:
1) Build QT Creator from source with MinGW
2) Build the plugin with Visual Studio
3) Build QT Creator with build key checking turned off.
我就选择了第一种:自己编译安装QtCreator。
1、下载
MinGW-gcc440_1.zip
qt-win-opensource-4.8.2-mingw.exe
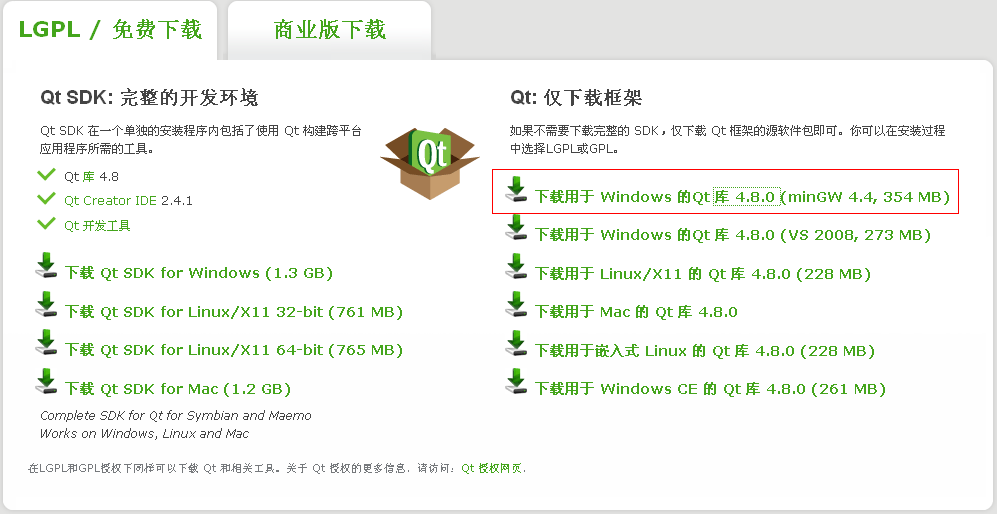

2、把MinGW-gcc440_1.zip解压到C盘,然后安装qt-win-opensource-4.8.2-mingw.exe,接着把 C:\mingw\bin 添加到系统环境变量。
3、下载QtCreator的源文件包qt-creator-2.3.0-src.zip,把压缩包里面的东西都解压取文件夹D:\qt-creator,此时的目录结构应该是D:\qt-creator\qtcreator.pro
4、编译安装QtCreator:新建一个目录 D:\QtCreator(注意这里跟前面的qt-creator不同),再把以下内容复制到一个新建的批处理文件
qmake "CONFIG+=release"
make
nmake INSTALL_ROOT="D:\QtCreator" install
把批处理文件保存到 D:\qt-creator,双击运行。
5、批处理成功执行后,把 D:\qt-creator\bin 里面的dll文件复制到 D:\QtCreator\bin ,如果可以双击运行 D:\QtCreator\qtcreator.exe,说明QtCreator安装编译成功!
接下来还要对开发环境进行相应的设置,留到下一章再说...
本文出自 “自由自我” 博客,请务必保留此出处http://hhuayuan.blog.51cto.com/1630327/913465
关于这个错误,官方说:
The version of QT Creator shipped with the QT SDK Open Source version for windows is build using Visual Studio, whereas the SDK is build with and supports g++ (MinGW). This doesn’t cause too many problems, but it totally defeats building and installing QT Designer
plugins into QT Creator. The error message is:
也就是说,QtCreator是用Visual Studio编译的,但QtCreator的编译器是MinGW,编译出来的控件自然就加载不到QtCreator上了。
网上说解决方法有三种:
1) Build QT Creator from source with MinGW
2) Build the plugin with Visual Studio
3) Build QT Creator with build key checking turned off.
我就选择了第一种:自己编译安装QtCreator。
1、下载
MinGW-gcc440_1.zip
qt-win-opensource-4.8.2-mingw.exe
2、把MinGW-gcc440_1.zip解压到C盘,然后安装qt-win-opensource-4.8.2-mingw.exe,接着把 C:\mingw\bin 添加到系统环境变量。
3、下载QtCreator的源文件包qt-creator-2.3.0-src.zip,把压缩包里面的东西都解压取文件夹D:\qt-creator,此时的目录结构应该是D:\qt-creator\qtcreator.pro
4、编译安装QtCreator:新建一个目录 D:\QtCreator(注意这里跟前面的qt-creator不同),再把以下内容复制到一个新建的批处理文件
qmake "CONFIG+=release"
make
nmake INSTALL_ROOT="D:\QtCreator" install
把批处理文件保存到 D:\qt-creator,双击运行。
5、批处理成功执行后,把 D:\qt-creator\bin 里面的dll文件复制到 D:\QtCreator\bin ,如果可以双击运行 D:\QtCreator\qtcreator.exe,说明QtCreator安装编译成功!
接下来还要对开发环境进行相应的设置,留到下一章再说...
本文出自 “自由自我” 博客,请务必保留此出处http://hhuayuan.blog.51cto.com/1630327/913465

相关文章推荐
- Qt笔记(5)重新搭建Qt开发环境 二
- Qt笔记(5)重新搭建Qt开发环境 一
- Qt笔记(5)重新搭建Qt开发环境 二
- qt编译及qwt开发环境搭建笔记
- 嵌入式Qt开发环境搭建及移植到开发板----Qt学习笔记
- Windows下Qt5搭建Android开发环境笔记
- QT学习笔记----搭建Qt4.7.3嵌入式开发环境
- 嵌入式Qt开发环境搭建及移植到开发板----Qt学习笔记
- Windows下Qt5搭建Android开发环境笔记
- Qt/Qte-4.7.2开发环境搭建及Micro2440的移植(笔记)
- QT学习笔记----搭建Qt4.7.3嵌入式开发环境
- 嵌入式Qt开发环境搭建及移植到开发板----Qt学习笔记
- 嵌入式Qt开发环境搭建及移植到开发板----Qt学习笔记
- 嵌入式Qt开发环境搭建及移植到开发板----Qt学习笔记
- qt开发环境搭建--linux
- iOS学习笔记(一)——ios搭建开发环境
- ESP32开发笔记-跟着小狂玩ESP32之编译环境搭建篇
- MINI2440开发板Qt开发环境搭建
- vs+qt环境下, 对stk进行二次开发笔记
- Adroid学习笔记-入门资料以及V2.3系统开发环境搭建