openshift 学习笔记-5 template使用
2017-10-17 12:04
471 查看
创建微服务 new-app
vito@caas:~$ oc new-project myci
Already on project "myci" on server "https://openshift-cluster.example.com:8443".

You can add applications to this project with the 'new-app' command. For example, try:

oc new-app centos/ruby-22-centos7~https://github.com/openshift/ruby-ex.git

to build a new example application in Ruby.

vito@caas:~$ oc get project
NAME      DISPLAY NAME   STATUS
myci                     Active

vito@caas:~$ oc new-app golang-builder:1.01~http://172.18.103.111/liujunbang/mybank.git --name=test-hello
--> Found image 3de3f0e (3 weeks old) in image stream "openshift/golang-builder" under tag "1.01" for "golang-builder:1.01"

builder golang 1.8
------------------
Platform for building golang

Tags: builder, golang

* A source build using source code from http://172.18.103.111/liujunbang/mybank.git will be created
* The resulting image will be pushed to image stream "test-hello:latest"
* Use 'start-build' to trigger a new build
* This image will be deployed in deployment config "test-hello"
* The image does not expose any ports - if you want to load balance or send traffic to this component
you will need to create a service with 'expose dc/test-hello --port=[port]' later

--> Creating resources ...
imagestream "test-hello" created
buildconfig "test-hello" created
deploymentconfig "test-hello" created
--> Success
Build scheduled, use 'oc logs -f bc/test-hello' to track its progress.
Run 'oc status' to view your app.
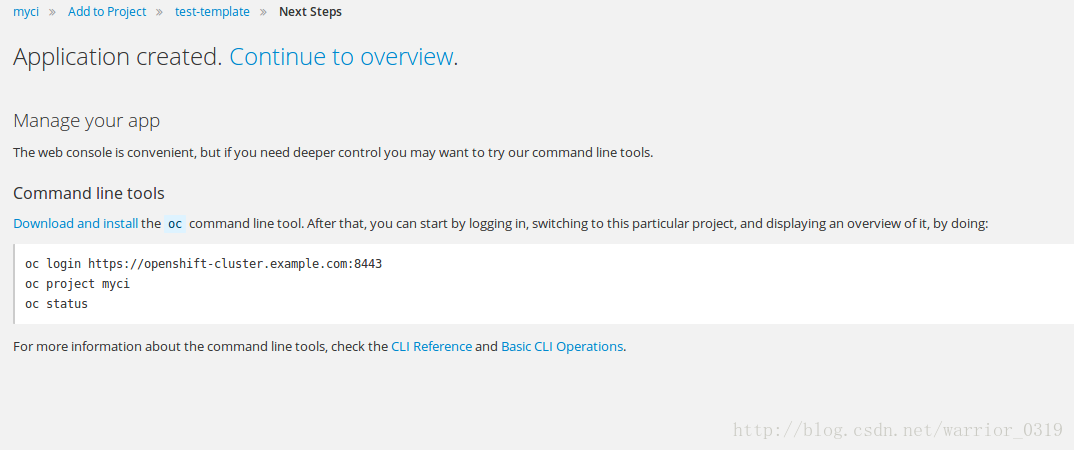
应用创建成功。
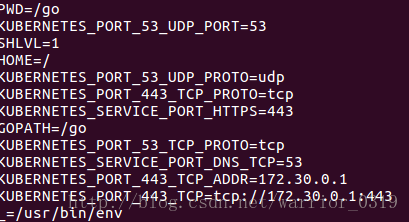
1、顺便验证一下service 的功能,此时build完成,部署完成,微服务成功启动,但是没有创建service。此时进入启动的为服务容器内部,env检查环境变量,肯定没有service的信息,因为没有创建。
2、创建service
oc create -f service.yaml
yaml文件内容如下:
apiVersion: v1
kind: Service
metadata:
labels:
app: test-svc
name: test-svc
namespace: myci
spec:
ports:
- name: test-ci
port: 8081
protocol: TCP
targetPort: 8081
selector:
app: test-hello
sessionAffinity: None
type: ClusterIP
status:
loadBalancer: {}
3、执行扩展,把pod数量扩展微两个:
$ oc scale dc test-hello --replicas=2
deploymentconfig "test-hello" scaled
4、进入容器内部,查看两个pod的环境变量:
第一个pod:
第二个pod:
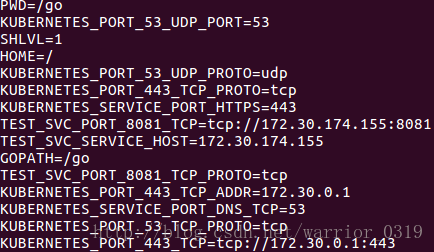
我们发现,虽然创建了service,原来的pod里面仍然没有注入service的信息,必须重启pod以后,service的环境变量信息才能注入到pod中。
继续往下template
导出模板template
执行模板导入命令:oc export bc,dc,svc,is,route -o json –as-template=”test-template” > ~/test-template.yaml
本地生成yaml文件:
test-template.yaml
导入模板 create template
1、模板创建oc create -f test-template.yaml
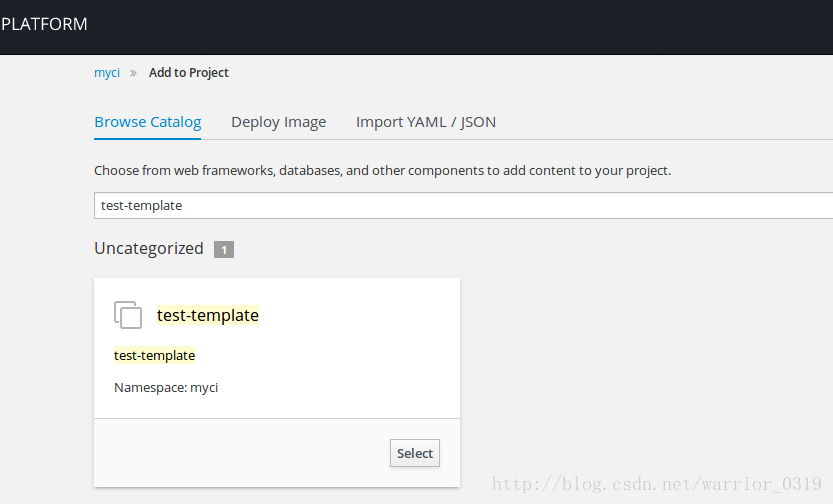
2、在web console 中使用模板创建项目,搜索test-template模板
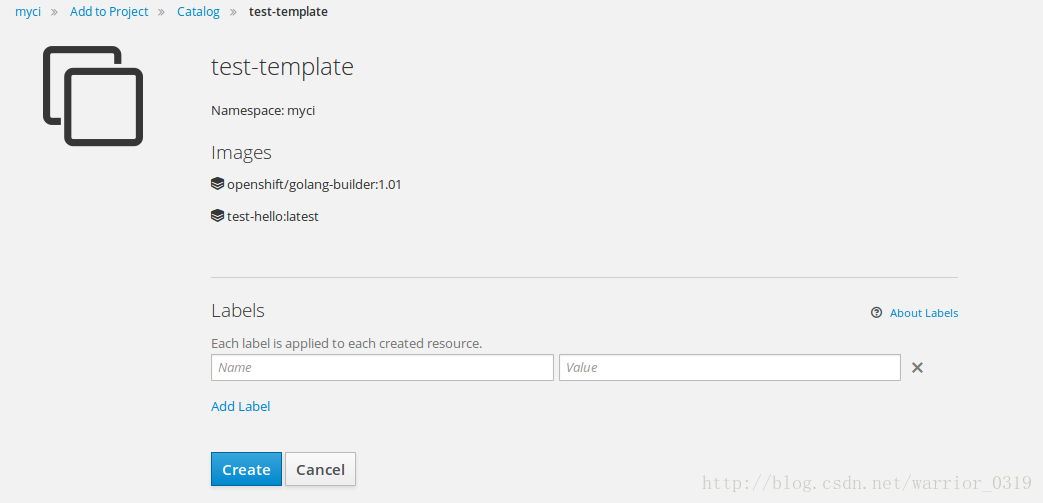
3、创建
4、创建完成
5、查看进度
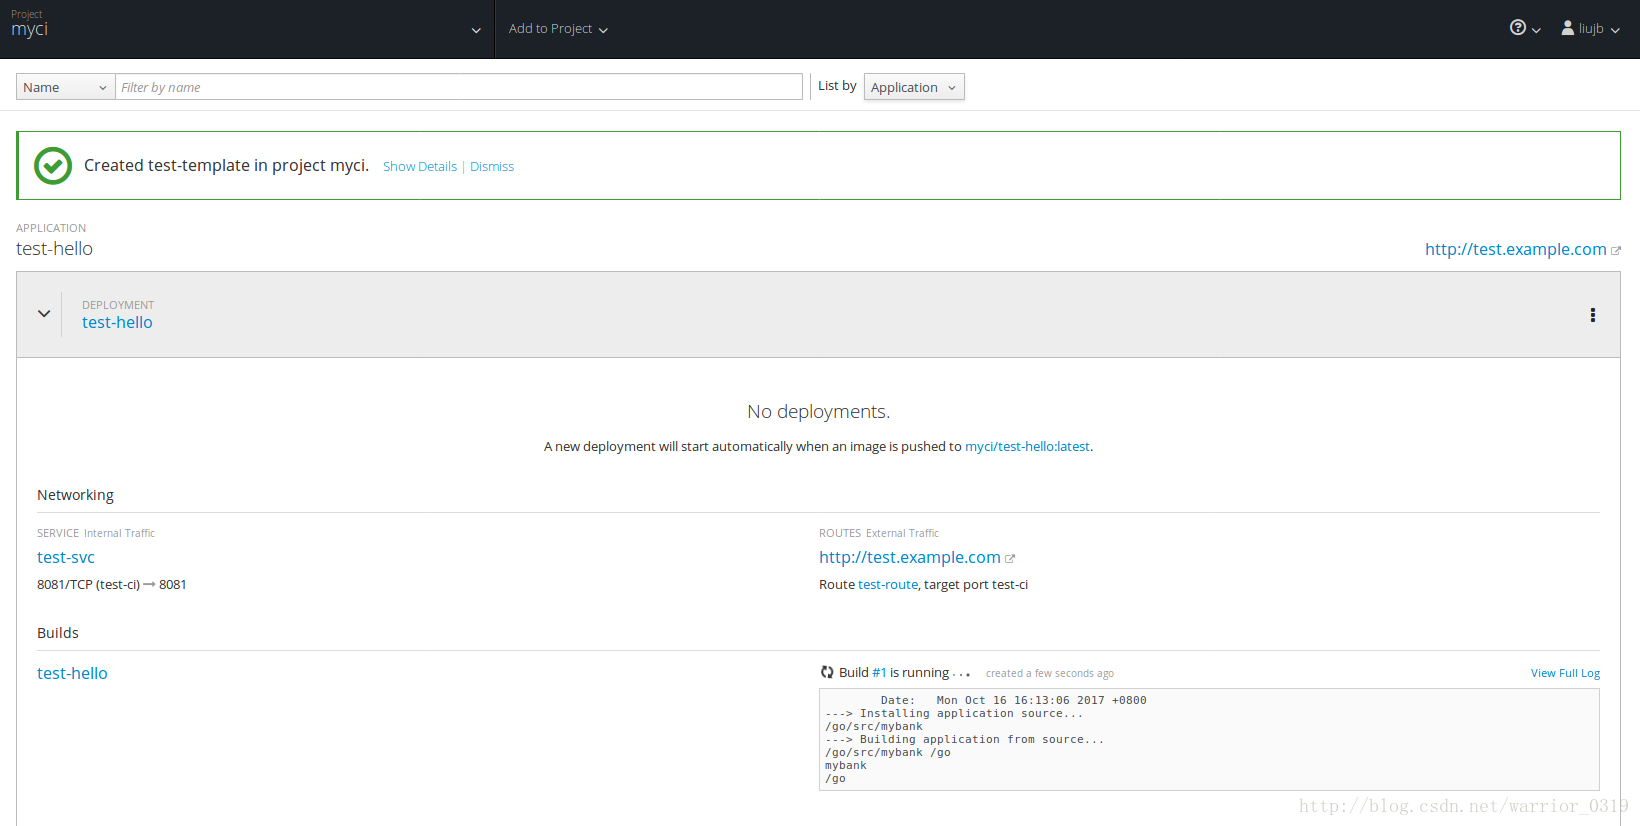
6、完成后,访问测试微服务

相关文章推荐
- Vue.js学习笔记:在元素 和 template 中使用 v-if 指令
- ExtJS4学习笔记八--Template的使用
- Django学习笔记(二)Django使用template
- Spring学习笔记之RestTemplate使用小结
- ExtJS4学习笔记八--Template的使用
- h5学习笔记:weui text/template 使用
- ExtJS4学习笔记八--Template的使用
- 一个 Android程序员的小程序入门学习笔记『二』(template 模版的使用注意)
- Spring学习笔记之RedisTemplate的配置与使用教程
- Vue.js学习笔记:在元素 和 template 中使用 v-if 指令
- C# 学习笔记 -- 第三天 申明和使用数据
- C# 学习笔记 -- 第二天 使用注释提高代码可读性
- C++ Template学习笔记之函数模板(2)——函数模板实例化
- 原创-IBM DB2学习笔记-1:日期以及时间的使用
- C++ Template学习笔记之函数模板(5)——模板编译模式
- C++ Template学习笔记之函数模板(6)——模板显式特化
- C++ Template学习笔记之函数模板(7)——重载函数模板
- PHP学习笔记(3)----phpmyadmin的安装与使用[原创]
- JSP学习笔记(四)-----JSP动作的使用
- (学习笔记)使用sqlcommand执行存储过程!