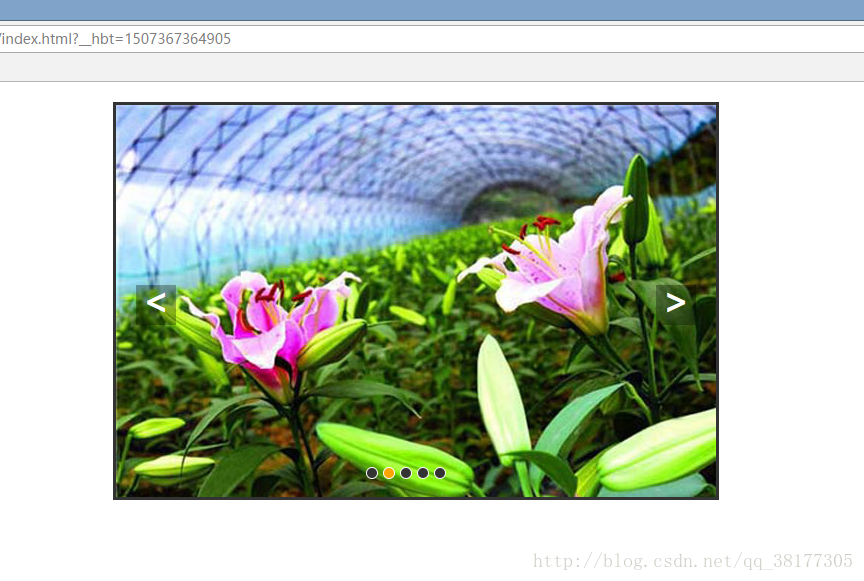
原生JS实现焦点轮播图 完整代码
2017-10-07 17:13
996 查看
轮播图终于更完了,附上完整代码:
<html>
<head>
<meta charset="utf-8" />
<title>焦点轮播图</title>
<style type="text/css">
*{
margin: 0; padding: 0; text-decoration: none;
}
body{
padding:20px;
}
#container{
width:600px; height:392px; border:3px solid #333; overflow: hidden; position:relative;margin:0 auto;
}
#list{
width: 4200px; height: 400px; position: absolute; z-index: 1;
}
#list img{
float:left;
}
#buttons{
position: absolute; height: 10px; width: 100px; z-index: 2; bottom: 20px; left: 250px;
}
#buttons span{
cursor: pointer; float: left; border:1px solid #fff; width: 10px; height: 10px; border-radius: 50%; background: #333; margin-right: 5px;
}
#buttons .on{
background: orange;
}
.arrow{
cursor: pointer; display: none; line-height: 30px; text-align: center; font-size: 36px; font-weight: bold; width: 40px; height: 40px; position: absolute; z-index: 2; top: 180px; background-color: RGBA(0,0,0,.5); color:white;
}
.arrow:hover{
background-color: RGBA(0,0,0,.7);
}
#container:hover .arrow{
display:block;
}
#prev{
left:20px;
}
#next{
right: 20px;
}
</style>
<script type="text/javascript">
window.onload = function (){
var container = document.getElementById('container');
var list = document.getElementById('list');
var buttons = document.getElementById('buttons').getElementsByTagName('span');
var prev = document.getElementById('prev');
var next = document.getElementById('next');
var index = 1;//显示第几个小圆点
var changed = false;//切换状态值无切换
var timer;

function showButton(){//点亮小圆点
for(var i = 0;i < buttons.length; i++){
if (buttons[i].className == 'on'){
buttons[i].className = '';
break;
}
}
buttons[index - 1].className = 'on';//改变classname改变小圆点的样式
}

function change(offset){//切换函数
changed = true;
var newleft = parseInt(list.style.left) + offset;

var time = 300;//位移总时间(ms)
var interval = 10;//位移间隔时间
var speed = offset/(time/interval);//每次的位移量   总偏移/次数

function go(){
if((speed < 0 && parseInt(list.style.left) > newleft)||(speed > 0 && parseInt(list.style.left) < newleft)){
list.style.left = parseInt(list.style.left) + speed + 'px';
setTimeout(go,interval);//每隔interval执行一次go
}
else{
changed = false;
list.style.left = newleft + 'px';

if(newleft > -600){//归位
list.style.left = -3000 + 'px';
}
if(newleft < -3000){
list.style.left = -600 + 'px';
}
}
}
go();
}

function play(){//自动切换函数
timer = setInterval(function(){
next.onclick();
},3000);
}

function stop(){//自动切换停止函数
clearInterval(timer);
}

next.onclick = function() {//右箭头点击事件
if(index == 5){
index = 1;
}

b78d
else{
index += 1;
}
showButton();
if(!changed){
change(-600);
}
}

prev.onclick = function() {//左箭头点击事件
if(index == 1){
index = 5;
}
else{
index -= 1;
}
showButton();
if(!changed){
change(600);
}
}

//为小圆点添加点击事件
for(var i =0; i <buttons.length; i++){
buttons[i].onclick = function(){
//判断如果点击对应以打开图片,退出函数
if(this.classname == 'on'){
return;
}
//获取自定义或动态属性
var myindex = parseInt(this.getAttribute('index'));
var offset = -600 * (myindex - index);

index = myindex;
showButton();
if(!changed){
change(offset);
}
}
}
container.onmouseover = stop;//鼠标移动到容器内停止自动切换
container.onmouseout = play;//鼠标在容器外执行自动切换

play();
}
</script>

</head>
<body>
<div id = "container">
<div id = "list" style = "left:-600px;">
<img src="img/5.jpg" alt="" />
<img src="img/1.jpg" alt="" />
<img src="img/2.jpg" alt="" />
<img src="img/3.jpg" alt="" />
<img src="img/4.jpg" alt="" />
<img src="img/5.jpg" alt="" />
<img src="img/1.jpg" alt="" />
</div>
<div id = "buttons">
<span index="1" class="on"></span>
<span index="2"></span>
<span index="3"></span>
<span index="4"></span>
<span index="5"></span>
</div>
<a href="javascript:;" class="arrow" id="prev"><</a>
<a href="javascript:;" class="arrow" id="next">></a>
</div>
</body>
</html>

相关文章推荐
- 使用Require.js封装原生js轮播图的实现代码
- 原生js实现焦点轮播图动态切换
- 原生JS焦点轮播图实现
- 原生js实现移动端触摸轮播的示例代码
- JS原生代码实现轮播图(无左右滑动,底下圆点按钮)
- JS原生代码实现图片轮播无缝切换的一种思路
- js实现轮播图的完整代码
- 原生js实现轮播图的示例代码
- js原生代码实现轮播图的实例讲解
- 用原生JS实现一个轮播(包含全部代码和详细思路)
- 原生js实现焦点轮播图效果
- 原生js图片轮播效果实现代码
- 原生JS实现简单的无缝自动轮播效果
- js实现自动图片轮播代码
- 完美实现八种js焦点轮播图(上篇)
- js实现图片轮播(根据同事代码整理而得)
- 原生JS改变透明度实现轮播效果
- 按下Enter焦点移至下一个控件的实现js代码
- 原生JS实现左右箭头选择日期实例代码
- 原生js实现无限循环轮播图效果