elasticsearch+logstash+kibana5.5.2集成searchguard实现用户权限管理(一)
2017-09-13 16:42
295 查看
本文不讲elk的安装,只说如何在现有elk环境下添加searchguard功能。
(官方文档:http://floragunncom.github.io/search-guard-docs/)1、elasticsearch安装searchguard:
1.版本选择:https://github.com/floragunncom/search-guard/wiki
官网给出了对应地址,按照自己elk版本选择最新的sg版本即可
2.安装插件(每个节点):
bin/elasticsearch-plugin install -b com.floragunn:search-guard-5:5.5.2-16
在线安装可能不成功,可以下载离线安装包安装
bin/elasticsearch-plugin install -b file:///path/to/search-guard-5-<version>.zip
安装过程中,提示输入y/n。按y通过即可
3.安装完成后,更改elasticsearch.yml(每个节点)
(我们先按官方给的例子做一遍,第二章再将如何定义自己的证书)
停止 Elasticsearch
cd into <Elasticsearch directory>/plugins/search-guard-5/tools
执行
./install_demo_configuration.sh, 这个脚本帮我们在es的配置目录生成了下面三个文件:
truststore.jks—the root CA and intermediate/signing CA.
keystore.jks—the node certificate.
kirk.jks—the admin certificate required for running sgadmin
并且在elasticsearch.yml文件中添加了以下类似内容(下面是我改过的了,先按默认就可以)
searchguard.ssl.transport.keystore_filepath: CN=node1-keystore.jks
searchguard.ssl.transport.keystore_password: d38bc22059de78ebd105
searchguard.ssl.transport.truststore_filepath: truststore.jks
searchguard.ssl.transport.truststore_password: 62ef1c559f6ba96e4ca1
searchguard.ssl.transport.enforce_hostname_verification: false
searchguard.ssl.http.enabled: true
searchguard.ssl.http.keystore_filepath: CN=node1-keystore.jks
searchguard.ssl.http.keystore_password: d38bc22059de78ebd105
searchguard.ssl.http.truststore_filepath: truststore.jks
searchguard.ssl.http.truststore_password: 62ef1c559f6ba96e4ca1
searchguard.authcz.admin_dn:
- CN=sgadmin
其实还有两行是配置集群name和监听地址的,因为我们已经配置过了,这里又给加上了,直接删掉就可以,否则会启动失败
4.初始化sg(es集群中任意一台即可)
确保整个集群是正常的
进入
cd <Elasticsearch directory>/plugins/search-guard-5/tools
执行./sgadmin_demo.sh(我们先按官方给的默认配置来做,但是这个文件中指定的集群名字跟我们es集群的名字不一样,就会报错)
我们先把 -cn my-application改成自己的集群名字再执行
看到下面信息说明初始化成功了
WARNING: JAVA_HOME not set, will use
/usr/bin/java
Search Guard Admin v5
Will connect to localhost:9300 ... done

### LICENSE NOTICE Search Guard ###

If you use one or more of the following features in production
make sure you have a valid Search Guard license
(See https://floragunn.com/searchguard-validate-license)
* Kibana Multitenancy
* LDAP authentication/authorization
* Active Directory authentication/authorization
* REST Management API
* JSON Web Token (JWT) authentication/authorization
* Kerberos authentication/authorization
* Document- and Fieldlevel Security (DLS/FLS)
* Auditlogging

In case of any doubt mail to <sales@floragunn.com>
###################################
Contacting elasticsearch cluster 'elasticsearch' and wait for YELLOW clusterstate ...
Clustername: my-application
Clusterstate: GREEN
Number of nodes: 3
Number of data nodes: 3
searchguard index already exists, so we do not need to create one.
Populate config from /usr/share/elasticsearch/plugins/search-guard-5/sgconfig
Will update 'config' with ../sgconfig/sg_config.yml
SUCC: Configuration for 'config' created or updated
Will update 'roles' with ../sgconfig/sg_roles.yml
SUCC: Configuration for 'roles' created or updated
Will update 'rolesmapping' with ../sgconfig/sg_roles_mapping.yml
SUCC: Configuration for 'rolesmapping' created or updated
Will update 'internalusers' with ../sgconfig/sg_internal_users.yml
SUCC: Configuration for 'internalusers' created or updated
Will update 'actiongroups' with ../sgconfig/sg_action_groups.yml
SUCC: Configuration for 'actiongroups' created or updated
Done with success
如果是其他信息,可能是集群状态还没正常,稍等一会儿看看
5.验证
Using curl
Execute curl --insecure -u admin:admin 'https://localhost:9200/_searchguard/authinfo?pretty'
This will print out information about the user admin in JSON format on the console.
Using a browser
Open https://<hostname>:9200/_searchguard/authinfo. Accept the self-signed demo TLS certificate.
In the HTTP Basic Authentication dialogue, use admin as username and admin as password.我
This will print out information about the user admin in JSON format.
6.至此,es中安装sg就全部完成了,现在es已经不能使用http访问,必须使用https。用户的配置信息放在
/usr/share/elasticsearch/plugins/search-guard-5/sgconfig下
的sg_internal_users.yml中。用户名密码都在,密码可以使用tools文件夹下的hash自己加密。更改sgconfig下的文件,需要重新初始化sg。再次执行5中的命令即可
2.kibana安装sg
1.安装sg插件
离线下载安装包(我这里使用的是最新的5.5.2-4)
https://github.com/floragunncom/search-guard-kibana-plugin/releases
进入
cd into your Kibana installaton directory.
执行:
bin/kibana-plugin install file:///path/to/searchguard-kibana-<version>.zip.
2.配置kibana连接es
如果你安装了xpack,sg可能更xpack的report功能冲突,这里直接禁用掉report
xpack.reporting.enabled: false
searchguard.basicauth.enabled: true
searchguard.cookie.secure: false
searchguard.cookie.name: "searchguard_authentication"
searchguard.cookie.password: "searchguard_cookie_default_password"
searchguard.session.keepalive: true
配置用户名,密码(这里我们使用自带的最高权限连接es)
elasticsearch.username: “admin”
elasticsearch.password: “admin”
配置url:
elasticsearch.url: “https://localhost:9200”
关闭证书验证:
elasticsearch.ssl.verificationMode: none
3.启动kinana没有报错,说明配置成功,可以在浏览器中看到
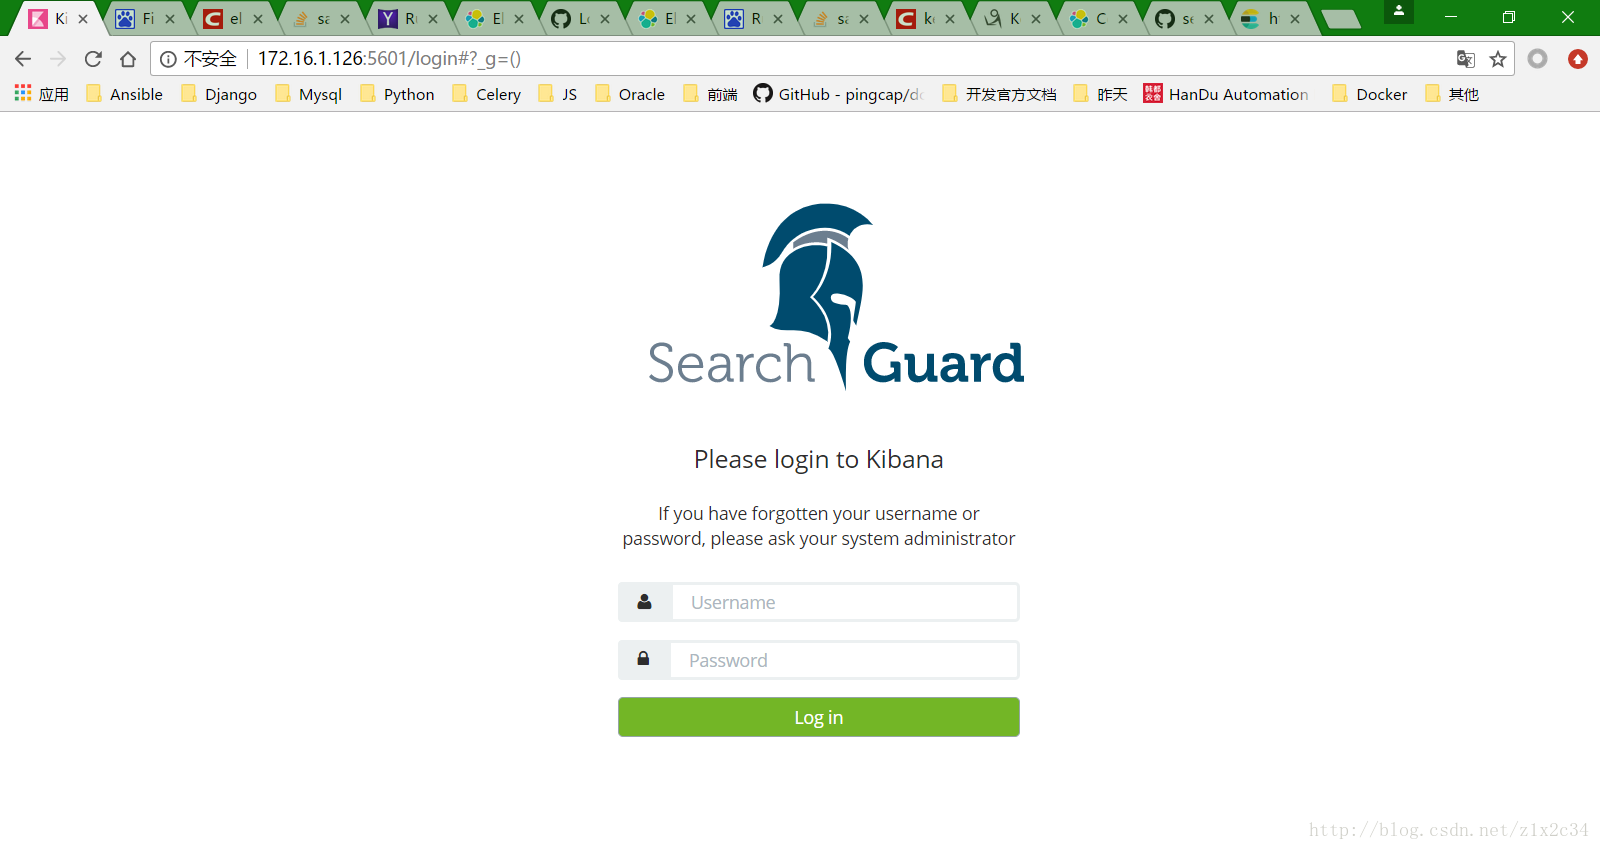
用户密码还是sg_config中的,这里使用不同用户,可以访问的权限也就不同了。
3.logstash连接es
logstash并不需要安装sg插件,只是因为现在es只能使用https访问,所以logstash output必须使用https连接,这里也是最麻烦的地方。(还要再说一点,如果你在logstash也安装了xpack,请在logstash.yml关掉xpack.monitoring.enabled: false)
首先看一下配置:
output {
elasticsearch {
user => admin
password => admin
ssl => true
ssl_certificate_verification => true
truststore => "/etc/logstash/truststore.jks"
truststore_password => "62ef1c559f6ba96e4ca1"
hosts => [ "node1:9200","node2:9200","node3:9200" ]
index => "mysql-%{+YYYY.MM.dd}"
}
}
user登录用户名,这里为了避免权限问题,先一如既往的使用admin用户
password:密码
ssl 是否开启ssl,我们要使用https,必须设为true
ssl_certificate_verification 这个参数设置我们想像kinana那样设置成fasle是不行的,还是会报错,也就是必须设置成true,这样一来下面的truststore和truststore_password 必须配置(ps:这里我去作者github上看过issue了,没有解决办法,而且作者在源码中的注视中已经说明这个参数一直不正常,所以遗弃。)
truststore => "/etc/logstash/truststore.jks"
truststore_password => "62ef1c559f6ba96e4ca1"
下面说一下truststore 和truststore_password 如何配置。
truststore 这里我们还是先使用es下的这个truststore.jks,你可以向我一样cp到logstash的目录下,我这里logstash和一台es是在一台机器上的。
truststore_password这个密码是changeit,因为我们使用的官方给的默认的truststore.jks文件。
到此还有最关键一步,连接的hosts
hosts => [ “node1:9200”,”node2:9200”,”node3:9200” ]
官方的授信文件中只有一个主机名,也就是node-0.example.com
所以你只能配置成:
hosts => [ “node-0.example.com:9200”]
然后修改系统的/etc/hosts文件指向具体的ip地址。也就是说只能有一台es可以用,就是hosts文件中对应node-0.example.com的这个。
启动logstash,没有报错,显示如下信息说明成功
[2017-09-13T15:17:51,166][INFO ][logstash.outputs.elasticsearch] Attempting to install template {:manage_template=>{"template"=>"logstash-*", "version"=>50001, "settings"=>{"index.refresh_interval"=>"5s"}, "mappings"=>{"_default_"=>{"_all"=>{"enabled"=>true, "norms"=>false}, "dynamic_templates"=>[{"message_field"=>{"path_match"=>"message", "match_mapping_type"=>"string", "mapping"=>{"type"=>"text", "norms"=>false}}}, {"string_fields"=>{"match"=>"*", "match_mapping_type"=>"string", "mapping"=>{"type"=>"text", "norms"=>false, "fields"=>{"keyword"=>{"type"=>"keyword", "ignore_above"=>256}}}}}], "properties"=>{"@timestamp"=>{"type"=>"date", "include_in_all"=>false}, "@version"=>{"type"=>"keyword", "include_in_all"=>false}, "geoip"=>{"dynamic"=>true, "properties"=>{"ip"=>{"type"=>"ip"}, "location"=>{"type"=>"geo_point"}, "latitude"=>{"type"=>"half_float"}, "longitude"=>{"type"=>"half_float"}}}}}}}}
[2017-09-13T15:17:51,176][INFO ][logstash.outputs.elasticsearch] New Elasticsearch output {:class=>"LogStash::Outputs::ElasticSearch", :hosts=>["//node1:9200", "//node2:9200", "//node3:9200"]}
[2017-09-13T15:17:51,288][INFO ][logstash.pipeline        ] Starting pipeline {"id"=>"main", "pipeline.workers"=>2, "pipeline.batch.size"=>125, "pipeline.batch.delay"=>5, "pipeline.max_inflight"=>250}
[2017-09-13T15:17:52,314][INFO ][logstash.inputs.beats    ] Beats inputs: Starting input listener {:address=>"0.0.0.0:5044"}
[2017-09-13T15:17:52,378][INFO ][logstash.inputs.beats    ] Beats inputs: Starting input listener {:address=>"0.0.0.0:5045"}
[2017-09-13T15:17:52,390][INFO ][logstash.pipeline        ] Pipeline main started
[2017-09-13T15:17:52,488][INFO ][logstash.agent           ] Successfully started Logstash API endpoint {:port=>9600}
现在,我们的elk集成sg就全部配置完成了,我们下一章再讲如何配置自己的授权证书

相关文章推荐
- elasticsearch+logstash+kibana5.5.2集成searchguard实现用户权限管理(二)
- ElasticSearch+LogStash+Kibana+Redis搭建日志管理服务
- 开源分布式搜索平台ELK(Elasticsearch+Logstash+Kibana)+Redis+Syslog-ng实现日志实时搜索
- ELK(elasticsearch+logstash+kibana)实现Java分布式系统日志分析架构
- 使用ElasticSearch+LogStash+Kibana+Redis搭建日志管理服务
- ELK(elasticsearch+logstash+kibana)+redis实现nginx 日志的分析
- 使用ElasticSearch+LogStash+Kibana+Redis搭建日志管理服务
- logstash+elasticsearch +kibana 日志管理系统
- logstash+elasticsearch+kibana管理日志(安装)
- ASP.NET中启用Windows集成验证,怎样在调用System.DirectoryServices下的组件时传递安全上下文,也就是说当前用户凭据,来实现权限管理
- Elasticsearch+logstash+kibana实现日志分析(实验)
- ElasticSearch+LogStash+Kibana+Redis搭建日志管理服务
- 使用ElasticSearch+LogStash+Kibana+Redis搭建日志管理服务
- 使用ElasticSearch+LogStash+Kibana+Redis搭建日志管理服务
- logstash+elasticsearch +kibana 日志管理系统
- 使用ElasticSearch+LogStash+Kibana+Redis搭建日志管理服务
- 日志系统 - (kafka)logstash elasticsearch kibana
- Elasticsearch + Logstash + Kibana 搭建教程
- Linux——ELK(Elasticsearch + Logstash + Kibana) 搭建日志集中分析平台
- 大数据日志分析logstash\elasticsearch\kibana