部署LNMP高可用负载群集
2017-09-04 00:40
711 查看
部署LNMP高可用负载群集 跑wordpress博客
第一步预编译安装nginx:
在各自分配的主机上操作:配置yum源(这里我是使用Centos6.5了阿里云yum源)
[root@centos-4 ~]# cd /usr/local/src
[root@centos-4]# wget http://mirrors.aliyun.com/repo/Centos-6.repo [root@centos-4 ~]# wget http://mirrors.aliyun.com/repo/epel-6.repo [root@centos-4 yum.repos.d]# yum makecache
1、 安装软件依赖包:yum -y groupinstall "Development Tools" "Server Platform Deveopment"
yum -y install openssl-devel pcre-devel
2、 在所有的主机上面都操作,下载nginx包:[root@centos-4 ~]# cd /usr/local/src/
[root@centos-4 src]# yum install -y wget ##安装wget工具
3、 下载nginx包:[root@centos-4 src]# wget http://nginx.org/download/nginx-1.12.0.tar.gz
4、添加nginx运行的用户:
[root@centos-4 src]# useradd nginx
5解压nginx包,并且安装:
[root@centos-4 src]# tar zxvf nginx-1.12.0.tar.gz
[root@centos-4 src]# cd nginx-1.12.0/
6、安装nginx包-编译安装:
[root@centos-4 nginx-1.12.0]# ./configure --prefix=/usr/local/nginx --user=nginx --group=nginx --with-http_ssl_module --with-http_flv_module --with-http_stub_status_module --with-http_gzip_static_module --with-pcre
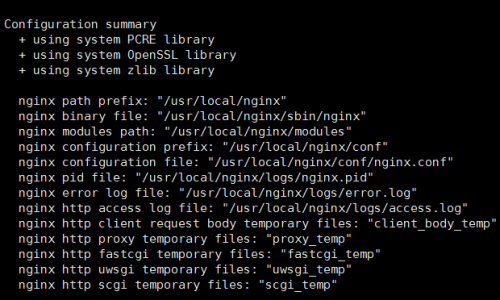
出现以上的内容证明没有出错可以安装
[root@centos-4 nginx-1.12.0]# make && make install
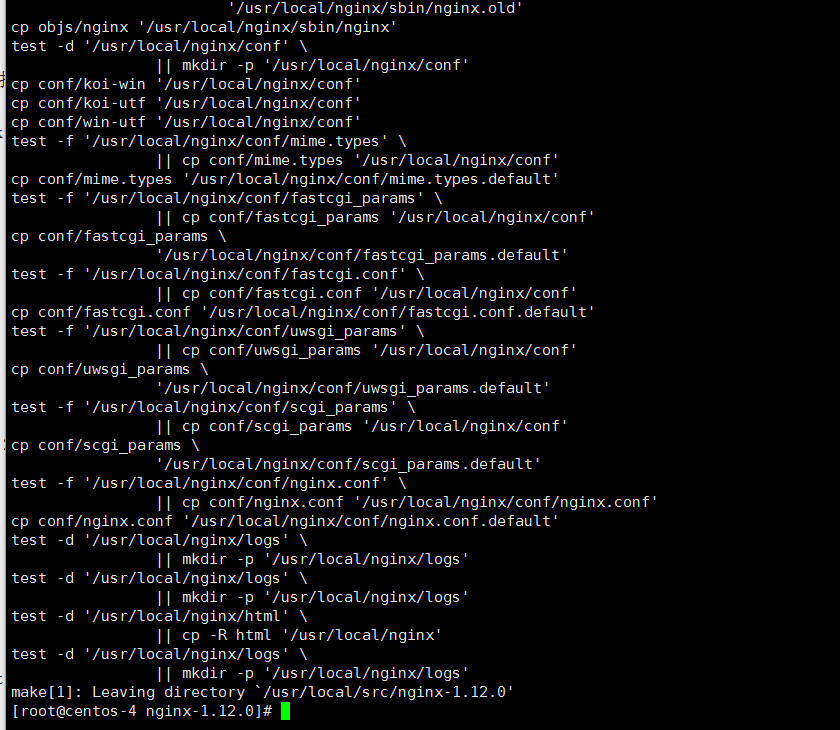
安装完成
##假如已经存在进程(意思是假如你yum安装了nginx启动了就会占用端口就先关掉,没有就不需要这样一步骤了):
[root@centos-4 sbin]# ps -ef | grep nginx | awk '{print $2}' | xargs kill -9
kill: 向 9132 发送信号失败: 没有那个进程
6、然后我们可以启动nginx:
[root@centos-4 nginx]# /usr/local/nginx/sbin/nginx
7、我们可以查看我们的IP,然后访问web界面查看一下:
[root@centos-4 nginx-1.12.0]# ifconfig
eth0 Link encap:Ethernet HWaddr 00:50:56:3A:84:30
inet addr:192.168.5.128 Bcast:192.168.5.255 Mask:255.255.255.0
inet6 addr: fe80::250:56ff:fe3a:8430/64 Scope:Link
UP BROADCAST RUNNING MULTICAST MTU:1500 Metric:1
RX packets:53017 errors:0 dropped:0 overruns:0 frame:0
TX packets:37834 errors:0 dropped:0 overruns:0 carrier:0
collisions:0 txqueuelen:1000
RX bytes:37680739 (35.9 MiB) TX bytes:6862727 (6.5 MiB)
8、查看一下是否监听到端口:
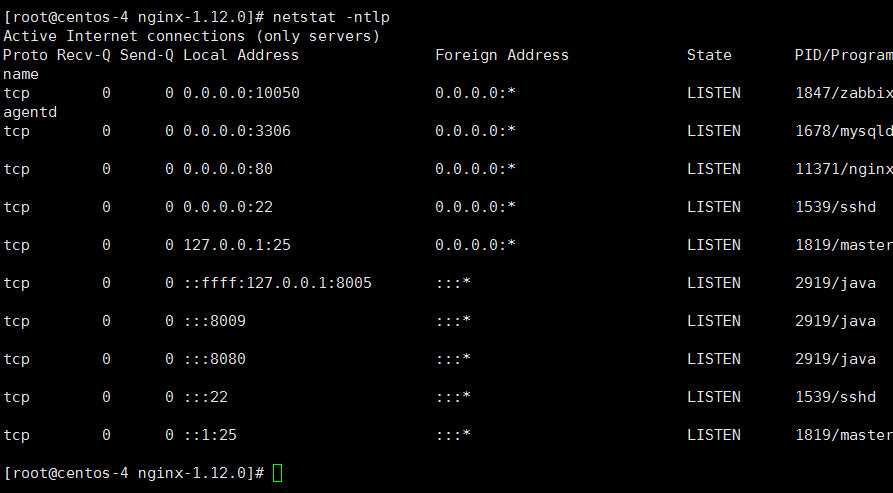
多出了80端口
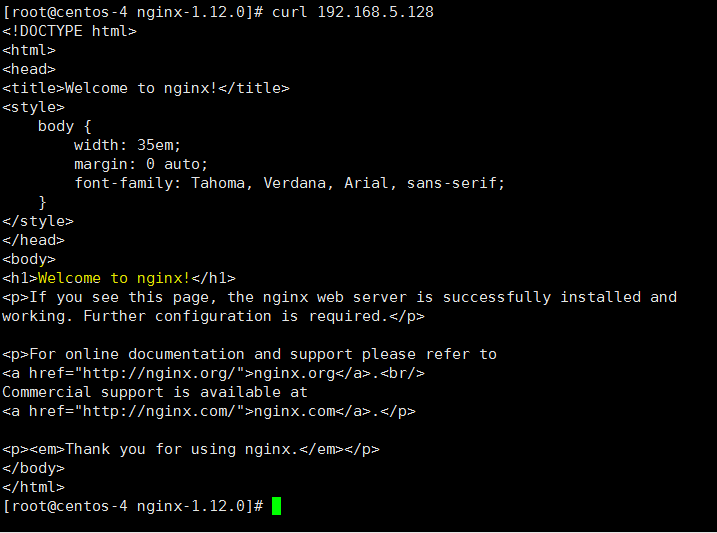
访问web:
第二步预编译安装php:
1、 下载依赖包:[root@centos-4 nginx-1.12.0]# cd /usr/local/src/[root@centos-4 src]# yum -y install libmcrypt-devel bzip2-devel gcc openssl-devel php-mcrypt libmcrypt libxml2-devel libjpeg-devel libpng-devel freetype-devel
2、 下载Php包:[root@centos-4src]# wget http://cn2.php.net/distributions/php-5.6.31.tar.gz
3、 安装php包:[root@centos-4src]# tar zxvf php-5.6.31.tar.gz
[root@centos-4 src]# cd php-5.6.31
[root@centos-4 php-5.6.31]# ./configure --prefix=/usr/local/php --with-mysql=mysqlnd --with-pdo-mysql=mysqlnd --with-mysqli=mysqlnd --with-openssl --enable-mbstring --with-freetype-dir --with-jpeg-dir --with-png-dir --with-zlib --with-libxml-dir=/usr --enable-xml --enable-sockets --with-mcrypt --with-bz2 --enable-fpm --with-gd
检查是否出错,要显示成这样才是正常的:
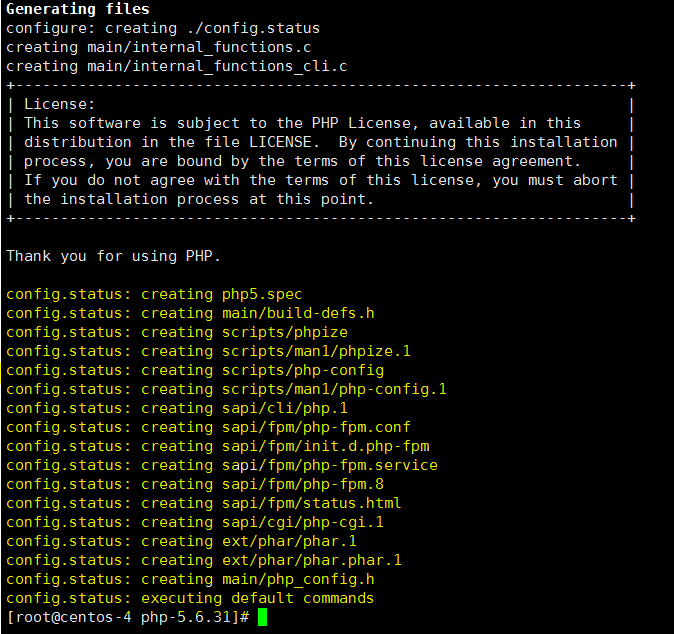
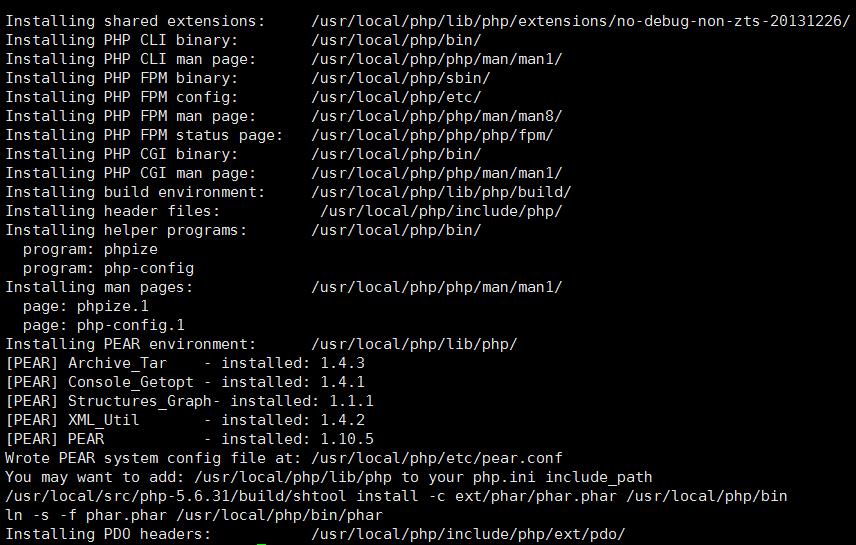
4、 开始编译安装:[root@centos-4 php-5.6.31]# make && make install
##检查一下,注意要编译没有报错:(这一步骤时间比较久)
5、 开始一些配置步骤:[root@centos-4 php-5.6.31]# cp /usr/local/src/php-5.6.31/php.ini-production /usr/local/php/etc/php.ini
[root@centos-4 php-5.6.31]# mv /usr/local/php/etc/php-fpm.conf.default /usr/local/php/etc/php-fpm.conf
6、 创建Php用户:[root@centos-4 php-5.6.31]# useradd -M -s /sbin/nologin php
7、 修改相关配置:[root@centos-4 php-5.6.31]# sed -i -e 's\;pid = run/php-fpm.pid\pid = run/php-fpm.pid\g' -e 's\nobody\php\g' -e 's\listen = 127.0.0.1:9000\listen = 0.0.0.0:9000\g' /usr/local/php/etc/php-fpm.conf
[root@centos-4 php-5.6.31]# sed -i 's\;daemonize = yes\daemonize = no\g' /usr/local/php/etc/php-fpm.conf
8、 启动php:[root@centos-4 php-5.6.31]# /usr/local/php/sbin/php-fpm --daemonize & -c /usr/local/php/etc/php.ini (后台运行)
9、 查看一下是否已经启动了php:
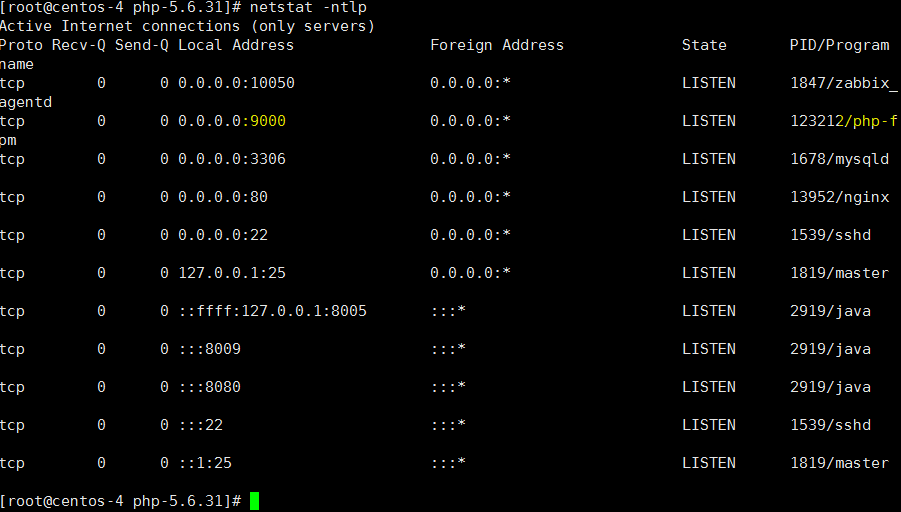
##注意是9000端口:
第三步安装mysql:
[root@centos-4 php-5.6.31]# yum install mysql-server mysql –y2、启动mysql:
[root@centos-4 ~]# service mysqld start
2、设置root账户,用户名密码:
[root@centos-4 ~]# mysql_secure_installation
NOTE: RUNNING ALL PARTS OF THIS SCRIPT IS RECOMMENDED FOR ALL MySQL
SERVERS IN PRODUCTION USE! PLEASE READ EACH STEP CAREFULLY!
In order to log into MySQL to secure it, we'll need the current
password for the root user. If you've just installed MySQL, and
you haven't set the root password yet, the password will be blank,
so you should just press enter here.
Enter current password for root (enter for none):
OK, successfully used password, moving on...
Setting the root password ensures that nobody can log into the MySQL
root user without the proper authorisation.
Set root password? [Y/n] y
New password:
Re-enter new password:
Password updated successfully!
Reloading privilege tables..
... Success!
By default, a MySQL installation has an anonymous user, allowing anyone
to log into MySQL without having to have a user account created for
them. This is intended only for testing, and to make the installation
go a bit smoother. You should remove them before moving into a
production environment.
Remove anonymous users? [Y/n] y
... Success!
Normally, root should only be allowed to connect from 'localhost'. This
ensures that someone cannot guess at the root password from the network.
Disallow root login remotely? [Y/n] y
... Success!
By default, MySQL comes with a database named 'test' that anyone can
access. This is also intended only for testing, and should be removed
before moving into a production environment.
Remove test database and access to it? [Y/n] y
- Dropping test database...
ERROR 1008 (HY000) at line 1: Can't drop database 'test'; database doesn't exist
... Failed! Not critical, keep moving...
- Removing privileges on test database...
... Success!
Reloading the privilege tables will ensure that all changes made so far
will take effect immediately.
Reload privilege tables now? [Y/n] y
... Success!
Cleaning up...
All done! If you've completed all of the above steps, your MySQL
installation should now be secure.
Thanks for using MySQL!
4、 创意一个wordpress数据库:[root@centos-4 php-5.6.31]# mysql -uroot -p123456 -e "create database wordpress"
[root@centos-4 ~]# mysql -uroot -p123456 -e "show databases"
+--------------------+
| Database |
+--------------------+
| information_schema |
| mysql |
| wordpress |
| zabbix |
+--------------------+
[root@centos-4 ~]#
##验证拥有数据库了即可。
给数据库授权:
[root@centos-4 conf]# mysql -uroot -p123456 -e "grant all privileges on *.* to 'root'@'%' identified by '123456'; FLUSH PRIVILEGES;"
第四步上传配置wordpress:
在web01,web02上面设置nginx相关web相关服务,然后上传wordpress代码:[root@centos-4 php-5.6.31]# mkdir /web
[root@centos-4 src]# wget https://cn.wordpress.org/wordpress-4.8-zh_CN.tar.gz (php跑的代码)
[root@centos-4 php-5.6.31]# cd /web/
[root@centos-4 web]# tar zxvf /usr/local/src/wordpress-4.8-zh_CN.tar.gz -C /web/
[root@centos-4 web]# cp –r wordpress/* /web
cp: 无法获取"–r" 的文件状态(stat): 没有那个文件或目录
cp: 略过目录"wordpress/wp-admin"
cp: 略过目录"wordpress/wp-content"
cp: 略过目录"wordpress/wp-includes"
[root@centos-4 web]# cp wordpress/wp-admin wordpress/wp-content wordpress/wp-includes -r /web
2、上传配置文件到nginx目录,我已经配置好,从本机上传即可:
[root@centos-4 web]# cd /usr/local/nginx/conf/
[root@centos-4 web]# vim nginx.conf
###我们看一下我们应该如何配置:#########
location /{
root /web;
index index.php index.html index.htm;
}
location ~ \.php$ {
root /web;
fastcgi_pass 127.0.0.1:9000;
fastcgi_index index.php;
fastcgi_param SCRIPT_FILENAME $document_root$fastcgi_script_name;
include fastcgi_params;
}
3、然后启动nginx:
[root@centos-4 conf]# /usr/local/nginx/sbin/nginx
要是已经存在服务会提示:
nginx: [emerg] bind() to 0.0.0.0:80 failed (98: Address already in use)
就执行一下操作:
[root@centos-4 conf]# /usr/local/nginx/sbin/nginx -s reload
5、 然后输入浏览器地址:IP/index.php即可:
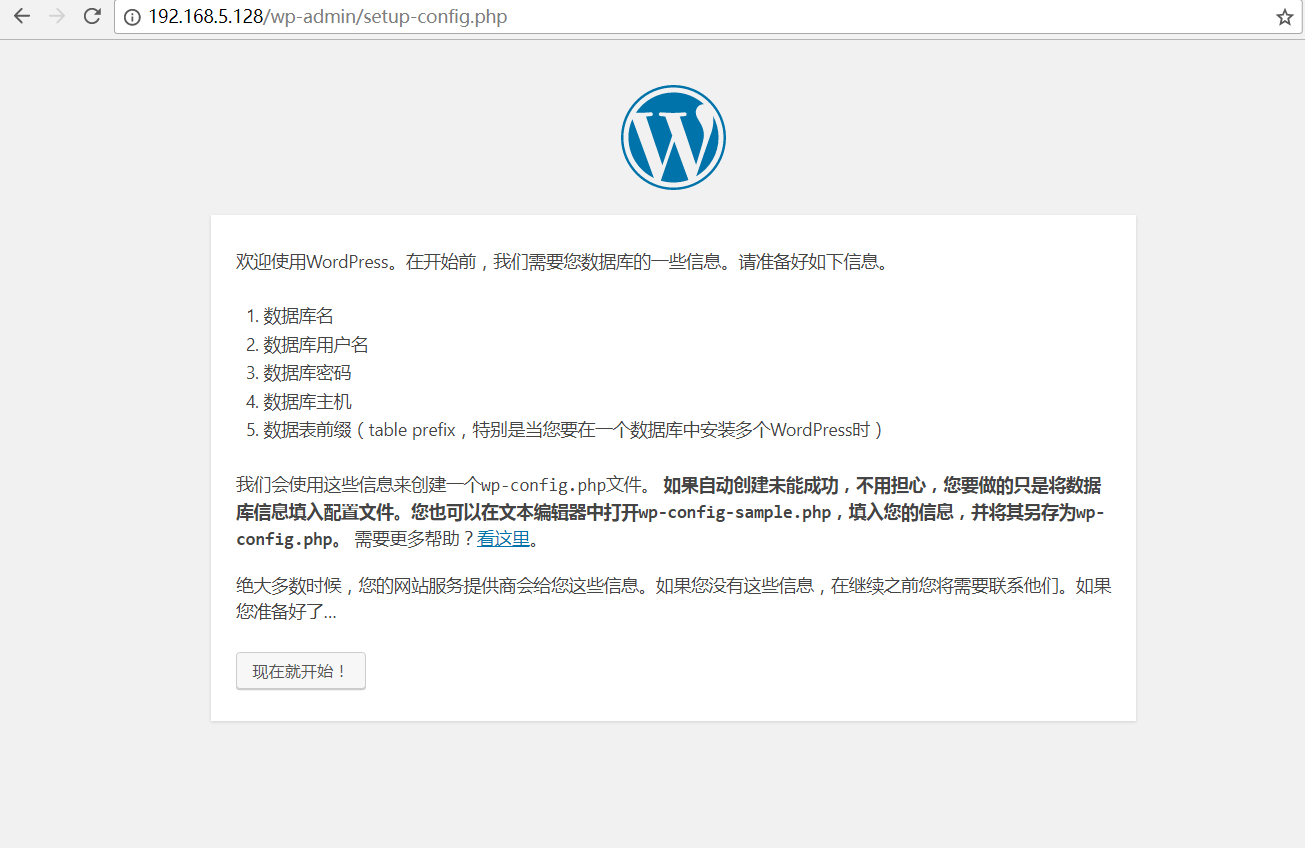
之后点击页面上的现在就开始:数据库主机是填自己数据库存放的服务器
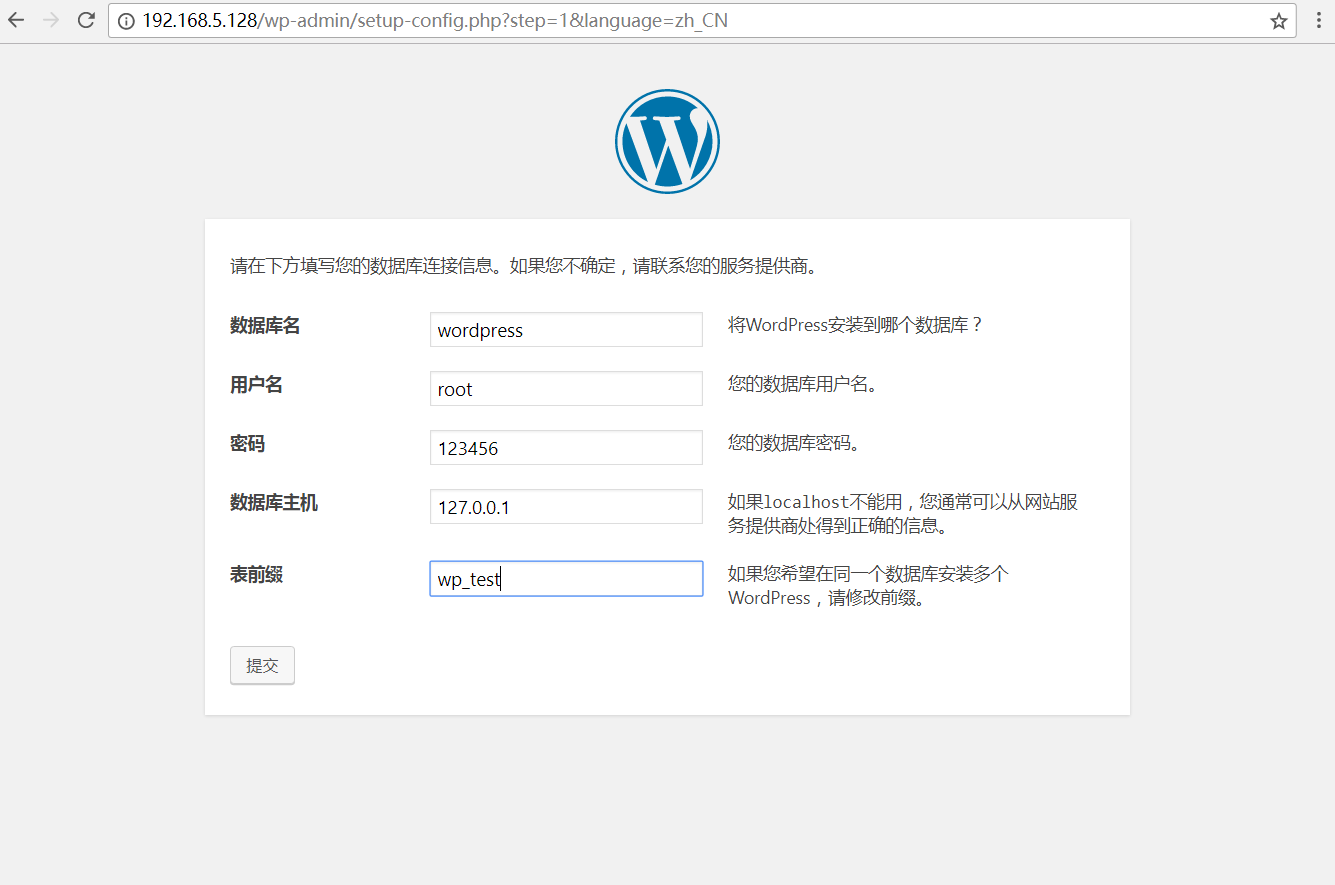
##注意数据库主机:这里填写你们自己的iP地址:
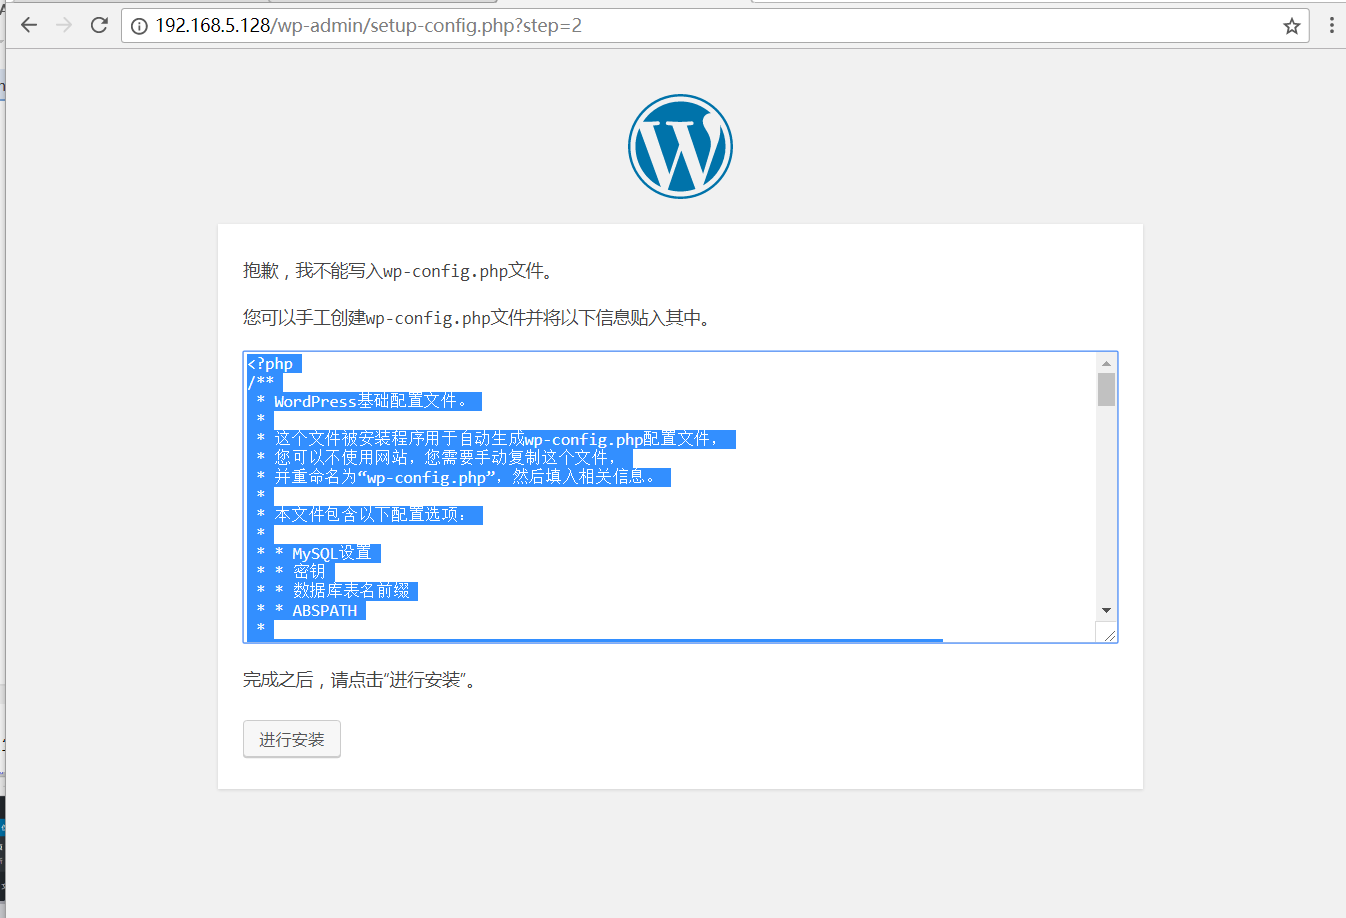
这个提示是不能创建,我们直接复制,然后粘贴到文件下即可:
然后点击进行安装即可(站点标题,填网络,用户名填组名(如02、03)):
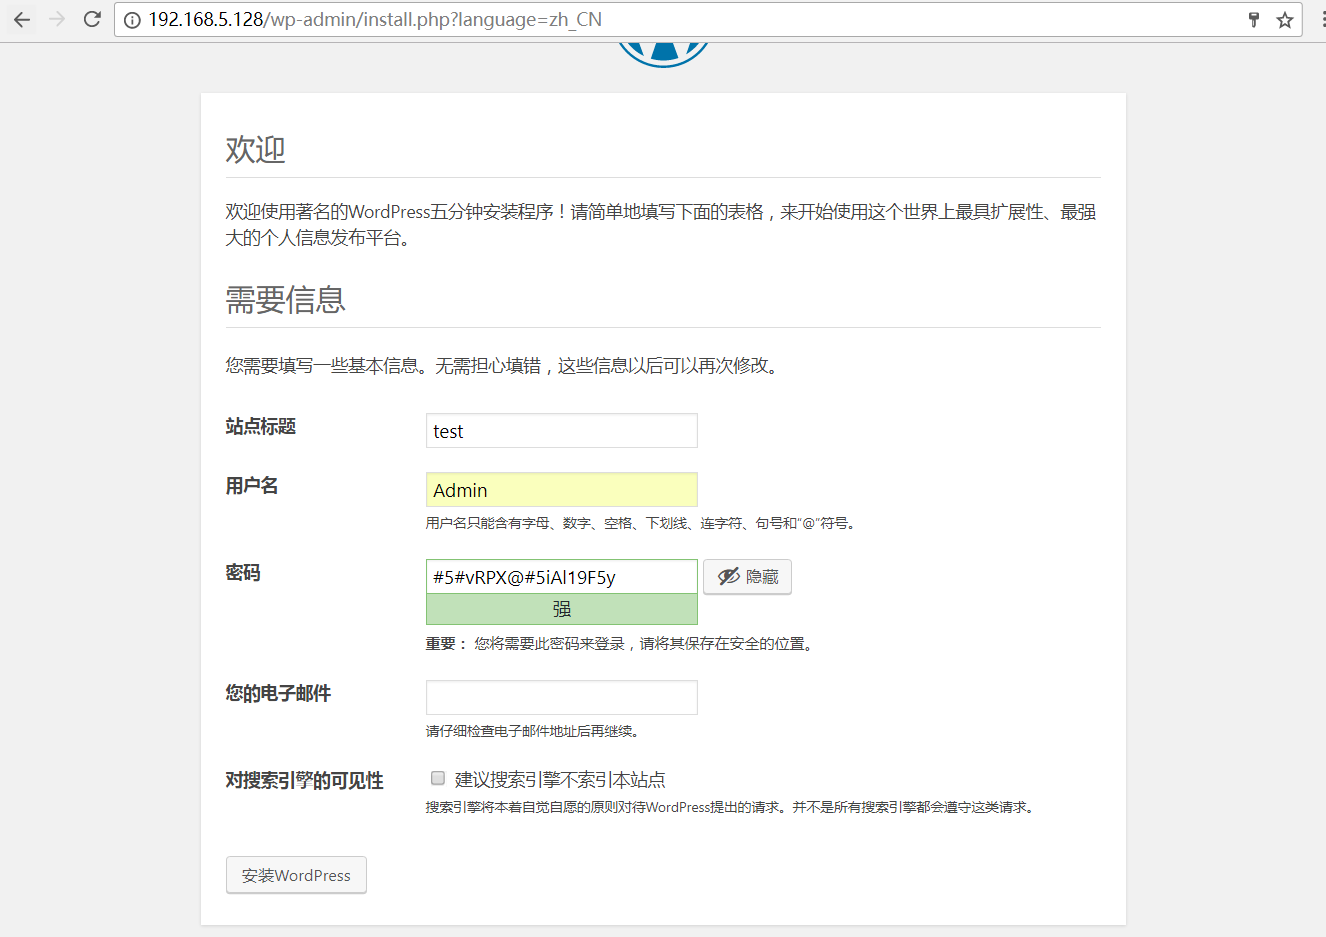
填写相关主题等等操作,然后点击进行安装,这样我们一个论坛就安装完成了:
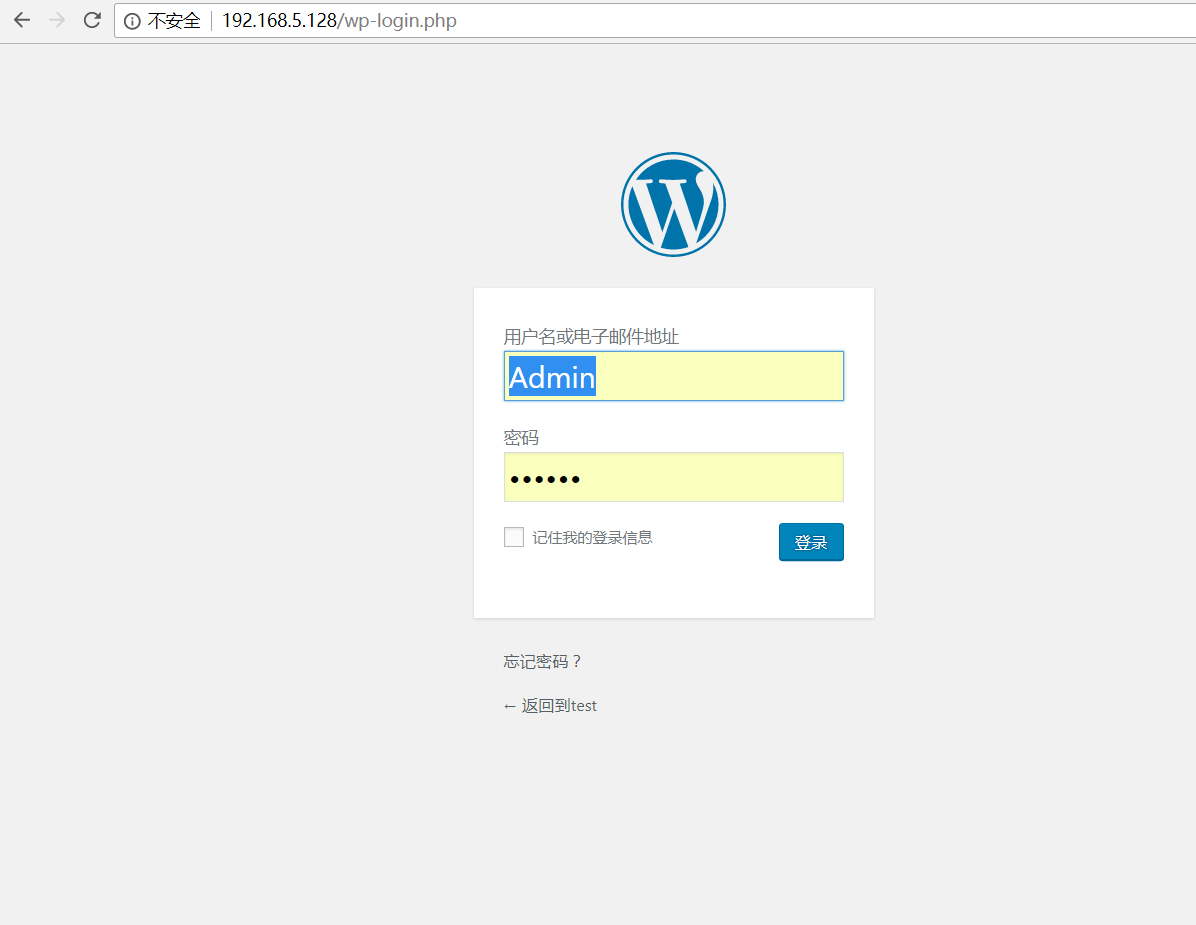

到此我们安装一个论坛就已经完成了。

相关文章推荐
- CentOS 7上部署Amoeba实现MySQL主从同步,读写分离,负载均衡高可用群集
- HAProxy+Varnish+LNMP实现高可用负载均衡动静分离集群部署
- LVS + Keepalived 高可用群集部署
- 用haproxy结合keepalived实现基于LNMP的负载均衡和高可用
- MySQL-MMM高可用群集(本篇使用MariaDB代替MySQL进行实验部署)
- CentOS 7.3 部署LVS + Keepalived 高可用群集
- HAProxy+Varnish+LNMP实现高可用负载均衡动静分离集群部署 推荐
- 部署LVS-DR + keepalived 高可用群集
- 利用NLB群集实现WEB站点的高可用部署
- HA高可用群集NAT模式lvs部署
- LVS-DR+Keepalived高可用群集部署
- Haproxy实现大并发web高可用群集部署
- 使用Haproxy搭建负载均衡高可用群集
- Haproxy+Keepalived+MySQL高可用均衡负载部署
- HAProxy+Varnish+LNMP实现高可用负载均衡动静分离集群部署
- 浅谈web应用的负载均衡、高可用、群集
- CentOS 7上部署MySQL-MMM高可用群集
- 部署MySQL-MMM高可用群集