Tomcat学习--源码导入和运行
2017-09-02 00:00
405 查看
摘要: 在开发java web项目的过程中经常是离不开tomcat的,使用过程中对其中的内容感觉很好奇,所以以此记录对tomcat的学习过程
tomcat 9.0相对来说,是最新版本的tomcat,jdk要求是最低版本1.8。
tomcat 9.0源码需要去官网下载,tomcat默认使用ant编译,但为了方便,我们这里改成使用maven。
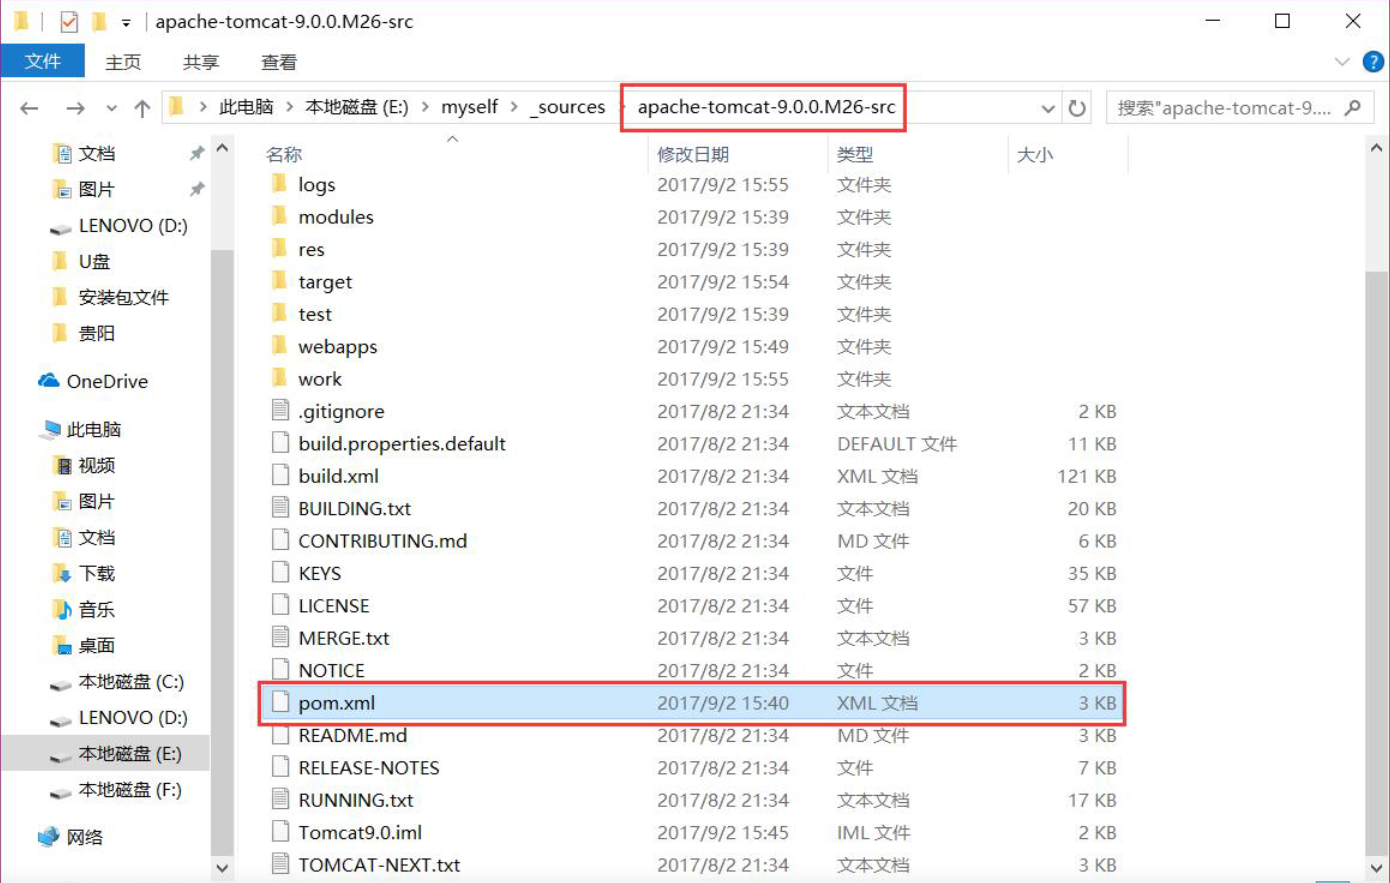
在项目的跟目录下新建pom.xml文件,如下图
pom.xml文件添加内容
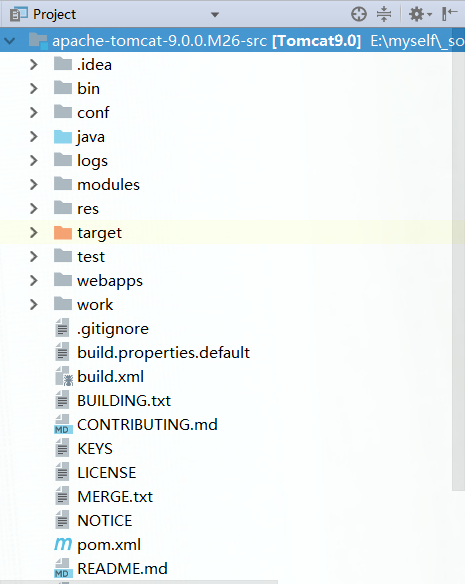
打开IDEA 选择file->open然后选中tomcat所在的文件夹,然后一路next,最后Finish,如下图所示
2. 设置启动项
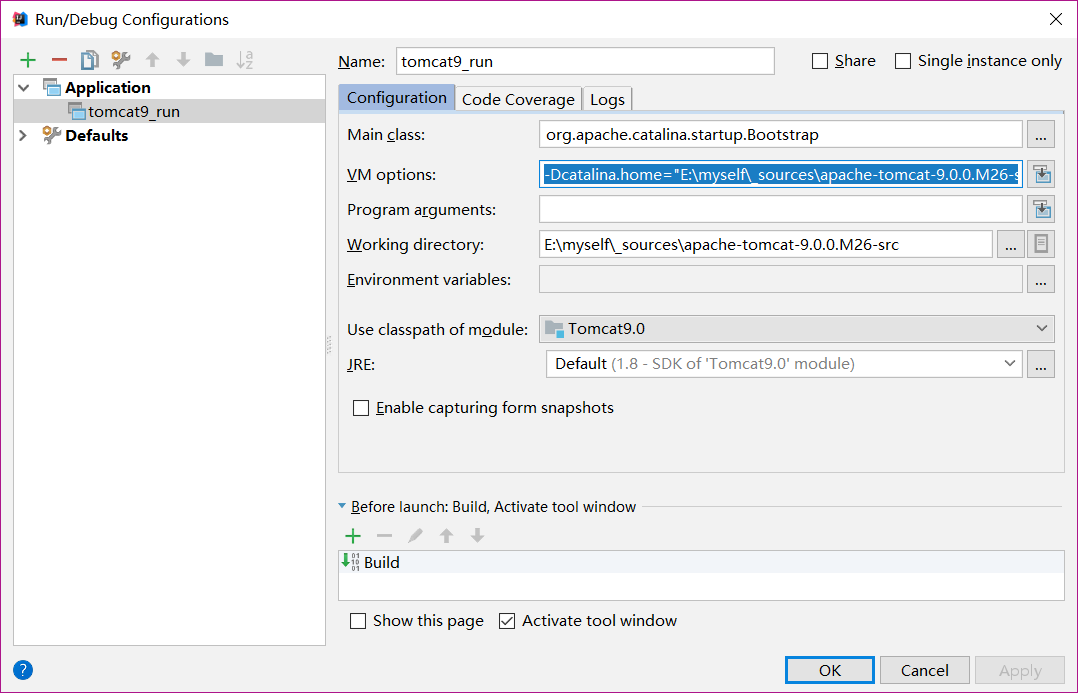
菜单栏run->Edit configurations,左上角的+号,然后选择application
Name:可随意起,如 tomcat9_run
Main Class:选择 org.apache.catalina.startup.Bootstrap
VM options:填写 -Dcatalina.home="E:\myself\_sources\apache-tomcat-9.0.0.M26-src"
3.修改源码,去除jvm 1.9的支持
这部分内容主要集中在JDTCompiler.java类中的CompilerOptions.VERSION_1_9
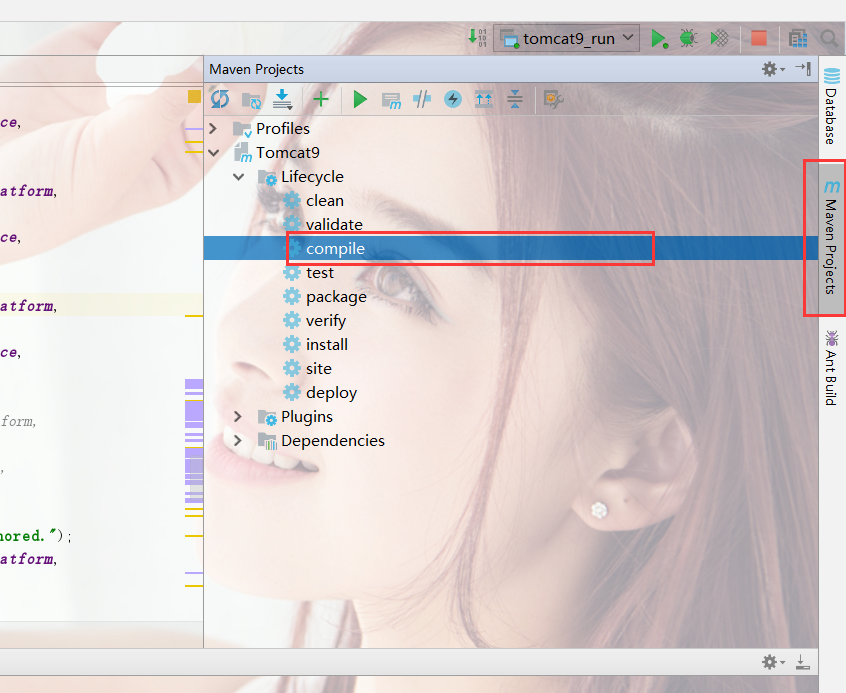
如下图所示编译成功
添加运行项目
在webapps中新建文件夹demo,然后在demo中新建文件index.html
index.html中添加如下内容
运行项目
点击run,然后在浏览器中输入localhost:8080/demo就能看到你刚才添加的html文件中的内容。
参看内容:
【Tomcat9源码分析】源码下载、编译与调试
一、环境介绍
IDEA 2017、jdk 1.8、tomcat 9.0、 maven 3.3.9tomcat 9.0相对来说,是最新版本的tomcat,jdk要求是最低版本1.8。
tomcat 9.0源码需要去官网下载,tomcat默认使用ant编译,但为了方便,我们这里改成使用maven。
二、添加pom.xml文件
官网下载源码解压到目录 E:\myself\_sources\apache-tomcat-9.0.0.M26-src,在项目的跟目录下新建pom.xml文件,如下图
pom.xml文件添加内容
<?xml version="1.0" encoding="UTF-8"?>
<project xmlns="http://maven.apache.org/POM/4.0.0"
xmlns:xsi="http://www.w3.org/2001/XMLSchema-instance"
xsi:schemaLocation="http://maven.apache.org/POM/4.0.0 http://maven.apache.org/xsd/maven-4.0.0.xsd">
<modelVersion>4.0.0</modelVersion>
<groupId>cn.xxx</groupId>
<artifactId>Tomcat9.0</artifactId>
<name>Tomcat9</name>
<version>9.0</version>

<build>
<finalName>Tomcat9</finalName>
<sourceDirectory>java</sourceDirectory>
<resources>
<resource>
<directory>java</directory>
</resource>
</resources>
<plugins>
<plugin>
<groupId>org.apache.maven.plugins</groupId>
<artifactId>maven-compiler-plugin</artifactId>
<version>2.3</version>
<configuration>
<encoding>UTF-8</encoding>
<source>1.8</source>
<target>1.8</target>
</configuration>
</plugin>
</plugins>
</build>

<dependencies>
<dependency>
<groupId>org.apache.ant</groupId>
<artifactId>ant</artifactId>
<version>1.9.5</version>
</dependency>
<dependency>
<groupId>org.apache.ant</groupId>
<artifactId>ant-apache-log4j</artifactId>
<version>1.9.5</version>
</dependency>
<dependency>
<groupId>org.apache.ant</groupId>
<artifactId>ant-commons-logging</artifactId>
<version>1.9.5</version>
</dependency>
<dependency>
<groupId>javax.xml.rpc</groupId>
<artifactId>javax.xml.rpc-api</artifactId>
<version>1.1</version>
</dependency>
<dependency>
<groupId>wsdl4j</groupId>
<artifactId>wsdl4j</artifactId>
<version>1.6.2</version>
</dependency>
<dependency>
<groupId>org.eclipse.jdt.core.compiler</groupId>
<artifactId>ecj</artifactId>
<version>4.4</version>
</dependency>
</dependencies>
</project>
三、导入tomcat项目
1. 导入项目打开IDEA 选择file->open然后选中tomcat所在的文件夹,然后一路next,最后Finish,如下图所示
2. 设置启动项
菜单栏run->Edit configurations,左上角的+号,然后选择application
Name:可随意起,如 tomcat9_run
Main Class:选择 org.apache.catalina.startup.Bootstrap
VM options:填写 -Dcatalina.home="E:\myself\_sources\apache-tomcat-9.0.0.M26-src"
3.修改源码,去除jvm 1.9的支持
这部分内容主要集中在JDTCompiler.java类中的CompilerOptions.VERSION_1_9
/*else if(opt.equals("1.9")) {
settings.put(CompilerOptions.OPTION_Source,
CompilerOptions.VERSION_1_9);
}*/
/*else if(opt.equals("1.9")) {
settings.put(CompilerOptions.OPTION_TargetPlatform,
CompilerOptions.VERSION_1_9);
settings.put(CompilerOptions.OPTION_Compliance,
CompilerOptions.VERSION_1_9);
}*/四、编译运行
IDEA右侧的 maven project->tomcat9->lifecycle->compile,右键运行如下图所示编译成功
[INFO] Scanning for projects...
[INFO]
[INFO] ------------------------------------------------------------------------
[INFO] Building Tomcat9 9.0
[INFO] ------------------------------------------------------------------------
[INFO]
[INFO] --- maven-resources-plugin:2.6:resources (default-resources) @ Tomcat9.0 ---
[WARNING] Using platform encoding (UTF-8 actually) to copy filtered resources, i.e. build is platform dependent!
[INFO] Copying 1859 resources
[INFO]
[INFO] --- maven-compiler-plugin:2.3:compile (default-compile) @ Tomcat9.0 ---
[INFO] Compiling 11 source files to E:\myself\_sources\apache-tomcat-9.0.0.M26-src\target\classes
[INFO] ------------------------------------------------------------------------
[INFO] BUILD SUCCESS
[INFO] ------------------------------------------------------------------------
[INFO] Total time: 1.989 s
[INFO] Finished at: 2017-09-02T17:06:10+08:00
[INFO] Final Memory: 13M/218M
[INFO] ------------------------------------------------------------------------

Process finished with exit code 0
添加运行项目
在webapps中新建文件夹demo,然后在demo中新建文件index.html
index.html中添加如下内容
<h1>hello tomcat</h1>
运行项目
点击run,然后在浏览器中输入localhost:8080/demo就能看到你刚才添加的html文件中的内容。
参看内容:
【Tomcat9源码分析】源码下载、编译与调试

相关文章推荐
- 通过学习和爬坑,将tomcat8源码以maven方式导入eclipse
- Tomcat源码学习(一) 源码编译和导入Eclipse
- tomcat7 源码学习(源码导入eclipse)
- Tomcat 源码学习(一)--Tomcat_7.0.70 源码运行环境搭建
- Tomcat源码学习(一) 源码编译和导入Eclipse
- Tomcat源码学习(一) 源码编译和导入Eclipse
- solr入门之solr5.5.0源码导入eclipse运行tomcat启动项目报404的解决
- 【10% free time】Tomcat学习之一:下载源码,导入eclipse
- tomcat7 源码学习(源码导入eclipse)
- tomcat学习笔记(一)-导入tomcat源码项目
- Tomcat源码学习(一) 源码编译和导入Eclipse
- Tomcat源码学习(一) 源码编译和导入Eclipse 推荐
- tomcat源码学习2------启动过程
- tomcat源码编译与导入eclipse
- Docker学习笔记之一,搭建一个JAVA Tomcat运行环境
- Tomcat6.0源码学习
- Tomcat源码学习(一)
- hsqldb运行、源码导入eclipse和Intellij IDEA进行调试
- SOLR源码在Myeclipse/eclipse下搭建(并在tomcat下完美运行)
- 将tomcat源码导入eclipse