(https)nginx - tomcat(http)
2017-05-19 10:26
507 查看
(https)nginx - tomcat(http)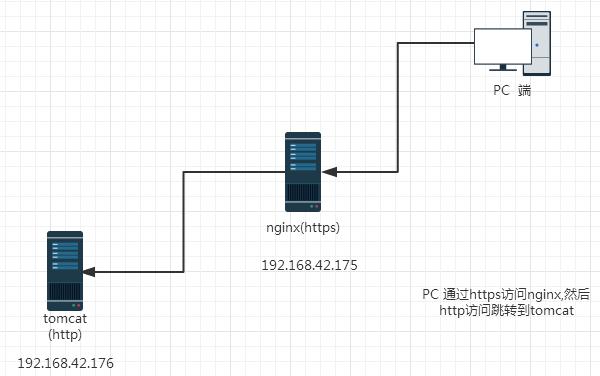


成功的访问到了192.168.42.176的界面 实验已经成功。
实验拓扑
Nginx服务端进行配置
Nginx安装ssl模块
[root@xuegod175 nginx-1.8.0]# ./configure  --with-http_ssl_module  --with-pcre=/usr/local/src/pcre-8.37
[root@xuegod175 nginx-1.8.0]# make
[root@xuegod175 nginx-1.8.0]# make install
[root@xuegod175 nginx-1.8.0]# cd /usr/local/nginx/conf/
Openssl 加密
[root@xuegod175 conf]# openssl genrsa -des3 -out server.key 1024
Generating RSA private key, 1024 bit long modulus
..................................++++++
..........................................................++++++
e is 65537 (0x10001)
Enter pass phrase for server.key:
Verifying - Enter pass phrase for server.key:
[root@xuegod175 conf]# openssl req -new -key server.key -out server.csr
Enter pass phrase for server.key:
You are about to be asked to enter information that will be incorporated
into your certificate request.
What you are about to enter is what is called a Distinguished Name or a DN.
There are quite a few fields but you can leave some blank
For some fields there will be a default value,
If you enter '.', the field will be left blank.

Country Name (2 letter code) [XX]:CN
State or Province Name (full name) []:BEIJING
Locality Name (eg, city) [Default City]:BEIJING
Organization Name (eg, company) [Default Company Ltd]:GNNT
Organizational Unit Name (eg, section) []:xuegod175.cn
Common Name (eg, your name or your server's hostname) []:xuegod175.cn
Email Address []:2444383196@qq.com

Please enter the following 'extra' attributes
to be sent with your certificate request
A challenge password []:123456
An optional company name []:GNNT
[root@xuegod175 conf]# openssl x509 -req -days 365 -in server.csr -signkey server.key -out server.crt
Signature ok
subject=/C=CN/ST=BEIJING/L=BEIJING/O=GNNT/OU=xuegod175.cn/CN=xuegod175.cn/emailAddress=2444383196@qq.com
Getting Private key
Enter pass phrase for server.key:
Nginx 服务器进行配置
[root@xuegod175 conf]# egrep -v "#|^$" nginx.conf >nginx.conf.bak
[root@xuegod175 conf]# cp nginx.conf.bak nginx.conf
cp: overwrite `nginx.conf'? yes
[root@xuegod175 conf]# cat nginx.conf
user nginx nginx;
worker_processes 1;
events {
worker_connections 1024;
}
http {
include mime.types;
default_type application/octet-stream;
sendfile on;
keepalive_timeout 65;
server {
listen 443 ssl;
server_name xuegod175.cn;#域名
ssl_certificate /usr/local/nginx/conf/server.crt;#证书路径
ssl_certificate_key /usr/local/nginx/conf/server.key;#key路径
ssl_session_cache shared:SSL:1m; #s储存SSL会话的缓存类型和大小
ssl_session_timeout 5m; #会话过期时间
ssl_ciphers HIGH:!aNULL:!MD5; #为建立安全连接,服务器所允许的密码格式列表
ssl_prefer_server_ciphers on; #依赖SSLv3和TLSv1协议的服务器密码将优先于客户端密码
location / {
root html;
index index.html index.htm index.php;
}
error_page 500 502 503 504 /50x.html;
location = /50x.html {
root html;
}
}
}
[root@xuegod175 conf]# /usr/local/nginx/sbin/nginx -s reload
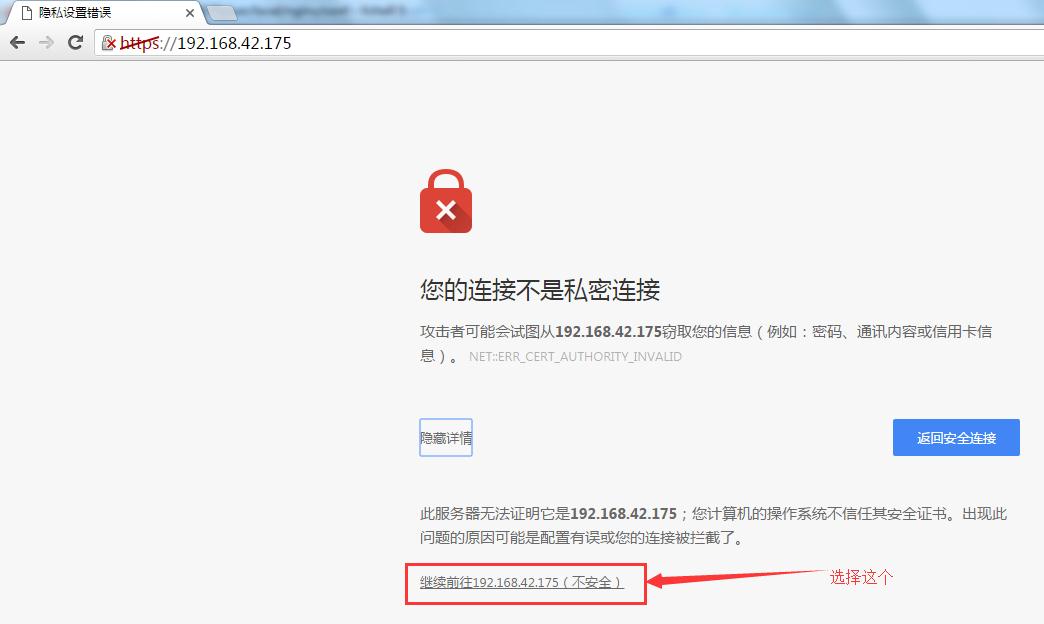
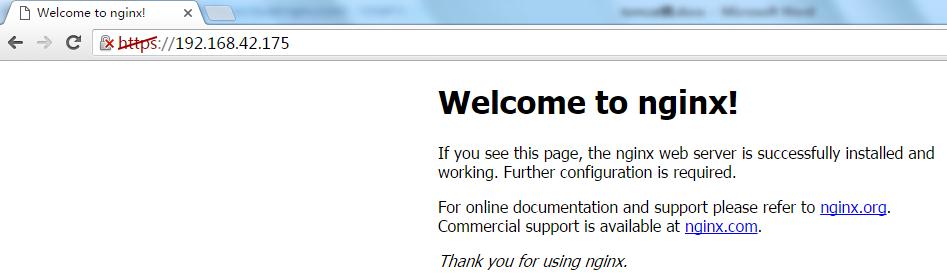
Enter PEM pass phrase:123456通过浏览进行访问测试
安装tomcat
配置jdk
Jdk的下载地址http://www.oracle.com/technetwork/java/javase/downloads/index.html
Tomcat的下载地址http://tomcat.apache.org/
[root@xuegod176~]# rpm -ivh jdk-8u60-linux-x64.rpm
[root@xuegod176~]# vim /etc/profile                                                                 //修改变量
export JAVA_HOME=/usr/java/jdk1.8.0_60/                     # JAVA_HOME变两个路径
export JAVA_BIN=/usr/java/jdk1.8.0_60/bin
export PATH=${JAVA_HOME}bin:$PATH                                 # 环境变量
export CLASSPATH=.:${JAVA_HOME}/lib/dt.jar:${JAVA_HOME}/lib/tools.jar   # 定义两个      类
[root@Xuegod176~]# source /etc/profile                                                  //加载环境变量使其立即生效
[root@Xuegod176~]#java -version
[root@Xuegod176~]#java version "1.8.0_60"
Java(TM) SE Runtime Environment (build 1.8.0_60-b27)
Java HotSpot(TM) 64-Bit Server VM (build 25.60-b23, mixed mode)
安装tomcat
[root@Xuegod176~]# tar xvf apache-tomcat-8.0.26.tar.gz -C /usr/local/
[root@Xuegod176~]# cd /usr/local/apache-tomcat-8.0.26/
[root@xuegod176 local]# mv   apache-tomcat-8.0.26/ tomcat/  为了方便启动
[root@xuegod176 ~]# chmod  -R 755 /etc/init.d/tomcat  赋予权限
[root@Xuegod176~]# vim /etc/init.d/tomcat
#!/bin/bash
# Tomcat init script for Linux
# chkconfig: 2345 96 14
# discription: The Apache Tomcat Server/JSP container
JAVA_OPTS='-server -Xms64m -Xmx128m'
JAVA_HOME=/usr/java/jdk1.8.0_60
CATALINA_HOME=/usr/local/tomcat
$CATALINA_HOME/bin/catalina.sh $*
[root@Xuegod176~]# chkconfig --add tomcat
[root@Xuegod176~]# chkconfig tomcat on
[root@Xuegod176~]# netstat -antup | grep 8080                                             //查看是否启动
tcp        0      0:::8080       :::*                 LISTEN      3154/java
测试Tomcat
浏览进行访问http://192.168.32.48:8080/配置实验
为了达到实验要求 对nginx.conf进行调整:[root@xuegod175 ~]# cat /usr/local/nginx/conf/nginx.conf
user nginx nginx;
worker_processes 1;
events {
worker_connections 1024;
}
http {
include mime.types;
default_type application/octet-stream;
sendfile on;
keepalive_timeout 65;
server {
listen 443 ssl;
server_name xuegod175.cn;#域名
ssl_certificate /usr/local/nginx/conf/server.crt;#证书路径
ssl_certificate_key /usr/local/nginx/conf/server.key;#key路径
ssl_session_cache shared:SSL:1m; #s储存SSL会话的缓存类型和大小
ssl_session_timeout 5m; #会话过期时间
ssl_ciphers HIGH:!aNULL:!MD5; #为建立安全连接,服务器所允许的密码格式列表
location / {
root html;
index index.html index.htm;
proxy_set_header Host $host;
proxy_set_header X-Real-IP $remote_addr;
proxy_set_header X-Forwarded-For $proxy_add_x_forwarded_for;
proxy_pass http://192.168.42.176; proxy_redirect default;
}
}
}
[root@xuegod175 ~]# /usr/local/nginx/sbin/nginx -s reload
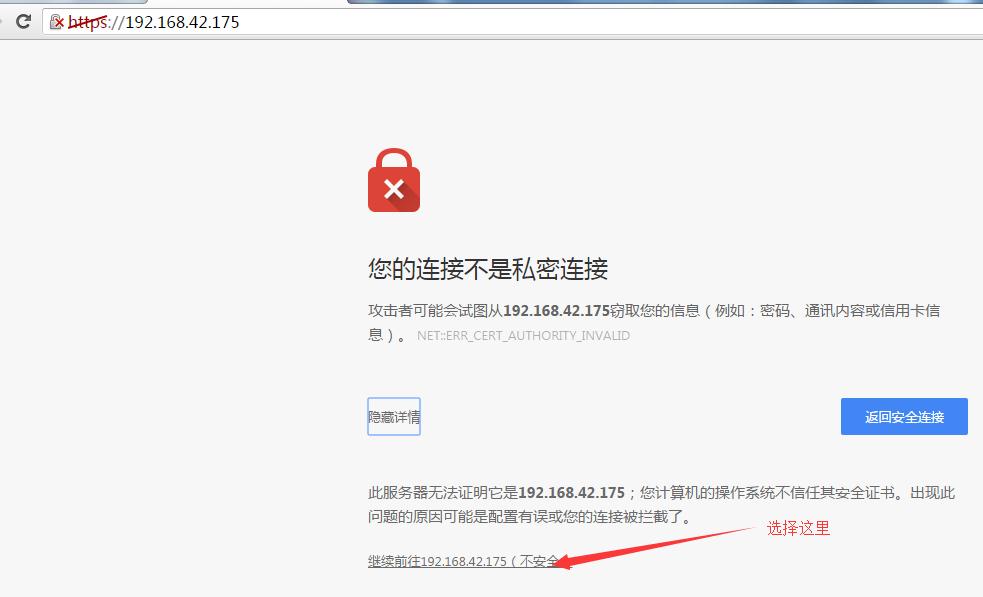
Enter PEM pass phrase:访问进行测试
注意:在访问测试之前 需要重启nginx 还有删除掉浏览器的缓存记录(不然很容易入坑。。。)
成功的访问到了192.168.42.176的界面 实验已经成功。

相关文章推荐
- ssl,proxy;部分http部分https;80,443,8080;nginx+tomcat;
- Nginx Tomcat http 强制跳转https ssl crt key
- 解决Nginx+Tomcat中https转http请求问题
- 解决Nginx+Tomcat下客户端https请求跳转成http的问题
- 从http到https简介,tomcat和nginx的https配置,单向认证和双向认证简介,对称加密和非对称加密简介,RSA算法简介
- Nginx+Tomcat+SSL 识别 https还是http
- 使用nginx(https)为tomcat(http)做反向代理
- nginx(https)反向代理tomcat(http)的实现
- Web_JavaWeb_Tomcat_Http_Https
- tomcat 配置实现http跳转至https
- TOMCAT:用Https替换Http的方法
- 将tomcat6.0的http协议改成https协议
- 详解 Nginx + Tomcat HTTPS/SSL 配置
- TOMCAT 用https替换http的方法
- nginx强制使用https访问(http跳转到https)
- tomcat设置https访问(http自动跳转到https)
- nginx强制使用https(http到https自动跳转 (转)
- Passenger,nginx and SSL(http redirect to https)
- 详解 Nginx + Tomcat HTTPS/SSL 配置方法
- TOMCAT用Https替换Http的方法