在菜单栏添加按钮 并添加方法(样例)
2017-05-04 00:00
253 查看
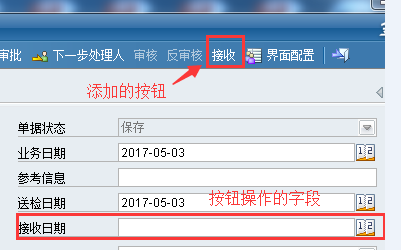
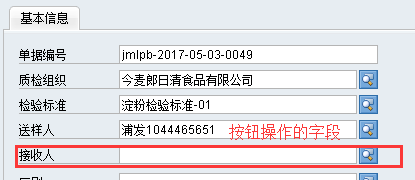
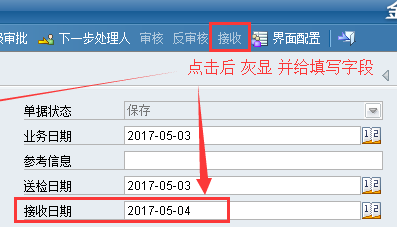
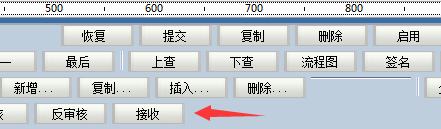
摘要: 功能:菜单栏添加 接收 按钮,点击接收后 获取当前用户 填写 单据字段 接收人 及 接收时间
先上效果:
操作前:
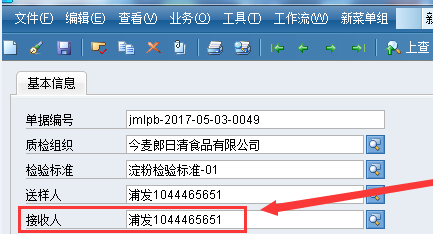
操作后:
添加按钮步骤一:
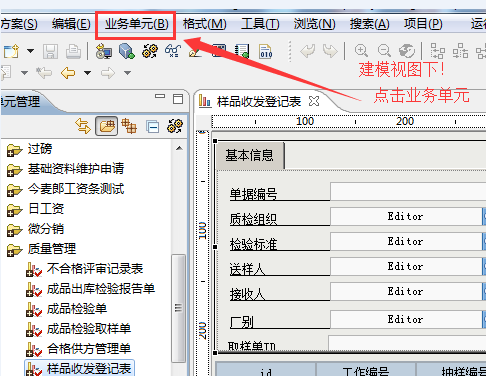
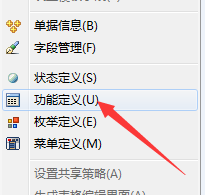
步骤二:
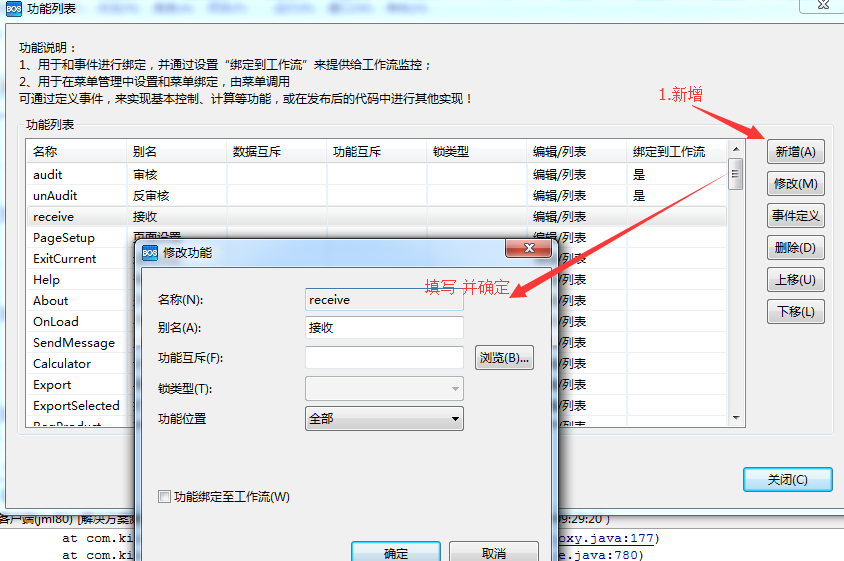
添加后确定,并发布业务单元(单据**biz)生成相关文件
切换到 设计视图下 打开 **EditUI 在大纲 视图下
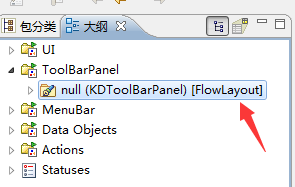
用扩展控件 添加 接收 并更改属性
更改一下属性


SampleReceiveSendRegBillEditUIPIEx.java 代码如下:
SampleReceiveSendRegBillControllerBeanEx.java 代码如下:
先上效果:
操作前:
操作后:
添加按钮步骤一:
步骤二:
添加后确定,并发布业务单元(单据**biz)生成相关文件
切换到 设计视图下 打开 **EditUI 在大纲 视图下
用扩展控件 添加 接收 并更改属性
更改一下属性
SampleReceiveSendRegBillEditUIPIEx.java 代码如下:
public void onLoad() throws Exception {
super.onLoad();
this.setPreferredSize(Toolkit.getDefaultToolkit().getScreenSize());
//进入单据界面判断 接收状态
if(editData.getReceivePerson()!=null){
this.contreceivePerson.setEnabled(false);//接收人灰显
this.contreceiveDate.setEnabled(false);//接受日期灰显
this.btnReceive.setEnabled(false);//接受按钮灰显
}
}
//接收
public void actionReceive_actionPerformed(ActionEvent e) throws Exception {
ObjectUuidPK pk = new ObjectUuidPK(editData.getId());
this.contreceivePerson.setEnabled(false);//接收人灰显
this.contreceiveDate.setEnabled(false);//接受日期灰显
this.btnReceive.setEnabled(false);//接受按钮灰显
//调用 后台逻辑
SampleReceiveSendRegBillFactory.getRemoteInstance().receive(editData);
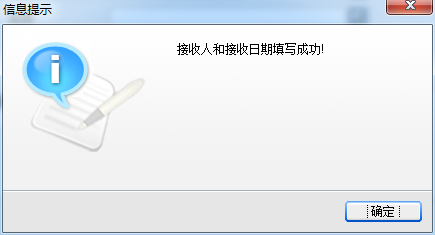
MsgBox.showInfo("接收人和接收日期填写成功!");
//更改值后刷新编辑页面
this.editData = ((SampleReceiveSendRegBillInfo) getValue(pk));
setDataObject(this.editData);
loadFields();
setSave(true);
setSaved(true);
}SampleReceiveSendRegBillControllerBeanEx.java 代码如下:
//后台接收方法
protected void _receive(Context ctx, IObjectValue model)throws BOSException {
SampleReceiveSendRegBillInfo billInfoModel = (SampleReceiveSendRegBillInfo)model;

try {
String useInfoID = ContextUtil.getCurrentUs
3ff0
erInfo(ctx).getId().toString();
UserInfo userInfo = UserFactory.getLocalInstance(ctx).getUserInfo(new ObjectUuidPK(useInfoID));
//PersonInfo person = PersonFactory.getLocalInstance(ctx).getPersonInfo(new ObjectUuidPK(userInfo.getPersonId().toString()));
billInfoModel.setReceivePerson(userInfo.getPerson());//获取接收人
billInfoModel.setReceiveDate(new Date());//接受日期
SampleReceiveSendRegBillFactory.getLocalInstance(ctx).update(new ObjectUuidPK(billInfoModel.getId().toString()), billInfoModel);
} catch (EASBizException e) {
// TODO Auto-generated catch block
e.printStackTrace();
}

相关文章推荐
- 给FCKeditor添加自定义按钮的方法
- 在窗体的非客户区(如标题栏)中添加菜单栏或按钮
- 关于 Repeater 控件嵌套的使用。在嵌套中添加 其它控件(如:按钮),并影响其它控件的方法,很重要哦,测试通过。
- 3.Android开发---为按钮添加事件的三种方法
- 在按钮上面添加图片的方法
- IE7 去除默认访问微软页面的方法 和 添加菜单栏的方法
- 为数字键盘添加自定义按钮的方法(iOS所有版本适用
- VC为按钮控件添加图片的方法
- Repeater控件中添加删除与修改按钮方法
- tableBar 添加多个按钮的方法
- VC为按钮控件添加图片的方法
- girdview每条记录添加增删改查按钮的方法
- girdview每条记录添加增删改查按钮的方法
- 添加菜单栏自绘按钮
- Repeater控件中添加删除按钮方法
- 用按钮添加链接的方法
- 为按钮控件添加图片的方法
- 把设计页的脚本代码方法添加到服务器按钮控件中的方法
- 给按钮添加图片的两种方法
- ListView添加底部按钮的方法