Ninject之旅之十二:Ninject在Windows Form程序上的应用(附程序下载)
2017-01-25 11:56
375 查看
摘要:
下面的几篇文章介绍如何使用Ninject创建不同类型的应用系统。包括:
Windows Form应用系统
ASP.NET MVC应用系统
ASP.NET Web Form应用系统
尽管对于不同类型的应用系统,Ninject向应用组件注入依赖项的方式是相同的。但是根据不同应用系统架构不同,创建这些应用系统是不同的。一些新的框架例如ASP.NET MVC被设计成支持DI的,然而一些旧的框架例如ASP.NET是不支持所有DI模式。
前面已经介绍了Ninject提供的大多数功能,下面我们将在一个工程里应用这些功能。我们将实现一些应用,每一个应用都包含一个数据访问层,一个业务层,一个表现层,前面两层将在所有应用中共享。
程序下载
准备工作
1. 在网上下载Northwind数据库,并Restore或Attach到本地数据库。
2. 用Visual Studio 2015创建空解决方案Demo.Northwind。
3. 在解决方案Demo.Northwind里创建数据访问层工程:Demo.Northwind.Core。
在工程Demo.Northwind.Core内,用NuGet Manager添加引用EntityFramework和Ninject。

在工程Demo.Northwind.Core内添加如下文件/文件夹。

Customer.cs:
ICustomerRepository.cs:
NorthwindContext.cs:
SqlCustomerRepository.cs:
创建工程Demo.Northwind.Winforms
Windows Forms是实现DI的一个最直接的应用系统类型。像Console应用程序一样,它不需要特别的Ninject配置。在Program类里的Main方法注册依赖项,框架里的组件例如Form类不需要一个无参数的构造函数,这使得实现构造函数注入变得很简单。
1. 在工程Demo.Northwind.Winforms内使用NutGet Manager添加如下引用:

2. 在工程Demo.Northwind.Winforms内添加到Demo.Northwind.Core的引用。
修改App.config,添加数据库连接字符串:
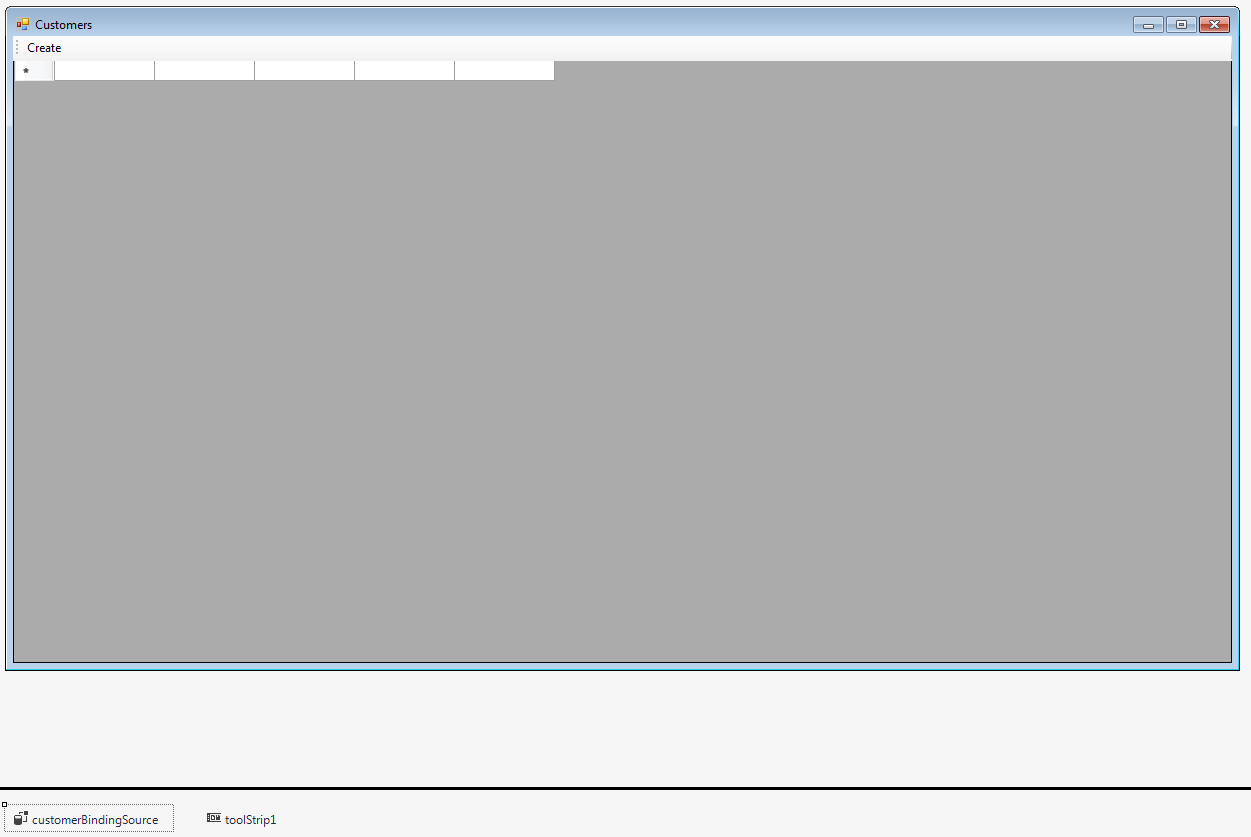
3. 在MainForm里添加一个DataGrid控件,一个BindingSource控件。绑定DataGrid控件的数据源到BindingSource控件。
代码:
ICustomerRepository是这个类唯一的依赖项,在构造函数内引入和注入。
4. 既然MainForm的构造函数注入了一个ICustomerRepository对象,需要在Ninject中完成依赖注入,并使用kernel.Get<CustomerForm>()得到MainForm窗口对象,修改Program.cs:
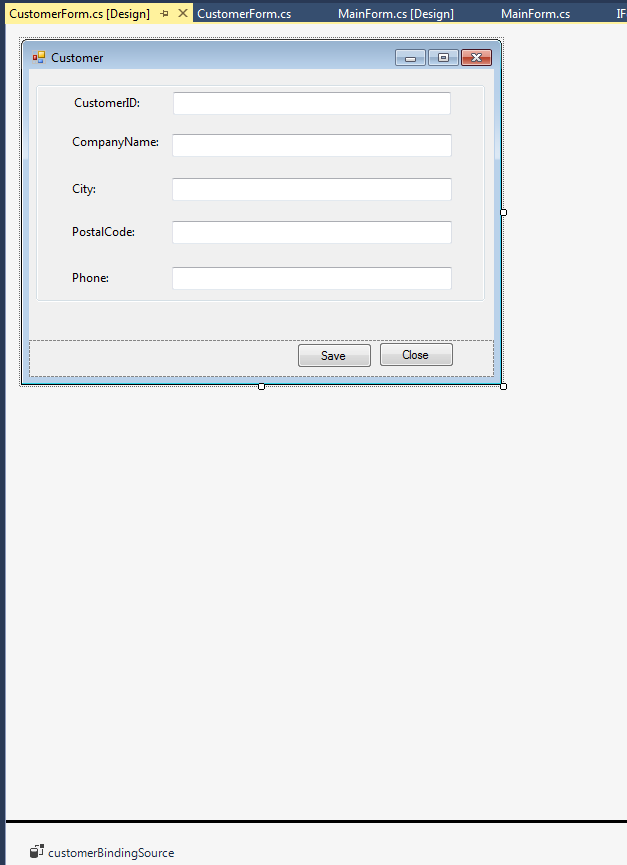
5. 如果要在MainForm窗口上加一个“Create”按钮,点击按钮打开一个CustomerForm窗口用来添加新Customer并保存到数据库。CustomerForm窗口类也应该在构造函数中注入一个ICustomerRepository对象。
新建Windows Form:CustomerForm。
代码:
6. 在MainForm.cs中添加Create按钮事件:createButton_Click:
问题来了,CustomerForm窗口类只有一个注入ICustomerRepository对象的构造函数,不能使用new无参数的构造函数创建CustomerForm窗口类对象,也不能在MainForm窗口类里再新创建一个kernal对象,使用Get方法得到CustomerForm对象。
因此,我们怎么办呢?这个时候应该使用Ninject动态工厂。多亏了Ninject工厂功能,我们只需要简单地定义如下的接口:
在MainForm类里添加IFormFactory对象:
修改MainForm类createButton_Click事件:
修改MainForm类构造函数,添加IFormFactory对象注入:
最后是在Program类的Main方法里添加注册我们的动态工厂服务:
运行系统,测试系统运行情况。
下面的几篇文章介绍如何使用Ninject创建不同类型的应用系统。包括:
Windows Form应用系统
ASP.NET MVC应用系统
ASP.NET Web Form应用系统
尽管对于不同类型的应用系统,Ninject向应用组件注入依赖项的方式是相同的。但是根据不同应用系统架构不同,创建这些应用系统是不同的。一些新的框架例如ASP.NET MVC被设计成支持DI的,然而一些旧的框架例如ASP.NET是不支持所有DI模式。
前面已经介绍了Ninject提供的大多数功能,下面我们将在一个工程里应用这些功能。我们将实现一些应用,每一个应用都包含一个数据访问层,一个业务层,一个表现层,前面两层将在所有应用中共享。
程序下载
准备工作
1. 在网上下载Northwind数据库,并Restore或Attach到本地数据库。
2. 用Visual Studio 2015创建空解决方案Demo.Northwind。
3. 在解决方案Demo.Northwind里创建数据访问层工程:Demo.Northwind.Core。
在工程Demo.Northwind.Core内,用NuGet Manager添加引用EntityFramework和Ninject。
在工程Demo.Northwind.Core内添加如下文件/文件夹。
Customer.cs:
namespace Demo.Northwind.Core.Model
{
public class Customer
{
public string CustomerID { get; set; }

public string CompanyName { get; set; }

public string City { get; set; }

public string PostalCode { get; set; }

public string Phone { get; set; }
}
}
ICustomerRepository.cs:
using Demo.Northwind.Core.Model;
using System.Collections.Generic;

namespace Demo.Northwind.Core.Interface
{
public interface ICustomerRepository
{
IEnumerable<Customer> GetAll();

Customer Get(string customerID);

void Add(Customer customer);
}
}
NorthwindContext.cs:
using Demo.Northwind.Core.Model;
using System.Data.Entity;

namespace Demo.Northwind.Core.SqlDataAccess
{
public class NorthwindContext : DbContext
{
public NorthwindContext() { }

public DbSet<Customer> Customers { get; set; }
}
}
SqlCustomerRepository.cs:
using System.Collections.Generic;
using Demo.Northwind.Core.Interface;
using Demo.Northwind.Core.Model;

namespace Demo.Northwind.Core.SqlDataAccess
{
public class SqlCustomerRepository : ICustomerRepository
{
private readonly NorthwindContext _context;

public SqlCustomerRepository()
{
_context = new NorthwindContext();
}

public void Add(Customer customer)
{
_context.Customers.Add(customer);
_context.SaveChanges();
}

public Customer Get(string customerID)
{
return _context.Customers.Find(customerID);
}

public IEnumerable<Customer> GetAll()
{
return _context.Customers;
}
}
}
创建工程Demo.Northwind.Winforms
Windows Forms是实现DI的一个最直接的应用系统类型。像Console应用程序一样,它不需要特别的Ninject配置。在Program类里的Main方法注册依赖项,框架里的组件例如Form类不需要一个无参数的构造函数,这使得实现构造函数注入变得很简单。
1. 在工程Demo.Northwind.Winforms内使用NutGet Manager添加如下引用:
2. 在工程Demo.Northwind.Winforms内添加到Demo.Northwind.Core的引用。
修改App.config,添加数据库连接字符串:
<connectionStrings>
<add name="NorthwindContext" providerName="System.Data.SqlClient" connectionString="Data Source=localhost;Initial Catalog=NORTHWND;Integrated Security=True" />
</connectionStrings>
3. 在MainForm里添加一个DataGrid控件,一个BindingSource控件。绑定DataGrid控件的数据源到BindingSource控件。
代码:
using Demo.Northwind.Core.Interface;
using Demo.Northwind.Core.Model;
using System;
using System.Linq;
using System.Windows.Forms;

namespace Demo.Northwind.Winforms
{
public partial class MainForm : Form
{
private readonly ICustomerRepository _repository;

public MainForm(ICustomerRepository repository)
{
this._repository = repository;
InitializeComponent();
}

private void MainForm_Load(object sender, EventArgs e)
{
LoadCustomers();
}

private void LoadCustomers()
{
var customers = _repository.GetAll();
customerBindingSource.DataSource = customers.ToList<Customer>();
}
}
}
ICustomerRepository是这个类唯一的依赖项,在构造函数内引入和注入。
4. 既然MainForm的构造函数注入了一个ICustomerRepository对象,需要在Ninject中完成依赖注入,并使用kernel.Get<CustomerForm>()得到MainForm窗口对象,修改Program.cs:
using System;
using System.Windows.Forms;
using Ninject;
using Ninject.Extensions.Conventions;

namespace Demo.Northwind.Winforms
{
static class Program
{
/// <summary>
/// The main entry point for the application.
/// </summary>
[STAThread]
static void Main()
{
Application.EnableVisualStyles();
Application.SetCompatibleTextRenderingDefault(false);

using (var kernel = new StandardKernel())
{
kernel.Bind(x => x.FromAssembliesMatching("Demo.Northwind.*")
.SelectAllClasses()
.BindAllInterfaces());

var mainForm = kernel.Get<MainForm>();
Application.Run(mainForm);
}
}
}
}
5. 如果要在MainForm窗口上加一个“Create”按钮,点击按钮打开一个CustomerForm窗口用来添加新Customer并保存到数据库。CustomerForm窗口类也应该在构造函数中注入一个ICustomerRepository对象。
新建Windows Form:CustomerForm。
代码:
using Demo.Northwind.Core.Interface;
using Demo.Northwind.Core.Model;
using System;
using System.Windows.Forms;

namespace Demo.Northwind.Winforms
{
public partial class CustomerForm : Form
{
private readonly ICustomerRepository repository;

public CustomerForm(ICustomerRepository repository)
{
this.repository = repository;
InitializeComponent();
customerBindingSource.Add(new Customer());
}

private void saveButton_Click(object sender, EventArgs e)
{
customerBindingSource.EndEdit();
var customer = customerBindingSource.Current as Customer;
repository.Add(customer);
this.DialogResult = DialogResult.OK;
}

private void closeButton_Click(object sender, EventArgs e)
{
this.DialogResult = DialogResult.Cancel;
}
}
}
6. 在MainForm.cs中添加Create按钮事件:createButton_Click:
private void createButton_Click(object sender, EventArgs e)
{

}
问题来了,CustomerForm窗口类只有一个注入ICustomerRepository对象的构造函数,不能使用new无参数的构造函数创建CustomerForm窗口类对象,也不能在MainForm窗口类里再新创建一个kernal对象,使用Get方法得到CustomerForm对象。
因此,我们怎么办呢?这个时候应该使用Ninject动态工厂。多亏了Ninject工厂功能,我们只需要简单地定义如下的接口:
using System.Windows.Forms;

namespace Demo.Northwind.Winforms
{
public interface IFormFactory
{
T Create<T>() where T : Form;
}
}
在MainForm类里添加IFormFactory对象:
private readonly IFormFactory _formFactory;
修改MainForm类createButton_Click事件:
private void createButton_Click(object sender, EventArgs e)
{
var customerForm = _formFactory.Create<CustomerForm>();
if (customerForm.ShowDialog(this) == DialogResult.OK)
{
LoadCustomers();
}
}
修改MainForm类构造函数,添加IFormFactory对象注入:
public MainForm(ICustomerRepository repository, IFormFactory formFactory)
{
this._repository = repository;
this._formFactory = formFactory;
InitializeComponent();
}
最后是在Program类的Main方法里添加注册我们的动态工厂服务:
kernel.Bind(x => x.FromThisAssembly()
.SelectAllInterfaces()
.EndingWith("Factory")
.BindToFactory()
.Configure(c => c.InSingletonScope()));
运行系统,测试系统运行情况。

相关文章推荐
- Ninject之旅之十二:Ninject在Windows Form程序上的应用(附程序下载)
- Ninject之旅之十四:Ninject在ASP.NET Web Form程序上的应用(附程序下载)
- Ninject之旅之十三:Ninject在ASP.NET MVC程序上的应用(附程序下载)
- Ninject之旅之十四:Ninject在ASP.NET Web Form程序上的应用(附程序下载)
- Ninject之旅之十三:Ninject在ASP.NET MVC程序上的应用(附程序下载)
- Postman chrome浏览器插件下载地址和安装方式,解决“只能通过Chrome网上应用商店安装该程序”的方法
- 微信小程序开发之文件上传下载应用场景(附Demo源码)
- 微软MSDN给出的使用.Net开发Windows Form网络应用相关程序的优化建议
- IOS6.0 应用内直接下载程序 不需跳转AppStore
- Ninject之旅之十一:Ninject动态工厂(附程序下载)
- Ninject之旅之九:Ninject上下文绑定(附程序下载)
- IOS6.0 应用内直接下载程序 不需跳转AppStore
- IOS6.0 应用内直接下载程序 不需跳转AppStore
- IOS6.0 应用内直接下载程序 不需跳转AppStore
- IOS6.0 应用内直接下载程序 不需跳转AppStore
- 图解单片机下载程序电路原理之USB转串口线、CH340、PL2303、MAX232芯片的应用
- OpenShift Redhat免费空间SSH登录管理和使用:下载文件安装程序和应用
- IOS6.0 应用内直接下载程序 不需跳转AppStore -b
- 远程下载安装 Android 程序————APK Installer 的应用
- IOS6.0 应用内直接下载程序 不需跳转AppStore