Android自定义Dialog
2016-12-01 10:11
423 查看
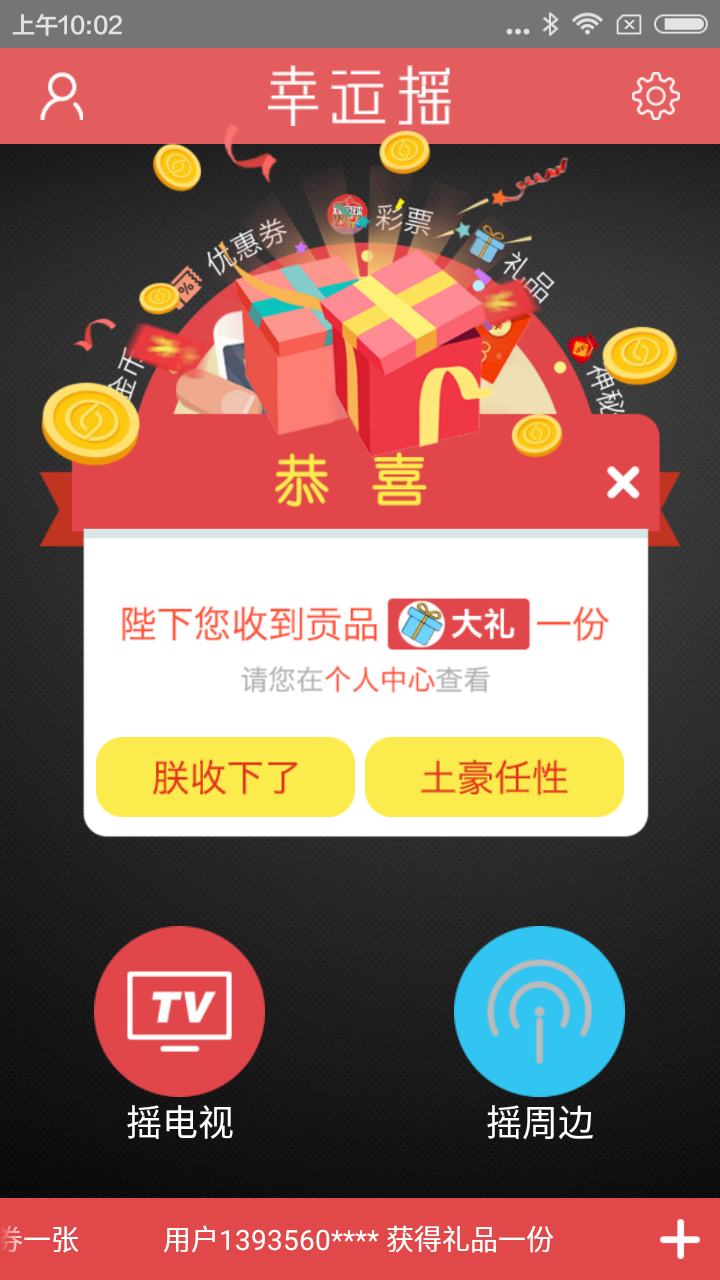
这是效果图
给dialog设置的主题风格
下面是布局
下面是自定义的dialog
下面是具体的使用
有一篇博文介绍的非常好,大家可以参考一下http://blog.csdn.net/u014628886/article/details/51126525
给dialog设置的主题风格
<style name="CustomDialog" parent="android:style/Theme.Dialog">
<!--背景颜色及和透明程度-->
<item name="android:windowBackground">@android:color/transparent</item>
<!--是否去除标题 -->
<item name="android:windowNoTitle">true</item>
<!--是否去除边框-->
<item name="android:windowFrame">@null</item>
<!--是否浮现在activity之上-->
<item name="android:windowIsFloating">true</item>
<!--是否模糊-->
<item name="android:backgroundDimEnabled">false</item>
</style>
下面是布局
<?xml version="1.0" encoding="utf-8"?>
<LinearLayout xmlns:android="http://schemas.android.com/apk/res/android"
android:layout_width="match_parent"
android:layout_height="match_parent"
<!--设置背景为黑色半透明-->
android:background="#c0000000"
android:orientation="vertical">

<FrameLayout
android:layout_gravity="top"
android:layout_width="match_parent"
android:layout_height="wrap_content">
<ImageView
android:id="@+id/iv_bk_dialog"
android:layout_width="wrap_content"
android:layout_height="wrap_content"
android:src="@drawable/dialogcuspon" />
<ImageView
android:id="@+id/iv_close_dialog"
android:layout_width="wrap_content"
android:layout_height="wrap_content"
android:layout_gravity="right|center_vertical"
android:layout_marginRight="@dimen/sm_80"
android:background="@drawable/close"/>
<LinearLayout
android:layout_gravity="center_horizontal|bottom"
android:layout_marginBottom="@dimen/sm_100"
android:layout_width="wrap_content"
android:layout_height="wrap_content"
android:orientation="horizontal">
<Button
android:id="@+id/bt_yes"
android:layout_width="wrap_content"
android:layout_height="wrap_content"
android:background="@drawable/dialog_but1"/>
<Button
android:id="@+id/bt_no"
android:layout_marginLeft="@dimen/sm_10"
android:layout_width="wrap_content"
android:layout_height="wrap_content"
android:background="@drawable/dialog_but2"/>
</LinearLayout>
</FrameLayout>

</LinearLayout>
下面是自定义的dialog
package com.yaodan.shaketerrace.view;

import android.app.Dialog;
import android.content.Context;
import android.os.Bundle;
import android.view.View;
import android.widget.Button;
import android.widget.ImageView;

import com.yaodan.shaketerrace.R;

/**
* Created by swk on 2016/11/29.
*/
public class Custom_dialog extends Dialog {
//两个按钮用来确定和取消
private Button btn_yes;
private Button btn_no;
private ImageView iv_back;
private ImageView iv_close;
private int res;    //设置背景图
private onNoOnclickListener noOnclickListener;//取消按钮被点击了的监听器
private onYesOnclickListener yesOnclickListener;//确定按钮被点击了的监听器
public Custom_dialog(Context context) {
//将上面的style设置到这个地方
super(context,R.style.CustomDialog);
}

@Override
protected void onCreate(Bundle savedInstanceState) {
super.onCreate(savedInstanceState);
setContentView(R.layout.dialog_cuson);
setCanceledOnTouchOutside(false);
initView();
initEvent();
}
public void initView(){
iv_back= (ImageView) findViewById(R.id.iv_bk_dialog);
btn_yes= (Button) findViewById(R.id.bt_yes);
btn_no= (Button) findViewById(R.id.bt_no);
iv_close= (ImageView) findViewById(R.id.iv_close_dialog);
iv_back.setImageResource(res);
}

/**
* 设置dialog的背景
* @param i
*/
public void setBackGrount(int i){
res=i;
}
public void initEvent(){
btn_yes.setOnClickListener(new View.OnClickListener() {
@Override
public void onClick(View view) {
if(yesOnclickListener!=null){
yesOnclickListener.onYesClick();
}
}
});
btn_no.setOnClickListener(new View.OnClickListener() {
@Override
public void onClick(View view) {
if(noOnclickListener!=null){
noOnclickListener.onNoClick();
}
}
});
/**
* 我将右上方那个X直接复用取消的dialog
*/
iv_close.setOnClickListener(new View.OnClickListener() {
@Override
public void onClick(View view) {
noOnclickListener.onNoClick();
}
});
}
/**
* 设置取消按钮的显示内容和监听
*
* @param onNoOnclickListener
*/
public void setNoOnclickListener( onNoOnclickListener onNoOnclickListener) {
this.noOnclickListener = onNoOnclickListener;
}

/**
* 设置确定按钮的显示内容和监听
*
* @param onYesOnclickListener
*/
public void setYesOnclickListener(onYesOnclickListener onYesOnclickListener) {
this.yesOnclickListener = onYesOnclickListener;
}
/**
* 设置确定按钮和取消被点击的接口
*/
public interface onYesOnclickListener {
public void onYesClick();
}

public interface onNoOnclickListener {
public void onNoClick();
}
}
下面是具体的使用
/**
* 显示dialog的方法
* @param context   上下文
* @param res   dialog的背景图
*/
public static void showCuspon(Context context,int res){
final Custom_dialog custom_dialog=new Custom_dialog(context);
custom_dialog.setBackGrount(res);
custom_dialog.setYesOnclickListener(new Custom_dialog.onYesOnclickListener() {
@Override
public void onYesClick() {
custom_dialog.cancel();
MyApplication.shakeFlag=true;
}
});
custom_dialog.setNoOnclickListener(new Custom_dialog.onNoOnclickListener() {
@Override
public void onNoClick() {
custom_dialog.cancel();
MyApplication.shakeFlag=true;
}
});
//由于我布置上去发现dialog有点靠下,所以将其动态地部署靠上

custom_dialog.show();
//设置dialog的大小和坐标,一直要放到show()方法的后面
Window dialogWindow = custom_dialog.getWindow();
WindowManager.LayoutParams lp = dialogWindow.getAttributes();
dialogWindow.setGravity(Gravity.LEFT | Gravity.TOP);
//设置dialog的大小填充整个屏幕
lp.width= WindowManager.LayoutParams.MATCH_PARENT;
lp.height= WindowManager.LayoutParams.MATCH_PARENT;
//也可以根据屏幕大小来这只dialog的大小,比如屏幕的1/6
/*
WindowManager m= (WindowManager) context.getSystemService(Context.WINDOW_SERVICE);

Display d = m.getDefaultDisplay(); // 获取屏幕宽、高用
lp.height = (int) (d.getHeight()*0.6 ); // 高度设置为屏幕
lp.width = (int) (d.getWidth()*0.6); // 宽度设置为屏幕的
*/
/*lp.x = 100; // 新位置X坐标
lp.y = 100; // 新位置Y坐标*/
dialogWindow.setAttributes(lp);
}有一篇博文介绍的非常好,大家可以参考一下http://blog.csdn.net/u014628886/article/details/51126525

相关文章推荐
- Android 自定义 dialog
- Android 自定义 dialog
- android 自定义Dialog(背景图等)
- Android自定义Dialog
- android 自定义Dialog背景透明及显示位置设置
- Android 自定义 dialog
- Android中自定义Dialog外形,去除黑底和白色边框
- Android获取dialog自定义布局中的控件
- Android中自定义Activity和Dialog的位置大小背景和透明度等
- android自定义登陆Dialog
- Android AlertDialog 方法setView(view,0,0,0,0)开发自定义对话框
- android dialog——自定义对话框之一
- 20. android dialog——自定义对话框之一
- Android自定义Dialog
- android 自定义Dialog(背景图等)
- Android 自定义 dialog
- [Android 界面] Android: 自定义DIALOG
- android 组件之Dialog(自定义)
- android 自定义Dialog 和toast
- Android中自定义Dialog外形,去除黑底和白色边框