计时器的深入学习1(实现运动效果的domove()函数的封装过程及回调函数)
2016-11-09 16:31
417 查看
我最终的目的是用源生JS代码封装一个domove()函数,可以在传参之后实现元素任意方向的运动,在达到最终目的前应该一步一步地完成:
1.配合之前封装过的getstyle()函数,实现点击按钮之后让一个div向前移动10px的效果:
2.用两个按钮分别控制div向前向后动
3.把div向前向后动改成上下左右移动
·
·
·
按照这样的思路,再结合计时器,最终一步步实现一点按钮就能使元素连贯地变到目的的样式:
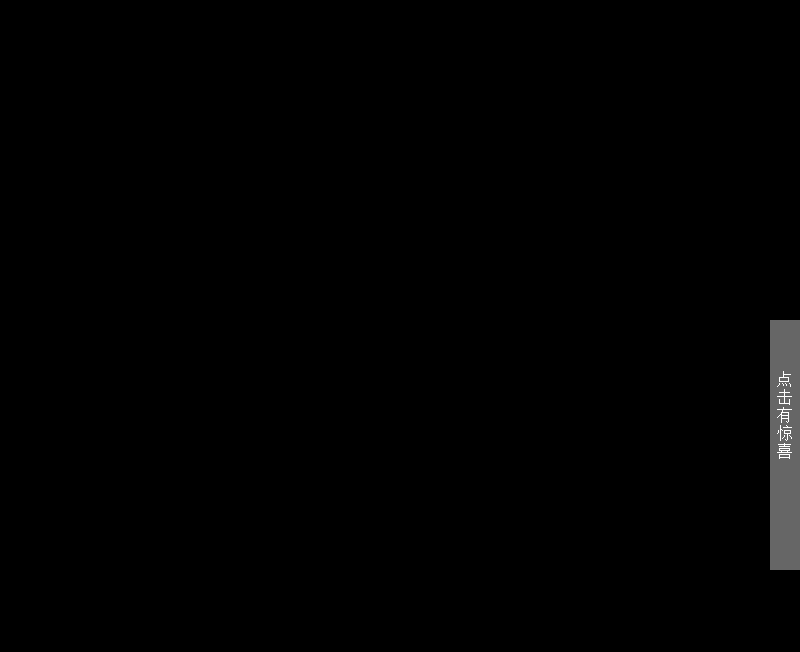
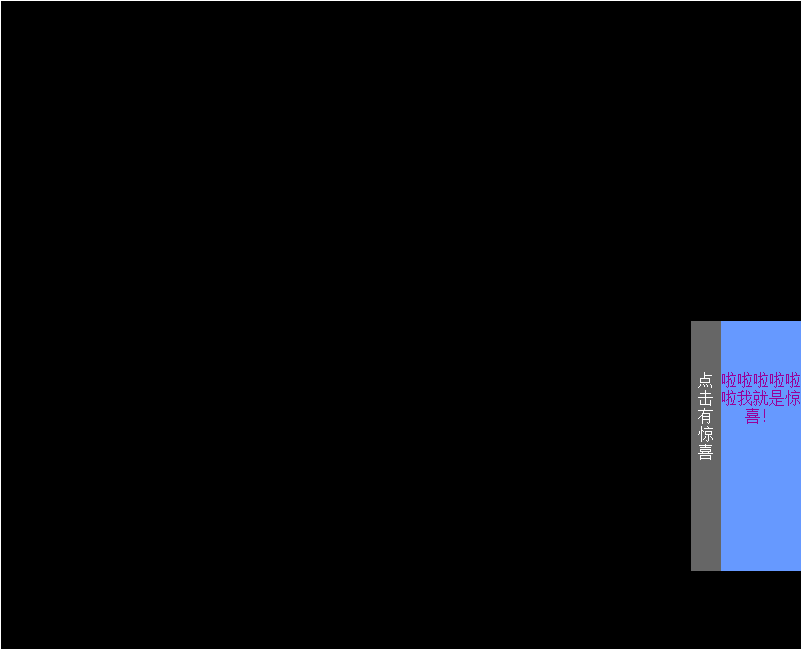
例如:模拟一些网页,做一个“点击有惊喜”的效果。
未点击之前:
点击之后:
domove()函数封装好了,接下来说一下javascript的回调函数:
1.定义:回调函数就是把我们一个函数执行完毕后再随即执行的一个函数;
2.但是回调函数不是一定有的,因此在一段程序结束的地方需要做一个判断:
也可以写为:
这两者等价
注:未定义就返回未定义,否则在一段程序执行完后紧接着执行回调函数里面的内容。
例:利用回调函数让一个div做向右、向下、向左再向上回到原点的运动(当然,运动到上、下、左、右的边界值都已经提前设定好)
接下来就是关于以上内容的练习:
练习1:写四个按钮,分别是“向左”、“向右”、“向上”和“向下”,点击哪个按钮就让元素向相应的方向移动,并且遇到四边设定的边界就停止运动
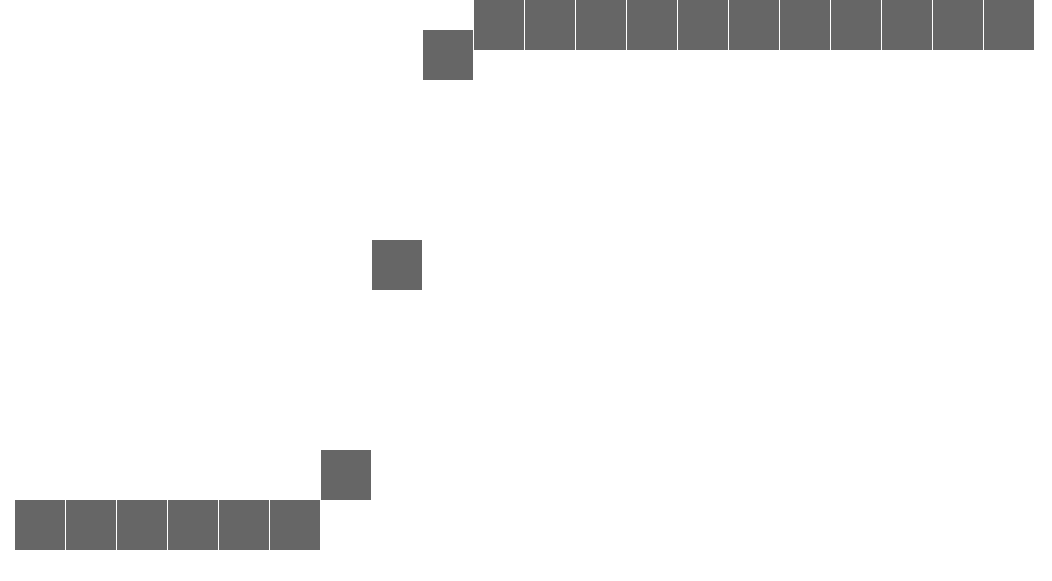
练习2:在页面上布局平铺20个50X50红色的方块,点击我们的浏览器的窗口时让每个方块每隔0.2秒以每0.1秒30像素的速度掉下来一个,直到所有的方块掉到500的位置
效果图大致是这样的:
2.正反方向“有缝”轮播图(哈哈,后面再说无缝轮播图)
1.配合之前封装过的getstyle()函数,实现点击按钮之后让一个div向前移动10px的效果:
<body>
<button id="btn">前进</button>
<div id="div1" style="width:100px; height:100px; background:red; margin-top:20px; position:absolute;"></div>
<script>
var oBtn=document.getElementById("btn");
var oDiv=document.getElementById("div1");
function getstyle(obj,attr){
return obj.currentStyle ? obj.currentStyle[attr] : getComputedStyle(obj)[attr];
}
oBtn.onclick=function(){
var nowPosition =parseInt(getstyle(oDiv,'left'));
oDiv.style.left=nowPosition+10+'px';
}
</script>
</body>
2.用两个按钮分别控制div向前向后动
3.把div向前向后动改成上下左右移动
·
·
·
按照这样的思路,再结合计时器,最终一步步实现一点按钮就能使元素连贯地变到目的的样式:
function doMove(id,derection,speed,subjectPosition){
//id:要运动的元素;derection:以什么方向为参照来运动(left、right、top、bottom);speed:计时器每循环一次移动的距离;subjectPosition:运动所要达到的样式的值
speed= parseInt(getstyle(getid(id),derection))> subjectPosition? -speed : speed;//判断运动的方向
clearInterval(getid(id).timer);
getid(id).timer=setInterval(function(){
var nowPosition =parseInt(getstyle(getid(id),derection));
var thisPosition=nowPosition+speed;
if(thisPosition>=subjectPosition&&speed>0||thisPosition<=subjectPosition&&speed<0){
//判断有无达到目标点
thisPosition=subjectPosition;
clearInterval(getid(id).timer);
}
getid(id).style[derection]=thisPosition+'px';
},30)
}
例如:模拟一些网页,做一个“点击有惊喜”的效果。
<head>
<meta http-equiv="Content-Type" content="text/html; charset=utf-8" />
<title>无标题文档</title>
<style type="text/css">
#div1{width:800px; height:800px; background:#000; position:relative;left:50%; margin-left:-400px;}
#div2{width:30px; height:200px; background:#666; color:#fff;text-align:center; padding-top:50px; position:absolute; right:0; top:40%; cursor:pointer;}
#div3{width:80px; height:200px; background:#69F; color:#909;text-align:center; padding-top:50px; position:absolute; right:-80px; top:40%;}
</style>
</head>

<body>
<div id="div1">
<div id="div2">点击有惊喜</div>
<div id="div3">啦啦啦啦啦啦我就是惊喜!</div>
</div>
<script src="myjs/myjs.js"></script>
<script>
var click=true;
getid('div2').onclick =function(){
if(click==true){
doMove('div2','right',10, parseInt(getstyle(getid('div3'),'width')));
doMove('div3','right',10,0);
click=false;
}else{
doMove('div2','right',10,0);
doMove('div3','right',10,-parseInt(getstyle(getid('div3'),'width')));
click=true;
}
}
function doMove(id,derection,speed,subjectPosition){
speed= parseInt(getstyle(getid(id),derection))> subjectPosition? -speed : speed;
clearInterval(getid(id).timer);
getid(id).timer=setInterval(function(){
var nowPosition =parseInt(getstyle(getid(id),derection));
var thisPosition=nowPosition+speed;
if(thisPosition>=subjectPosition&&speed>0||thisPosition<=subjectPosition&&speed<0){
thisPosition=subjectPosition;
clearInterval(getid(id).timer);
}
getid(id).style[derection]=thisPosition+'px';
},30)
}
</script>
</body>
未点击之前:
点击之后:
domove()函数封装好了,接下来说一下javascript的回调函数:
1.定义:回调函数就是把我们一个函数执行完毕后再随即执行的一个函数;
2.但是回调函数不是一定有的,因此在一段程序结束的地方需要做一个判断:
if(endFn){endFn();}也可以写为:
endFn&&endFn();
这两者等价
注:未定义就返回未定义,否则在一段程序执行完后紧接着执行回调函数里面的内容。
例:利用回调函数让一个div做向右、向下、向左再向上回到原点的运动(当然,运动到上、下、左、右的边界值都已经提前设定好)
<head>
<meta http-equiv="Content-Type" content="text/html; charset=utf-8" />
<title>无标题文档</title>
<style type="text/css">
#div1{width:100px; height:100px; background:red; position:absolute; top:40px; left:40px;}
</style>
</head>

<body>
<input type="button" value="走" id="btn1" />
<div id="div1"></div>
<script src="myjs/myjs.js"></script>
<script>
getid('btn1').onclick =function(){
doMove('div1','left',10,800,function endFn(){
doMove('div1','top',10,500,function endFn(){
doMove('div1','left',10,40,function endFn(){
doMove('div1','top',10,40);
})
});
});
};
function doMove(id,derection,speed,subjectPosition,endFn){
speed= parseInt(getstyle(getid(id),derection))> subjectPosition? -speed : speed;
clearInterval(getid(id).timer);
getid(id).timer=setInterval(function(){
var nowPosition =parseInt(getstyle(getid(id),derection));
var thisPosition=nowPosition+speed;
if(thisPosition>=subjectPosition&&speed>0||thisPosition<=subjectPosition&&speed<0){
thisPosition=subjectPosition;
}
getid(id).style[derection]=thisPosition+'px';
if(parseInt(getstyle(getid(id),derection))===subjectPosition){
clearInterval(getid(id).timer);
endFn&&endFn();
}
},30)
}
</script>
</body>
接下来就是关于以上内容的练习:
练习1:写四个按钮,分别是“向左”、“向右”、“向上”和“向下”,点击哪个按钮就让元素向相应的方向移动,并且遇到四边设定的边界就停止运动
<head>
<meta http-equiv="Content-Type" content="text/html; charset=utf-8" />
<title>无标题文档</title>
<style type="text/css">
#div1{width:100px; height:100px; background:red; position:absolute; top:40px; left:40px;}
</style>
</head>

<body>
<input type="button" value="向右" id="btn1" />
<input type="button" value="向左" id="btn2" />
<input type="button" value="向下" id="btn3" />
<input type="button" value="向上" id="btn4" />
<div id="div1"></div>
<script src="myjs/myjs.js"></script>
<script>
getid('btn1').onclick =function(){doMove('div1','left',10,800);};
getid('btn2').onclick =function(){doMove('div1','left',10,40);};
getid('btn3').onclick =function(){doMove('div1','top',10,800);};
getid('btn4').onclick =function(){doMove('div1','top',10,40);};
function doMove(id,derection,speed,subjectPosition){
speed= parseInt(getstyle(getid(id),derection))> subjectPosition? -speed : speed;
clearInterval(getid(id).timer);
getid(id).timer=setInterval(function(){
var nowPosition =parseInt(getstyle(getid(id),derection));
var thisPosition=nowPosition+speed;
if(thisPosition>=subjectPosition&&speed>0||thisPosition<=subjectPosition&&speed<0){
thisPosition=subjectPosition;
clearInterval(getid(id).timer);
}
getid(id).style[derection]=thisPosition+'px';
},30)
}
</script>
</body>
练习2:在页面上布局平铺20个50X50红色的方块,点击我们的浏览器的窗口时让每个方块每隔0.2秒以每0.1秒30像素的速度掉下来一个,直到所有的方块掉到500的位置
<head>
<meta http-equiv="Content-Type" content="text/html; charset=utf-8" />
<title>无标题文档</title>
<style type="text/css">
ul,li{margin:0; padding:0;}
li{list-style:none;width:50px; height:50px; background:#666; position:absolute; top:0;;}
</style>
</head>
<ul id="ul1">
</ul>
<body>
<script src="myjs/myjs.js"></script>
<script>
var oUl1=document.getElementById("ul1");
var aLi=oUl1.getElementsByTagName("li");
var str="";
for(var i=0;i<20;i++){
str+="<li></li>";
}
oUl1.innerHTML=str;
for(var i=0;i<20;i++){
aLi[i].style.left=(i+1)*51+"px";
}
window.onclick=function(){
var i=0;
setInterval(function(){
doMove(aLi[i],'top',30,500);
i++;
},200)//此处是在计时器里的循环,相当于双重循环
}
function doMove(id,derection,speed,subjectPosition){
speed= parseInt(getstyle(getid(id),derection))> subjectPosition? -speed : speed;
clearInterval(getid(id).timer);
getid(id).timer=setInterval(function(){
var nowPosition =parseInt(getstyle(getid(id),derection));
var thisPosition=nowPosition+speed;
if(thisPosition>=subjectPosition&&speed>0||thisPosition<=subjectPosition&&speed<0){
thisPosition=subjectPosition;
clearInterval(getid(id).timer);
}
getid(id).style[derection]=thisPosition+'px';
},30)
}
</script>
</body>
效果图大致是这样的:
2.正反方向“有缝”轮播图(哈哈,后面再说无缝轮播图)
<head>
<meta http-equiv="Content-Type" content="text/html; charset=utf-8" />
<title>无标题文档</title>
<link href="common.css" type="text/css" rel="stylesheet"/>
<style type="text/css">
#ul1{position:relative;}
#ul1 li{width:400px; height:500px; float:left;}
#div1{width:400px; height:500px; position:absolute; top:0; left:0; bottom:0; right:0; margin:auto; overflow:hidden;}
</style>
</head>
<body>
<div id="div1">
<ul id="ul1" class="clearfix">
<li><img src="img/1.png" width="400" height="500"/></li>
<li><img src="img/2.png" width="400" height="500"/></li>
<li><img src="img/3.png" width="400" height="500"/></li>
<li><img src="img/4.png" width="400" height="500"/></li>
</ul>
</div>
<button>正方向轮播</button>
<button>反方向轮播</button>
<script src="myjs/myjs.js"></script>
<script>
var aBtn=document.getElementsByTagName("button");
var timer=null;
var num=0;
var aLi =getid('ul1').getElementsByTagName('li');
aBtn[0].onclick=function(){fn(aLi.length-1,0,"++");}
aBtn[1].onclick=function(){fn(0,aLi.length-1,"--");}
/*将变换图片轮播方向的这段代码封装在JS文件内。
aBtn[0].onclick=function(){
clearInterval(timer);
var aLi =getid('ul1').getElementsByTagName('li');
getid('ul1').style.width = parseInt(getstyle(aLi[0],'width'))*aLi.length +'px';
var num = 1;
timer=setInterval(function(){
doMove('ul1','left',20,-num*parseInt(getstyle(aLi[0],'width')));
if(num ==aLi.length-1){
num = 0;
}else{
num++;
}

},4000);
}
aBtn[1].onclick=function(){
clearInterval(timer);
var aLi =getid('ul1').getElementsByTagName('li');
getid('ul1').style.width = parseInt(getstyle(aLi[0],'width'))*aLi.length +'px';
var num = 3;
timer=setInterval(function(){
doMove('ul1','left',20,-num*parseInt(getstyle(aLi[0],'width')));
if(num ==0){
num = aLi.length-1;
}else{
num--;
}

},4000);
}*/
</script>
</body>

相关文章推荐
- JS实现运动缓冲效果的封装函数示例
- <转>cocos2d-x学习笔记(五)仿真树叶飘落效果的实现(精灵旋转、翻转、钟摆运动等综合运用)
- js深入学习-回调函数之代码复用
- 【Cocos2d-X开发学习笔记】第18期:动作类之改变动作对象、函数回调动作以及过程动作的使用
- (转)cocos2d-x学习笔记(五)仿真树叶飘落效果的实现(精灵旋转、翻转、钟摆运动等综合运用)
- Cocos2d-x学习笔记(五)仿真树叶飘落效果的实现(精灵旋转、翻转、钟摆运动等综合运用)
- 企业库EnterpriseLibrary学习笔记之--通过企业库Microsoft.Practices.EnterpriseLibrary,实现调用存储过程的封装
- 【学习】java下实现调用oracle的存储过程和函数
- Android 学习笔记之AndBase框架学习(四) 使用封装好的函数实现单,多线程任务
- map方法学习,封装函数--实现Array.prototype.map()的功能
- 代理模式深入学习(二)——实现动态代理对事务的封装
- cocos2d-x学习笔记(五)仿真树叶飘落效果的实现(精灵旋转、翻转、钟摆运动等综合运用)
- 【Cocos2d-X开发学习笔记】第18期:动作类之改变动作对象、函数回调动作以及过程动作的使用
- cocos2d-x学习笔记(五)仿真树叶飘落效果的实现(精灵旋转、翻转、钟摆运动等综合运用)
- oracle 最简单的学习笔记,增删改查,PLSQL基本语法,游标,函数,存储过程的实现
- JS实现匀速与减速缓慢运动的动画效果封装示例
- Oracle基础学习三:过程PROCEDURE 和函数FUNCTION 的创建及调用
- 调用API的SDK相关知识:实现回调函数.
- C++中的property库的设计与实现过程(二)——如何为属性指定get_和set_函数?
- Oracle基础学习三:过程PROCEDURE 和函数FUNCTION 的创建及调用