Mac OS X下安装配置MySQL数据库
2016-08-26 13:36
471 查看
Mac OS X下安装配置MySQL数据库
最近需要在电脑上自己搭一个数据库,由于在大学期间使用的是MySQL,也算是对它情有独钟吧,这次在Mac上依旧就使用MySQL吧,在这里记录一下安装以及配置的过程(注:博文中使用的OS X版本为:10.11.4)
MySQL下载
要想配置,当然需要安装才能配置啦 (0.0,好像说了废话啦,哈哈)进入官网下载界面
一般情况,首先想到的必然会是官方网站,这里给出下载地址:MySQL Server官网下载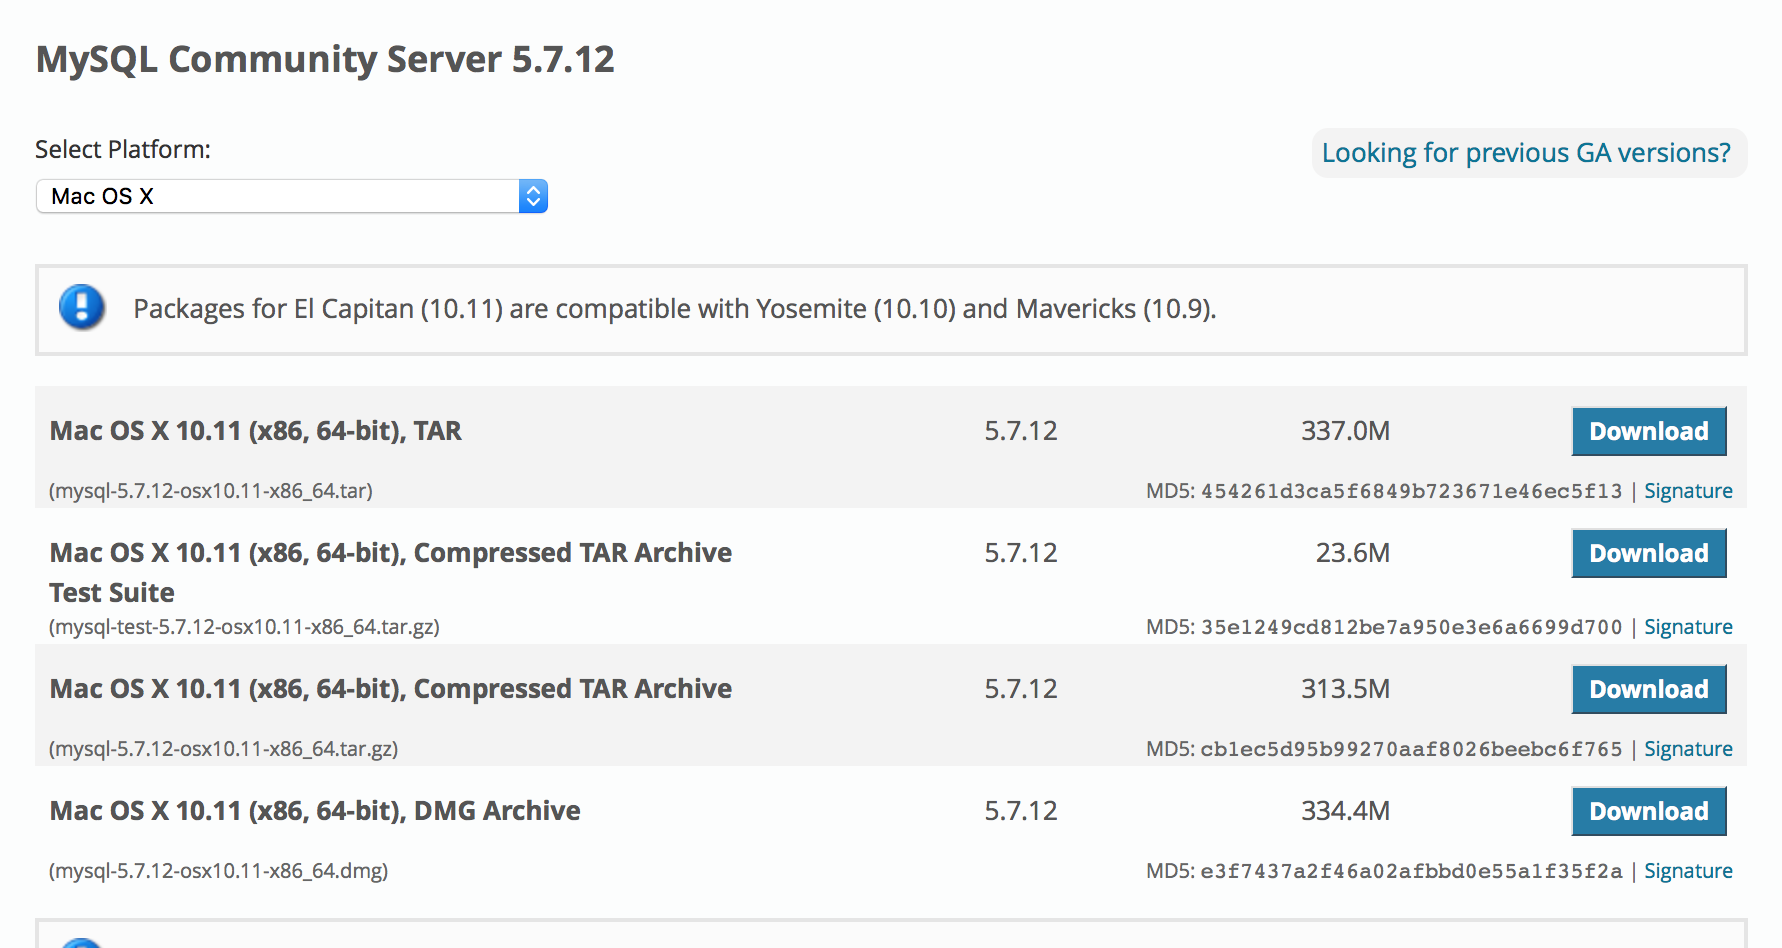
32位系统 or 64位系统
从上图可以看出它已经识别出来电脑的系统的型号,但是为了拓展一下,还是给出一个查看Mac OS X系统是32位还是64位的简单方法在终端使用命令行
uname -a
查看打印结果:
X86_64表示系统为64位
i686表示系统为32位
下面是楼主电脑的打印结果,结果来看楼主的系统是64位的:
<code class="language-Ruby hljs avrasm has-numbering" style="display: block; padding: 0px; background-color: transparent; color: inherit; box-sizing: border-box; font-family: 'Source Code Pro', monospace;font-size:undefined; white-space: pre; border-top-left-radius: 0px; border-top-right-radius: 0px; border-bottom-right-radius: 0px; border-bottom-left-radius: 0px; word-wrap: normal; background-position: initial initial; background-repeat: initial initial;">Darwin RITLMacBook-Pro<span class="hljs-preprocessor" style="color: rgb(68, 68, 68); box-sizing: border-box;">.local</span> <span class="hljs-number" style="color: rgb(0, 102, 102); box-sizing: border-box;">15.4</span><span class="hljs-number" style="color: rgb(0, 102, 102); box-sizing: border-box;">.0</span>
Darwin Kernel Version <span class="hljs-number" style="color: rgb(0, 102, 102); box-sizing: border-box;">15.4</span><span class="hljs-number" style="color: rgb(0, 102, 102); box-sizing: border-box;">.0</span>: Fri Feb <span class="hljs-number" style="color: rgb(0, 102, 102); box-sizing: border-box;">26</span> <span class="hljs-number" style="color: rgb(0, 102, 102); box-sizing: border-box;">22</span>:<span class="hljs-number" style="color: rgb(0, 102, 102); box-sizing: border-box;">08</span>:<span class="hljs-number" style="color: rgb(0, 102, 102); box-sizing: border-box;">05</span> PST <span class="hljs-number" style="color: rgb(0, 102, 102); box-sizing: border-box;">2016</span><span class="hljs-comment" style="color: rgb(136, 0, 0); box-sizing: border-box;">;</span>
<span class="hljs-label" style="box-sizing: border-box;">root:</span>xnu-<span class="hljs-number" style="color: rgb(0, 102, 102); box-sizing: border-box;">3248.40</span><span class="hljs-number" style="color: rgb(0, 102, 102); box-sizing: border-box;">.184</span>~<span class="hljs-number" style="color: rgb(0, 102, 102); box-sizing: border-box;">3</span>/RELEASE_X86_64 x86_64</code><ul class="pre-numbering" style="box-sizing: border-box; position: absolute; width: 50px; background-color: rgb(238, 238, 238); top: 0px; left: 0px; margin: 0px; padding: 6px 0px 40px; border-right-width: 1px; border-right-style: solid; border-right-color: rgb(221, 221, 221); list-style: none; text-align: right;"><li style="box-sizing: border-box; padding: 0px 5px;">1</li><li style="box-sizing: border-box; padding: 0px 5px;">2</li><li style="box-sizing: border-box; padding: 0px 5px;">3</li></ul>
更多查看OS X系统位数的方法请查看博文如何查看mac系统是32位还是64位的操作系统
开始下载
我选择的是最后一个dmg格式的安装包,点击download,会出现让我们注册登陆的界面,点击最下面的No thanks,just take me to downloads!直接进行下载即可:下载完毕进行安装
打开下载的安装包,点击最后一个文件进行安装,一路Next完成: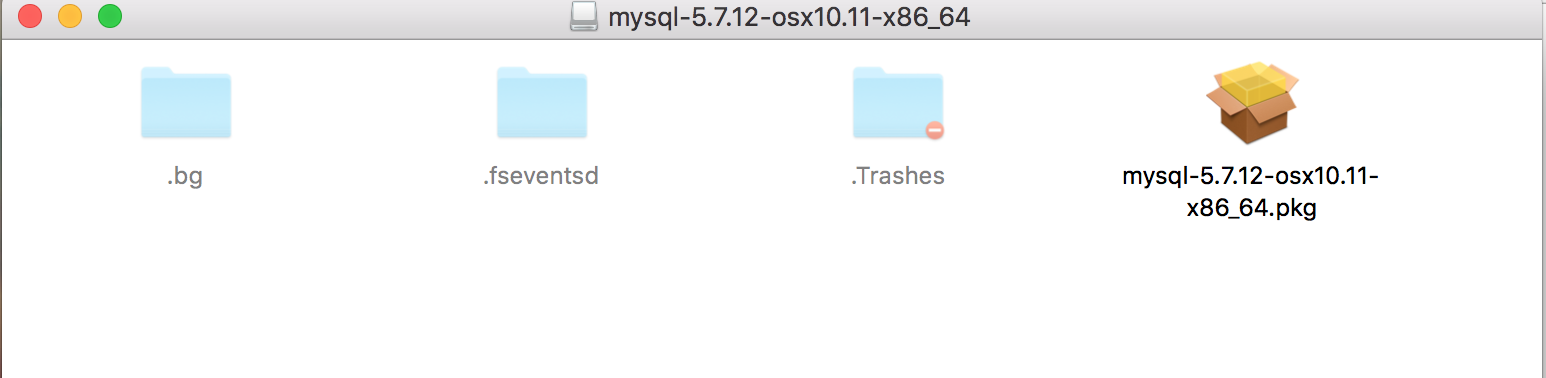
安装完毕
安装完毕之后会弹出一个会话框,这里需要注意下,它会告诉我们root用户的初始密码,别忽略了…
安装检测
安装完毕,打开偏好设置,查看一下是否已经安装好MySQL,楼主的MySQL看来是安装成功了,哦也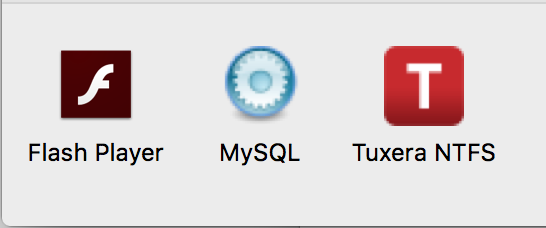
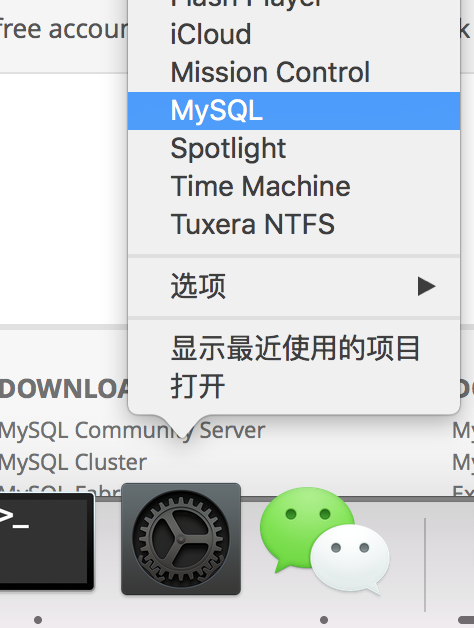
启动MySQL
通过点击偏好设置里的MySQL负责启动或者停止MySQL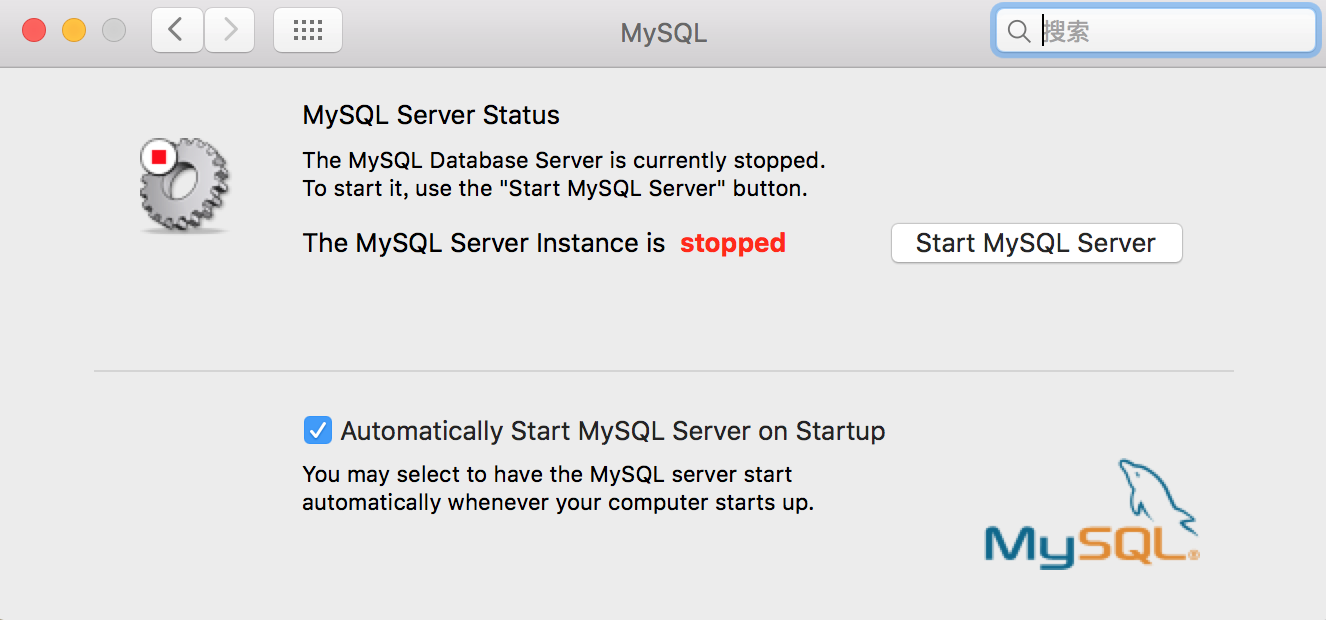
当然也可以直接双击(双指点击都懂得)进行快速进入
MySQL Workbench下载
MySQL Workbench是一个什么软件呢,就是一款GUI ( Graphical User Interface ) 工具。进入官网下载界面
从官网进行下载MySQL Workbench 官网下载这个地方有选择恐惧症的朋友就舒服多了,不需要选,毕竟只有一个嘛

下载完毕进行安装
双击安装即可,安装完毕之后就可以在Launchpad或者应用程序中就可以看到它的身影了,如图
打开它,就可以看到下面的主界面了:
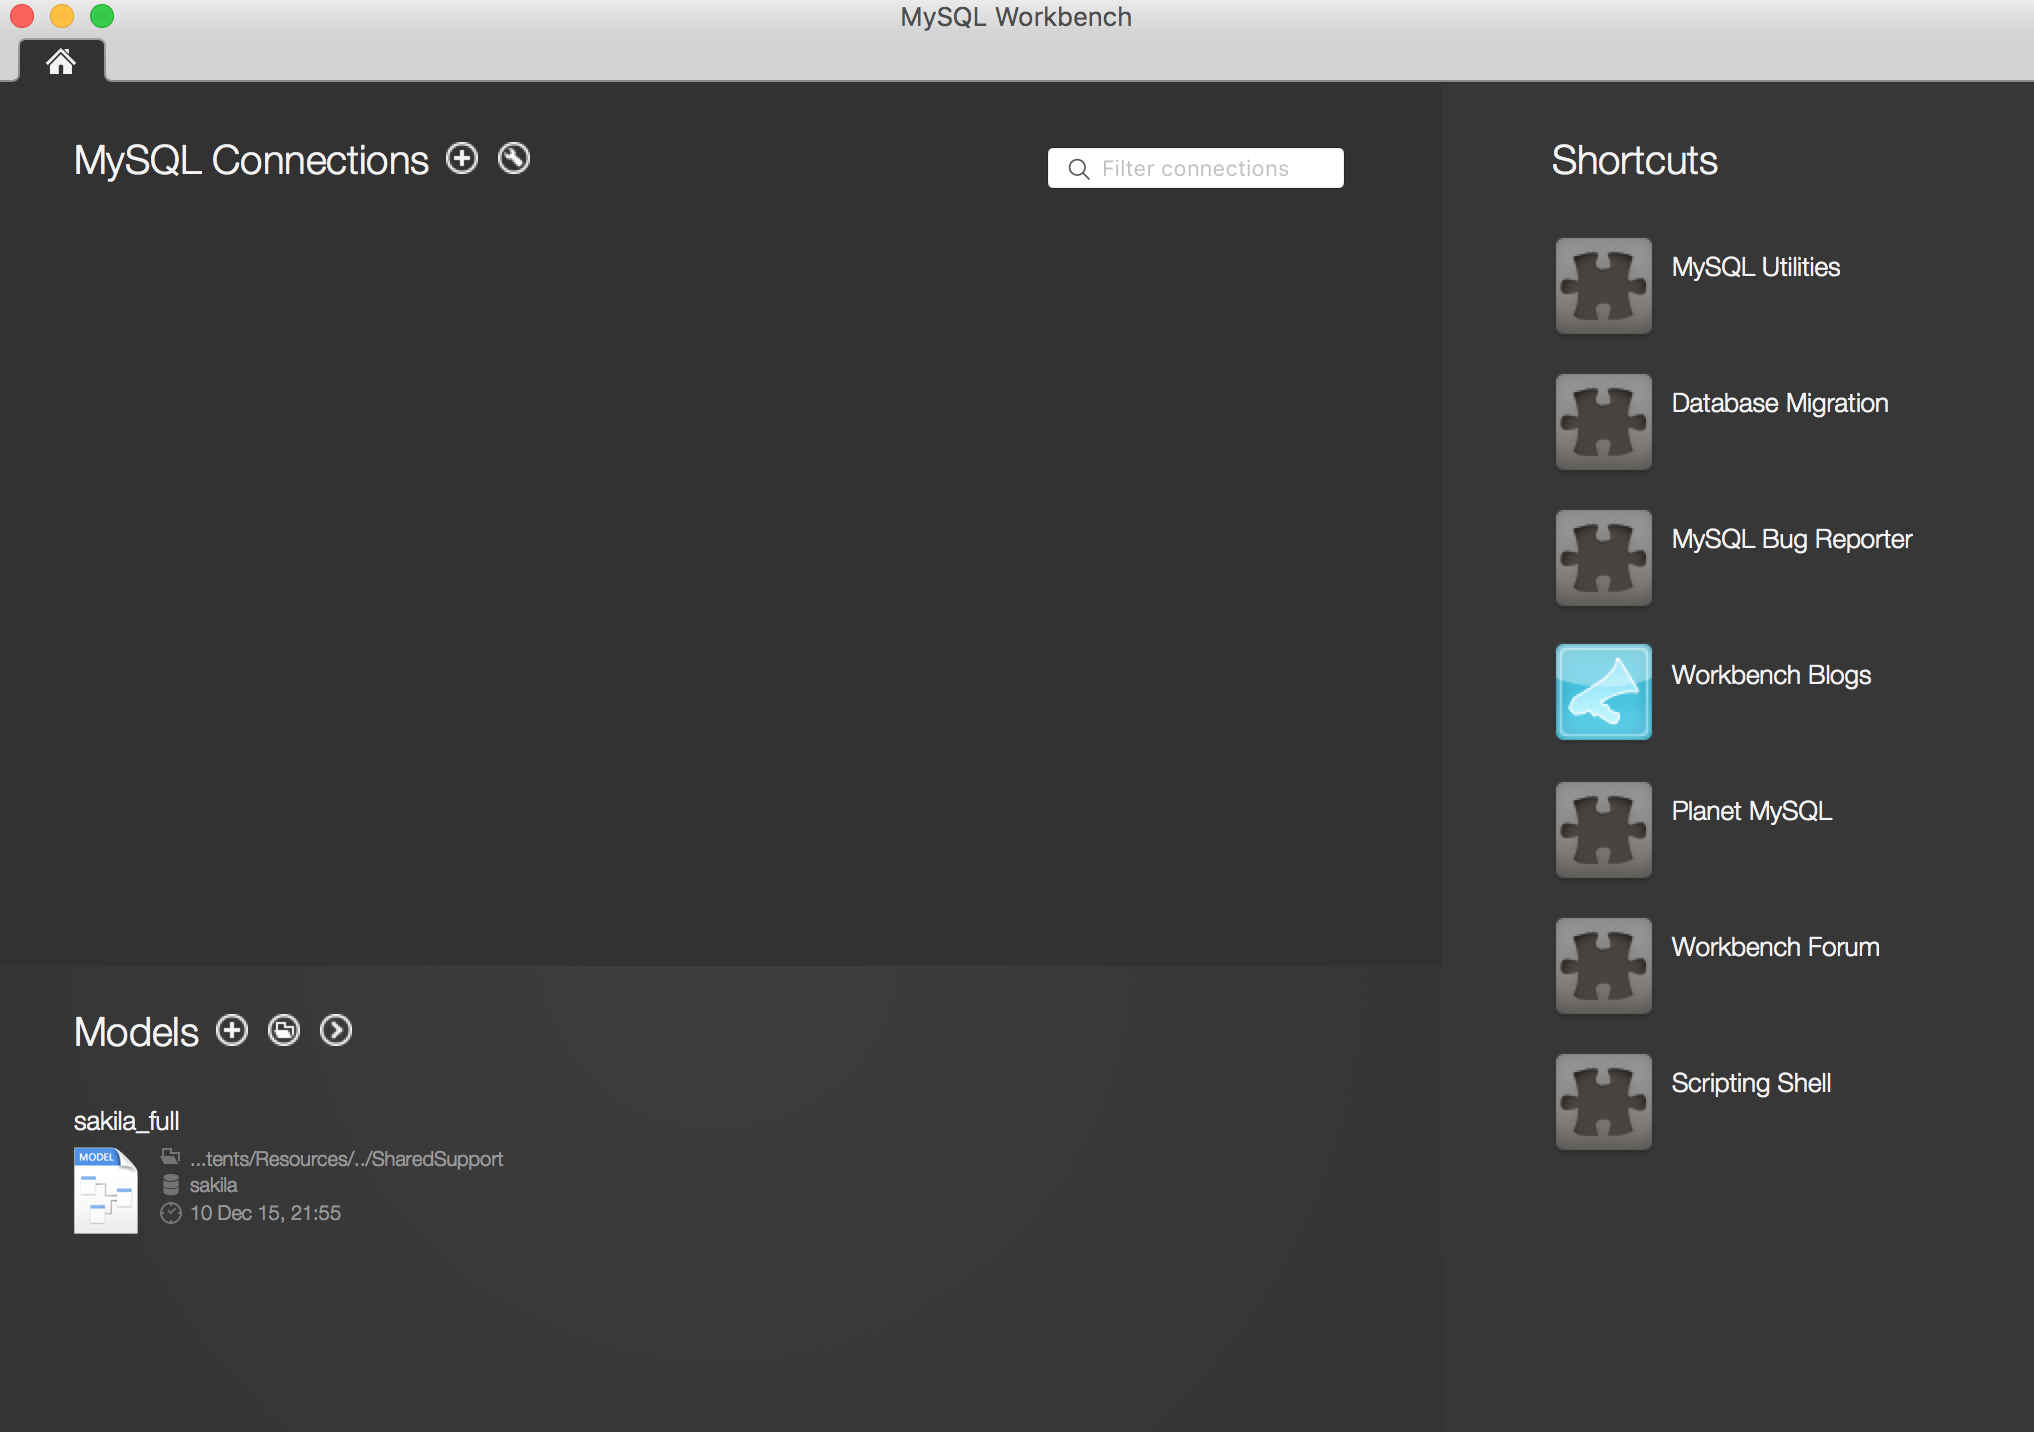
进行数据库的连接
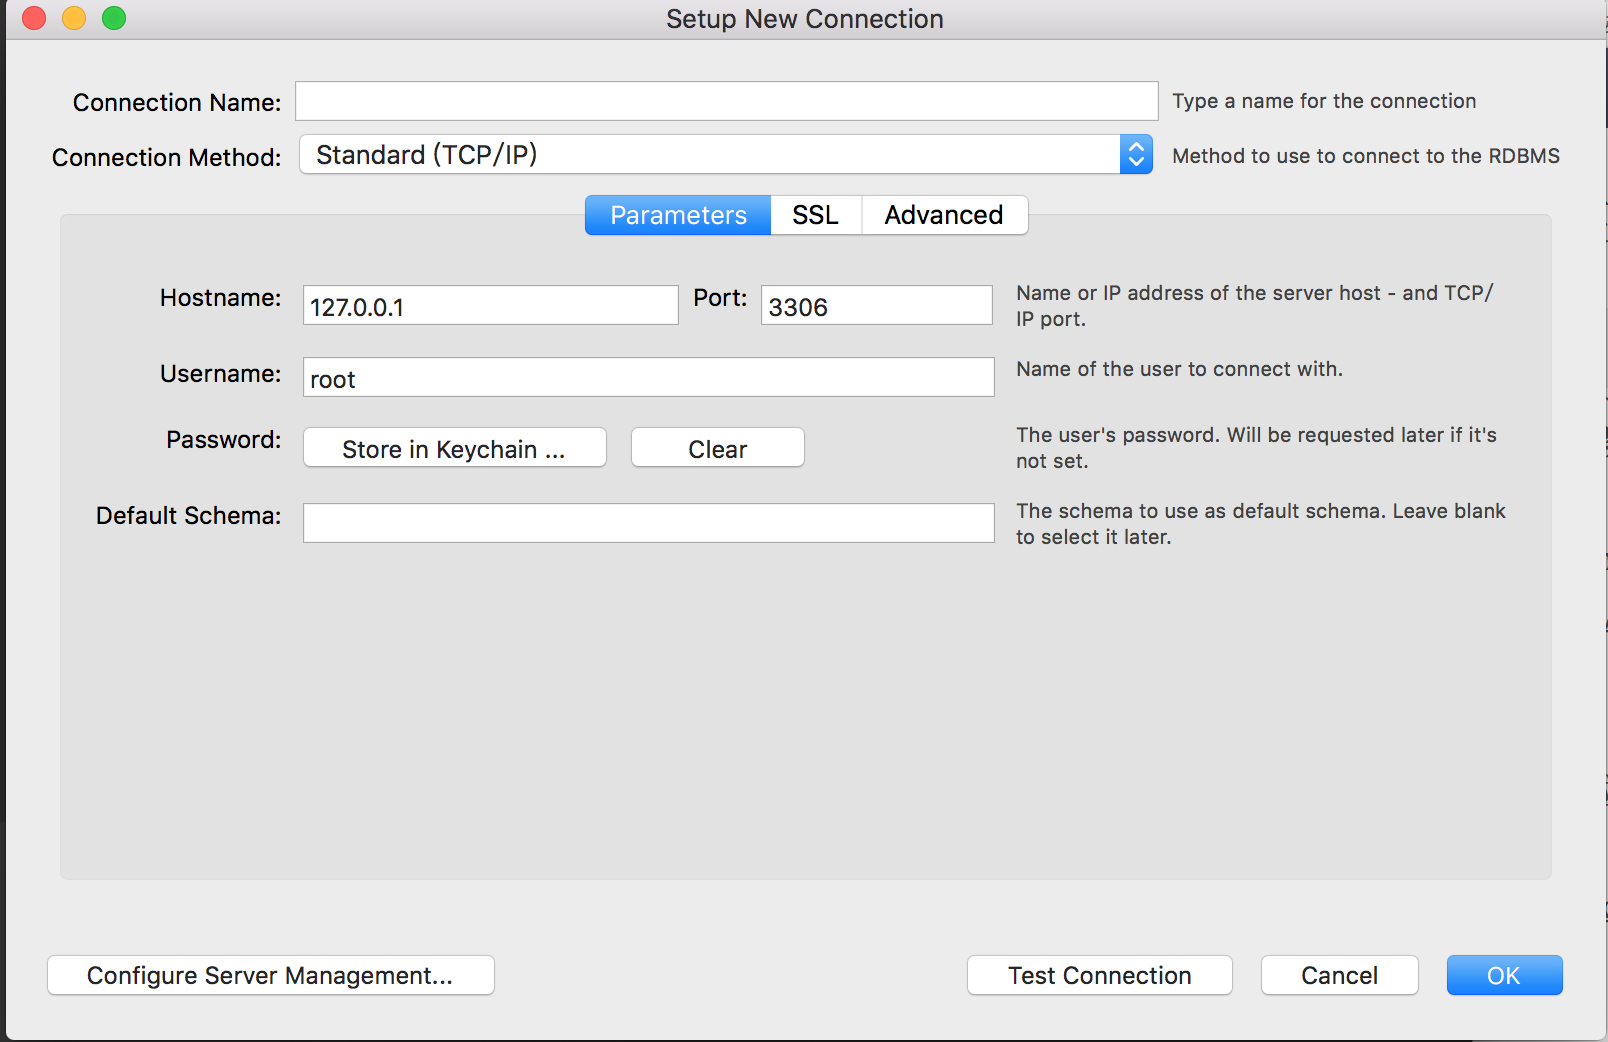
创建一个新的连接
点击标题MySQL Connections右边的+按钮进行创建,Connection Name可以随便写,这里作为测试就叫做ConnectionTest1:
创建成功
在主页能看到创建的所有连接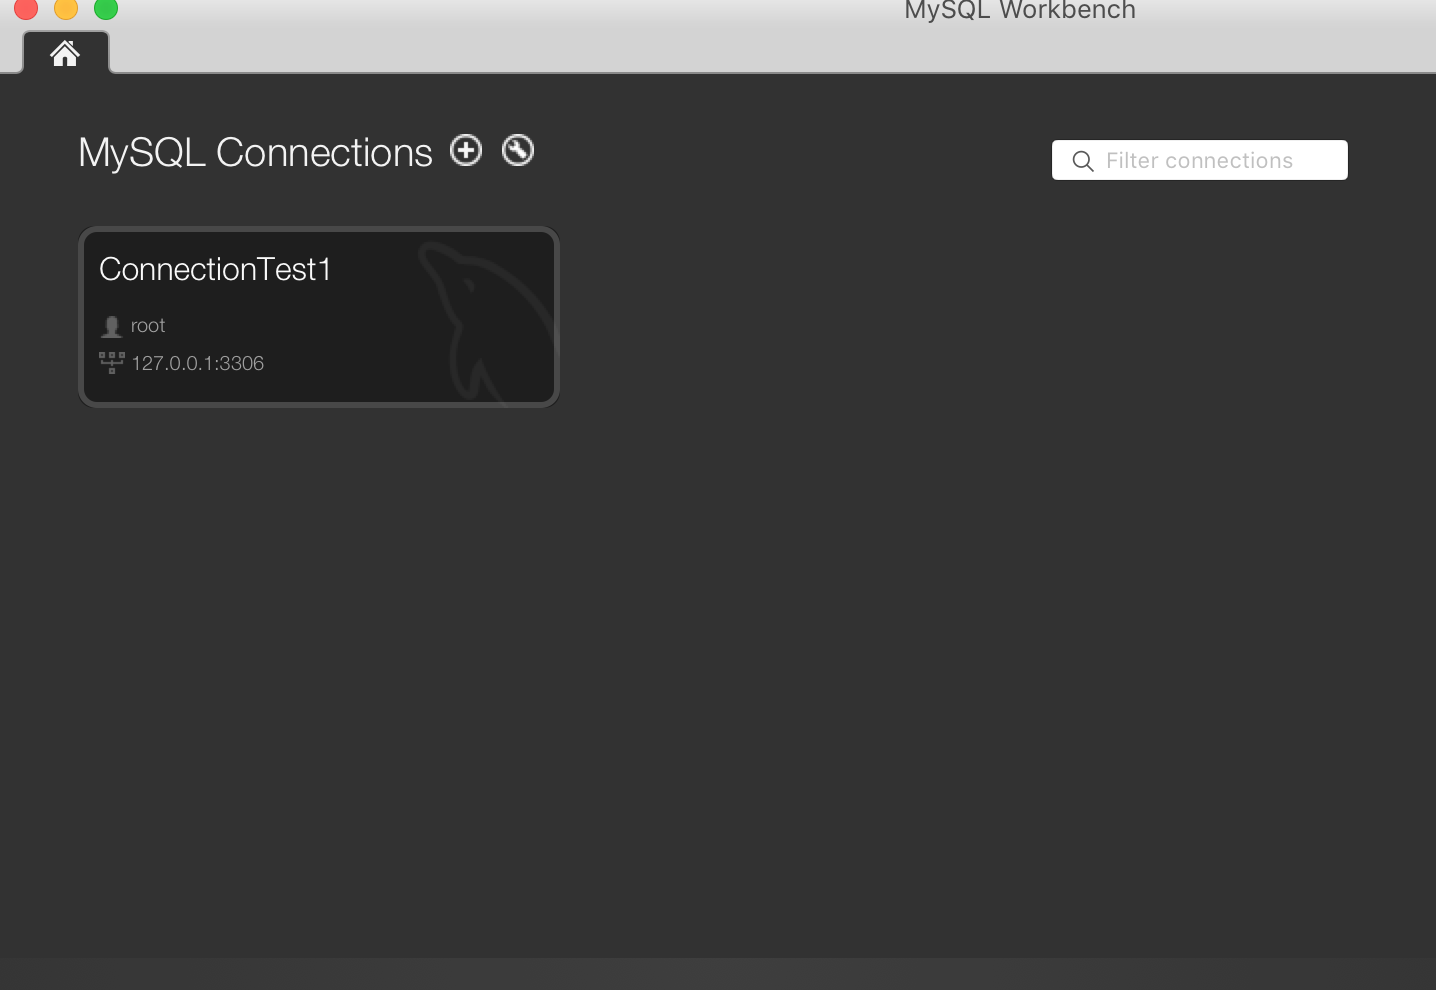
打开连接
双击创建好的连接,会出现让我们填写root的密码,当然这里的密码就是之前安装MySQL成功之后,系统提示给我们的那个默认密码(虽然密码很繁琐0.0)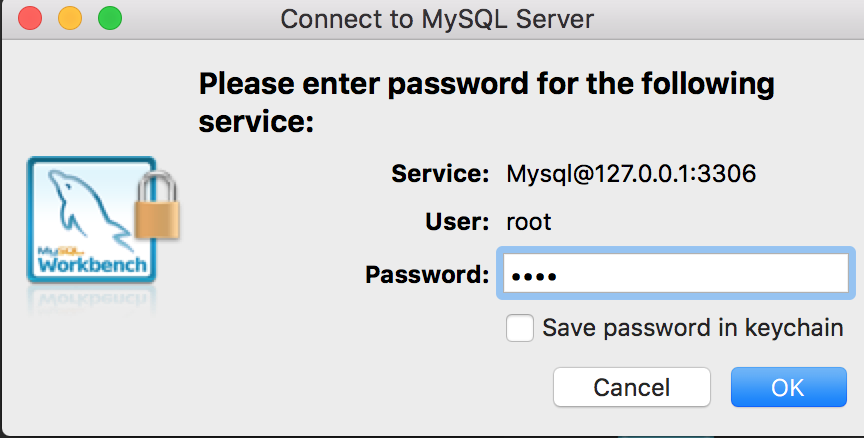
输入正确之后系统会要求我们修改密码,毕竟之前的密码太麻烦了,反正楼主是记不住
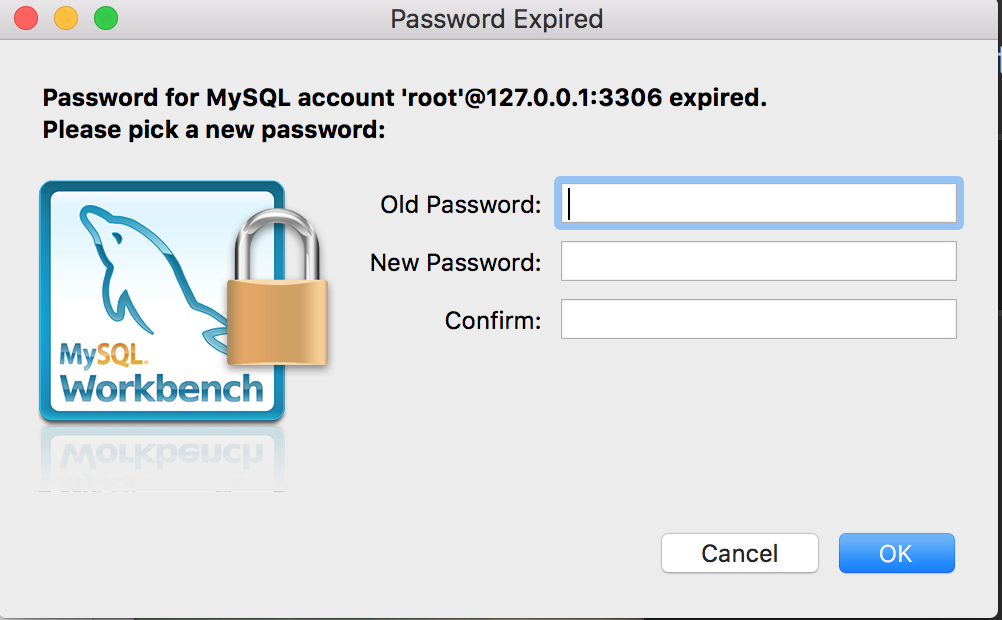
修改密码成功
修改密码完成之后,再点击创建的连接,输入修改后的密码,就进入了可视化的主界面: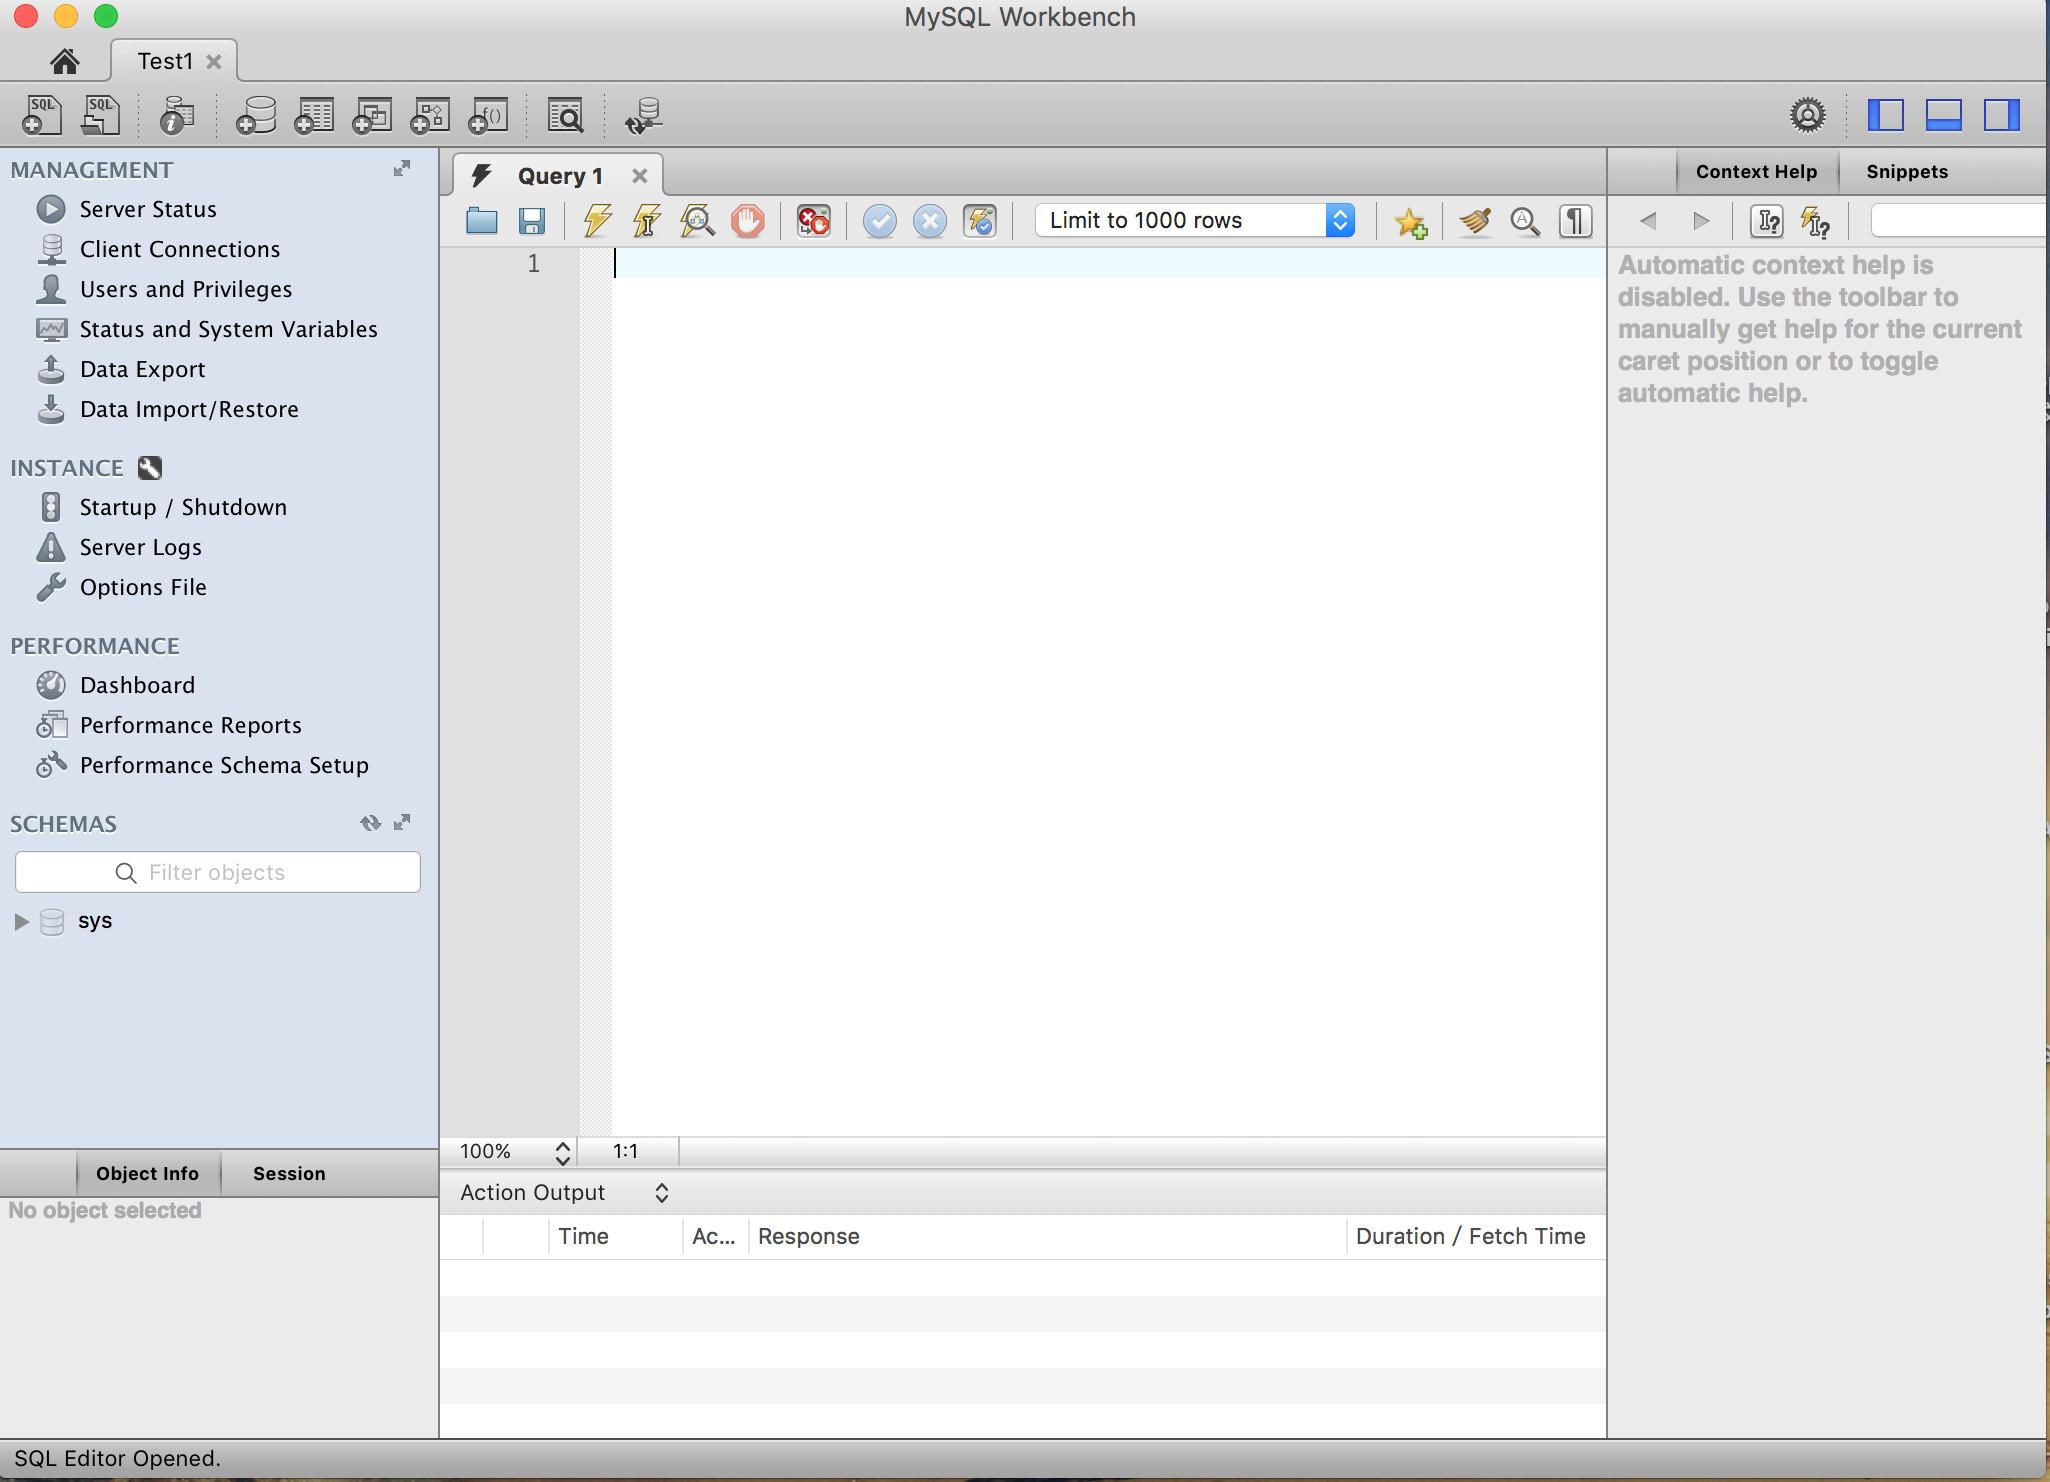
添加用户
如果需要增加用户,当然也是可以的了.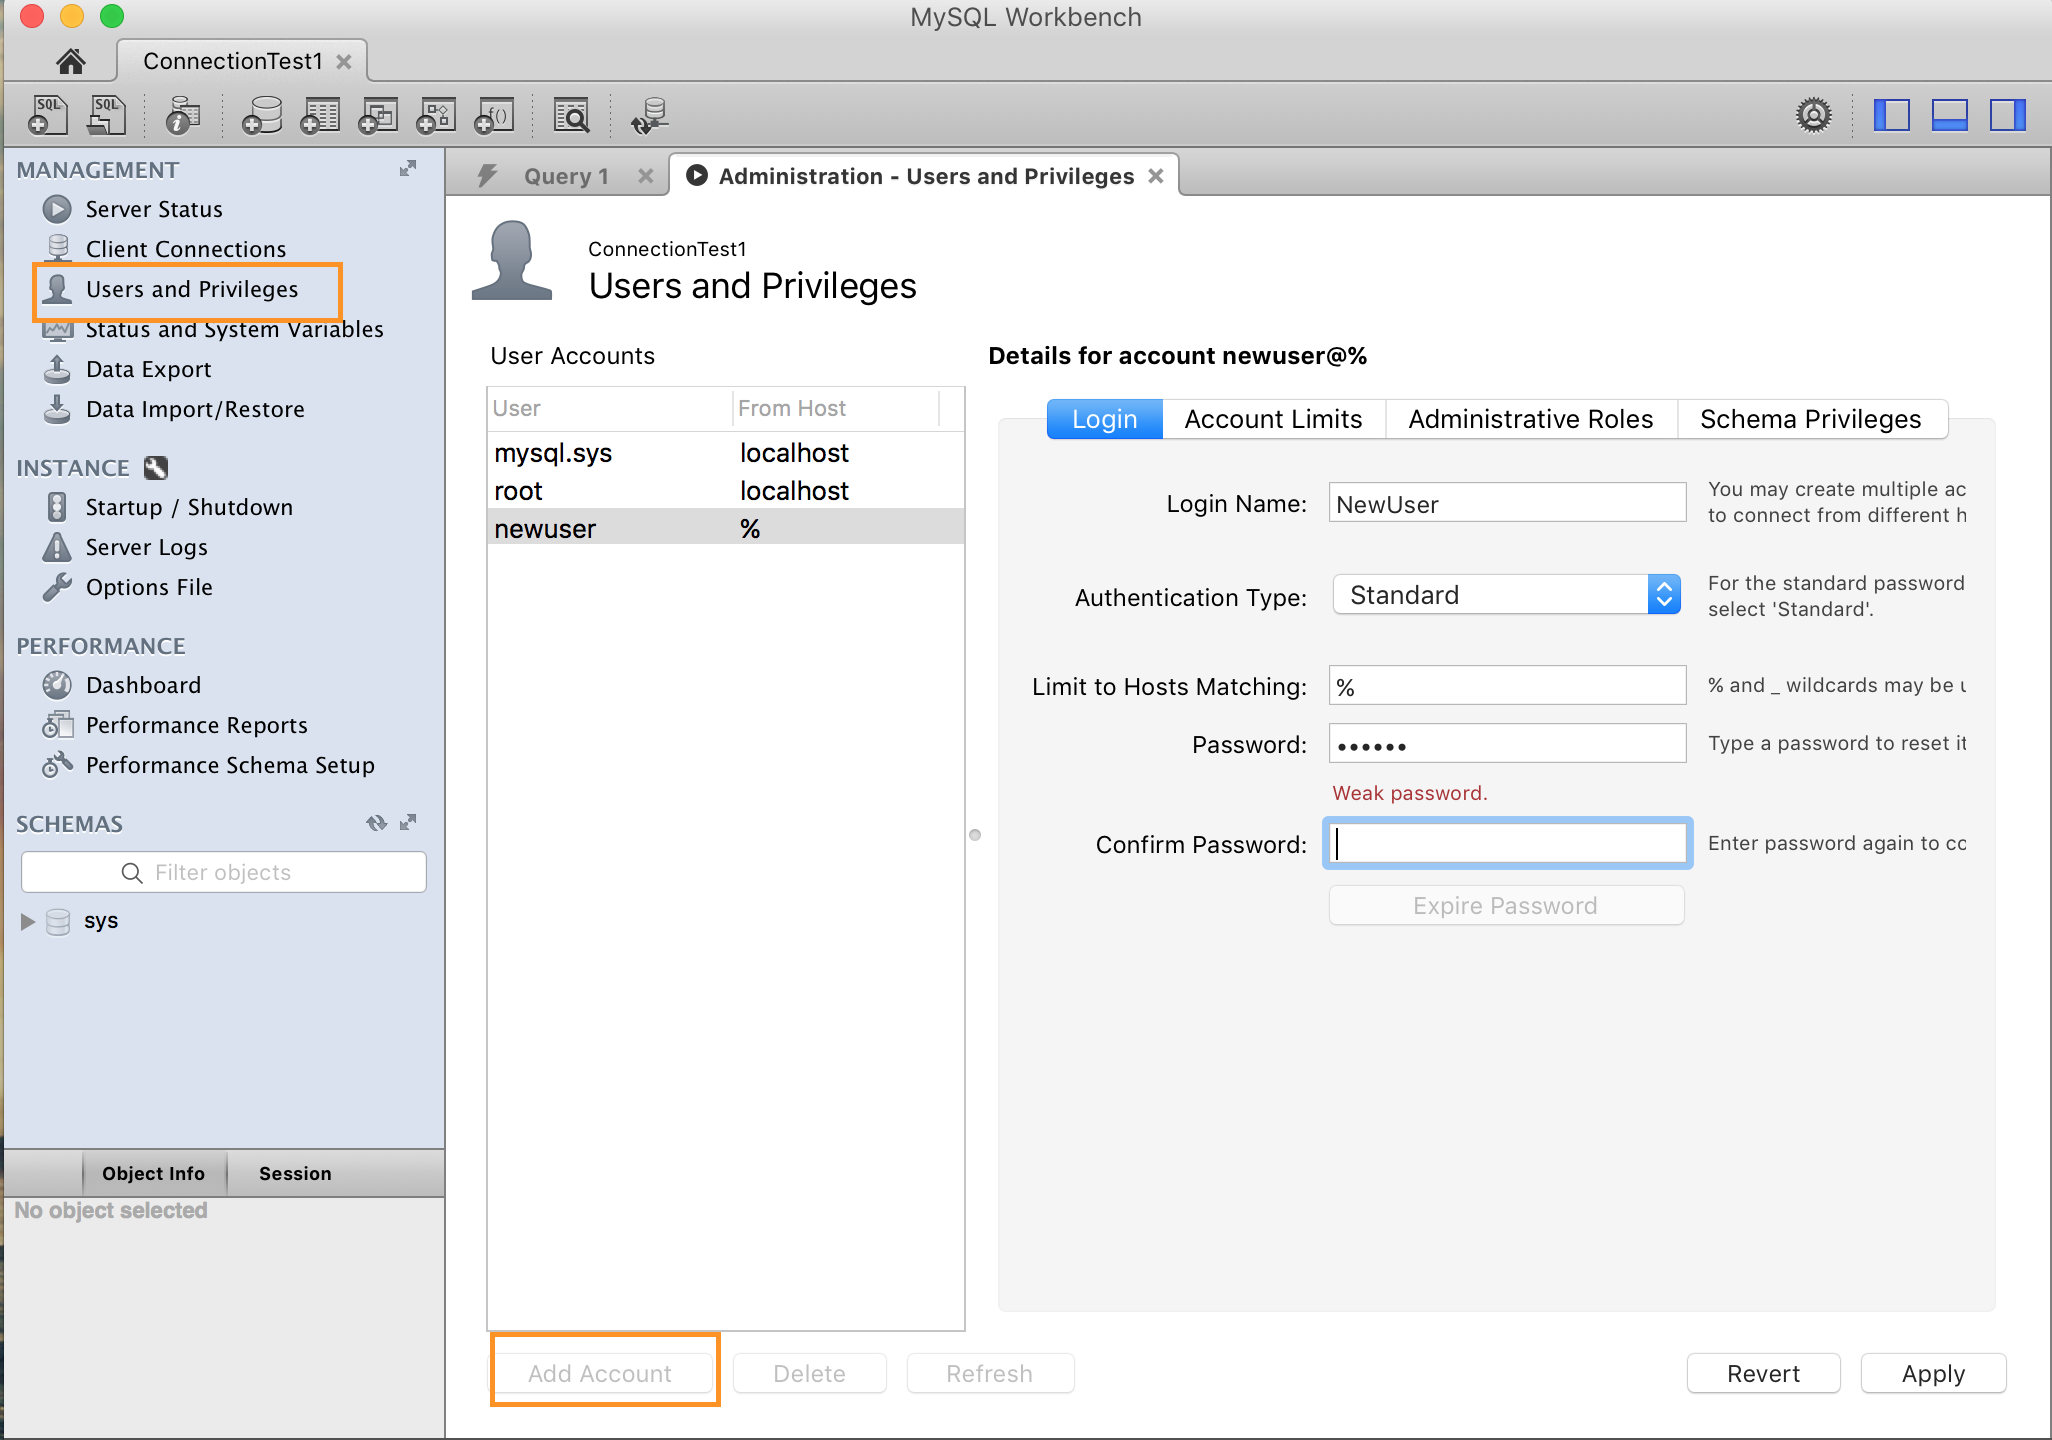
卸载MySQL
如何卸载MySQL,毕竟它不出现在应用程序以及Launchpad中的,安装盘中也不给我们卸载文件.
在终端中输入如下代码就可以完全删除MySQL了,楼主还是推荐一次全部复制到终端,简单暴力(记得将MySQL服务关闭哦):
<code class="language-Ruby hljs lasso has-numbering" style="display: block; padding: 0px; background-color: transparent; color: inherit; box-sizing: border-box; font-family: 'Source Code Pro', monospace;font-size:undefined; white-space: pre; border-top-left-radius: 0px; border-top-right-radius: 0px; border-bottom-right-radius: 0px; border-bottom-left-radius: 0px; word-wrap: normal; background-position: initial initial; background-repeat: initial initial;">sudo rm /usr/<span class="hljs-built_in" style="color: rgb(102, 0, 102); box-sizing: border-box;">local</span>/mysql
sudo rm <span class="hljs-attribute" style="box-sizing: border-box;">-rf</span> /usr/<span class="hljs-built_in" style="color: rgb(102, 0, 102); box-sizing: border-box;">local</span>/mysql<span class="hljs-subst" style="color: rgb(0, 0, 0); box-sizing: border-box;">*</span>
sudo rm <span class="hljs-attribute" style="box-sizing: border-box;">-rf</span> /Library/StartupItems/MySQLCOM
sudo rm <span class="hljs-attribute" style="box-sizing: border-box;">-rf</span> /Library/PreferencePanes/My<span class="hljs-subst" style="color: rgb(0, 0, 0); box-sizing: border-box;">*</span>
vim /etc/hostconfig  (<span class="hljs-literal" style="color: rgb(0, 102, 102); box-sizing: border-box;">and</span> removed the line MYSQLCOM<span class="hljs-subst" style="color: rgb(0, 0, 0); box-sizing: border-box;">=-</span>YES<span class="hljs-subst" style="color: rgb(0, 0, 0); box-sizing: border-box;">-</span>)
rm <span class="hljs-attribute" style="box-sizing: border-box;">-rf</span> ~/Library/PreferencePanes/My<span class="hljs-subst" style="color: rgb(0, 0, 0); box-sizing: border-box;">*</span>
sudo rm <span class="hljs-attribute" style="box-sizing: border-box;">-rf</span> /Library/Receipts/mysql<span class="hljs-subst" style="color: rgb(0, 0, 0); box-sizing: border-box;">*</span>
sudo rm <span class="hljs-attribute" style="box-sizing: border-box;">-rf</span> /Library/Receipts/MySQL<span class="hljs-subst" style="color: rgb(0, 0, 0); box-sizing: border-box;">*</span>
sudo rm <span class="hljs-attribute" style="box-sizing: border-box;">-rf</span> /<span class="hljs-built_in" style="color: rgb(102, 0, 102); box-sizing: border-box;">var</span>/db/receipts/com<span class="hljs-built_in" style="color: rgb(102, 0, 102); box-sizing: border-box;">.</span>mysql<span class="hljs-built_in" style="color: rgb(102, 0, 102); box-sizing: border-box;">.</span><span class="hljs-subst" style="color: rgb(0, 0, 0); box-sizing: border-box;">*</span></code><ul class="pre-numbering" style="box-sizing: border-box; position: absolute; width: 50px; background-color: rgb(238, 238, 238); top: 0px; left: 0px; margin: 0px; padding: 6px 0px 40px; border-right-width: 1px; border-right-style: solid; border-right-color: rgb(221, 221, 221); list-style: none; text-align: right;"><li style="box-sizing: border-box; padding: 0px 5px;">1</li><li style="box-sizing: border-box; padding: 0px 5px;">2</li><li style="box-sizing: border-box; padding: 0px 5px;">3</li><li style="box-sizing: border-box; padding: 0px 5px;">4</li><li style="box-sizing: border-box; padding: 0px 5px;">5</li><li style="box-sizing: border-box; padding: 0px 5px;">6</li><li style="box-sizing: border-box; padding: 0px 5px;">7</li><li style="box-sizing: border-box; padding: 0px 5px;">8</li><li style="box-sizing: border-box; padding: 0px 5px;">9</li></ul>

相关文章推荐
- Mac OS X下安装配置MySQL数据库
- Mac OS X下安装配置MySQL数据库
- 【MySQL数据库开发之一】Mac下配置安装数据库-MySQL
- Mac OS X下安装与配置ctags和tagbar.vim以开发obj-c
- Mac OS X系统下利用VirtualBox安装和配置Windows XP虚拟机
- XCode源代码控制SVN (windows SVN服务端) 配置,适用vmware安装的MAC OS X
- Hadoop学习---- Mac OSX下Hadoop 2.3.0安装及配置
- SDL2在MAC OS X 10.9/10.10 XCode 5下的配置安装
- Mac OS X安装opencv并配置到Xcode和eclipse上
- Mac OS X 10.9自带php-fpm的配置使用和扩展安装
- Mac笔记( 二) Mac OS X 10.10 安装与配置PhoneGap
- Mac OS X下安装Java 7及配置Eclipse JDK
- MAC OS X LION 系统下 TOMCAT 7X 安装与配置说明
- 在Mac OS X中安装配置Apache + PHP + MySQL +Tomcat
- Mac OS X 10.9.3上安装配置nginx-1.7.2
- MAC 下 安装配置 MySQL数据库
- MAC OS X安装配置Android Studio开发环境
- 【MySQL数据库开发之一】Mac下配置安装数据库-MySQL
- 【MySQL数据库开发之一】Mac下配置安装数据库-MySQL
- Mac OS X 安装和配置 PAServer,调试Firemonkey程序