Windows下使用Redis(一)安装使用
2016-08-16 11:36
651 查看
一、Redis 是什么
Redis 是一款依据BSD开源协议发行的高性能Key-Value存储系统(cache and store)。它通常被称为数据结构服务器,因为值(value)可以是 字符串(String), 哈希(Map), 列表(list), 集合(sets) , 有序集合(sorted sets)和位图(bitmaps)等类型。官方网站是 http://redis.io/
Redis 和其它 NO SQL 的比较本文不做过多阐述。我觉得 Redis 最好的地方就是提供数据持久化功能(定时把内存中的数据写入文件),从而不至于一旦宕机将造成数据丢失。而且相较于 Memcached ,它提供的值类型选择更为宽泛。
二、Redis 下载安装
打开 Redis 官网,我们发现 Redis 官方并不支持 Windows 平台,但 Microsoft Open Tech Group 却改变了这一情况
Server 端好了,现在我们开一个 Client 端来测试一下,新打开 CMD (之前打开的 CMD - Server 端不能关闭)

其中 10.7.15.172 为本机 IP
设置一个值
读取这个值
大概15分钟之后我们发现 Server 端也有变化
原来15分钟自动把内存中的数据写入 RDF 文件以防丢失。
至于为什么是15分钟,我们可以看到配置文件是这样设置的(1个更改/900秒,10更改/300秒,10000更改/60秒),即更改的越多,数据写入文件的时间间隔越短,这样设计蛮合理的。
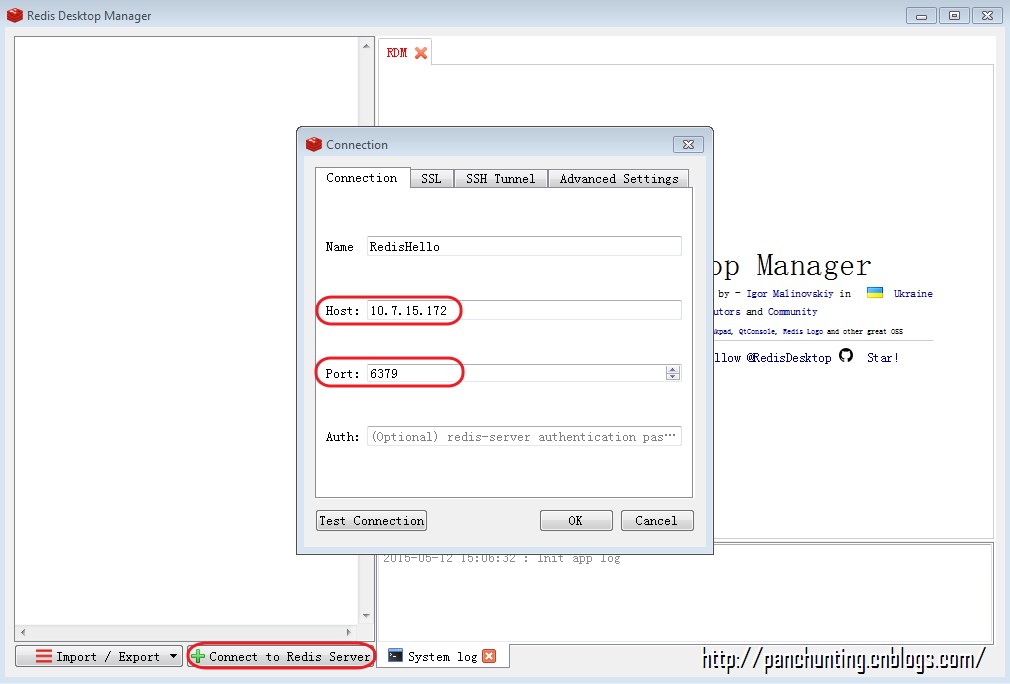
三、Redis Desktop Manager
虽然通过上面的 CMD 我们也能看到 Redis 在内存中的数据,但方式太不友好了,这里介绍一个工具 Redis Desktop Manager
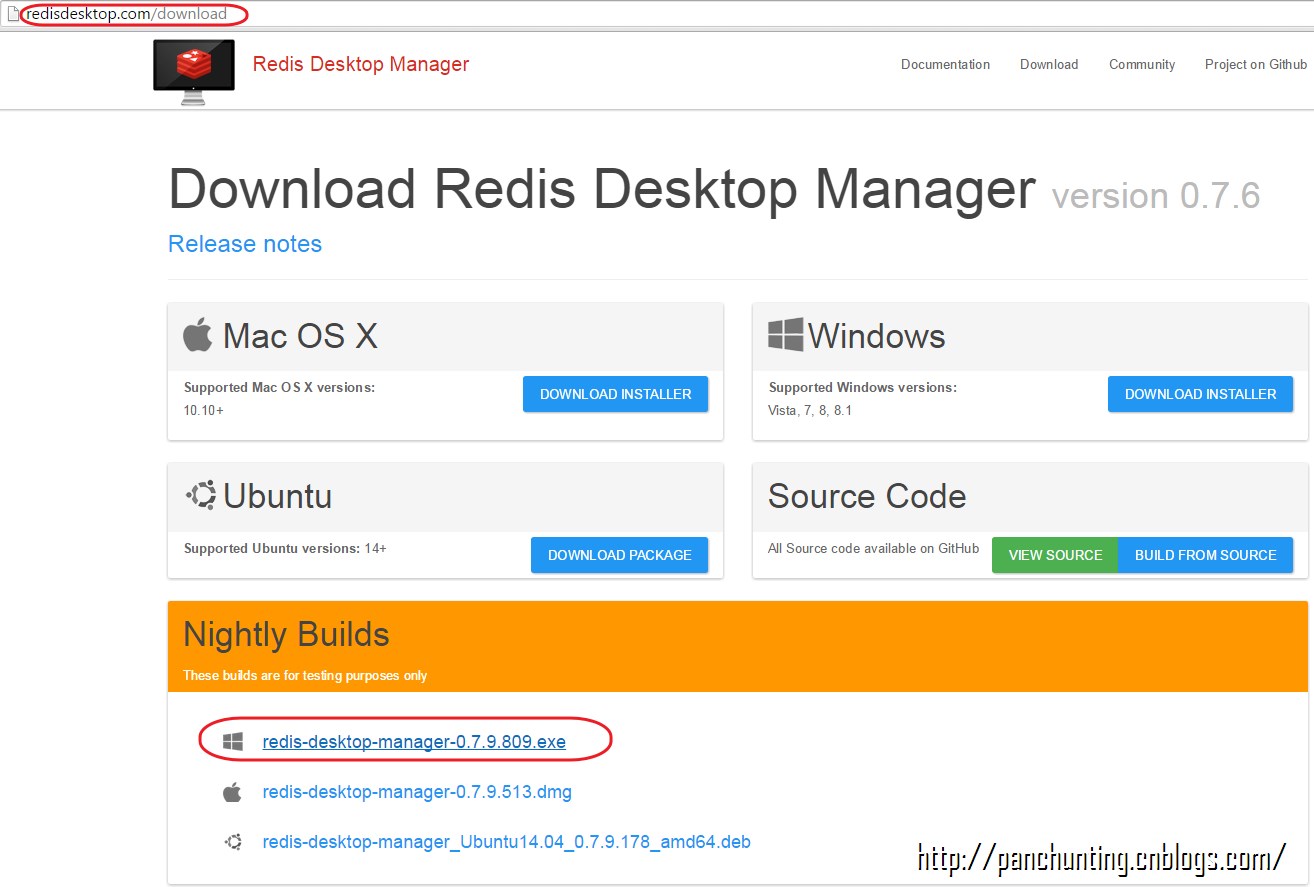
下载完成后安装,之后连接至 Server 即可
点击查看数据

四、Install Redis as Windows Service
前面我们通过 CMD 方式安装了Redis, 但是非常不方便,因为我们要一直保持窗口打开,而且如果机器重启的话也需要重新打开。Redis 也可以以 Windows Service 的方式进行部署。在部署之前我们需要把配置文件找到
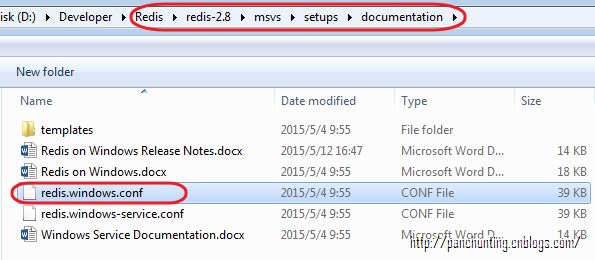
然后拷贝到 Redis 目录

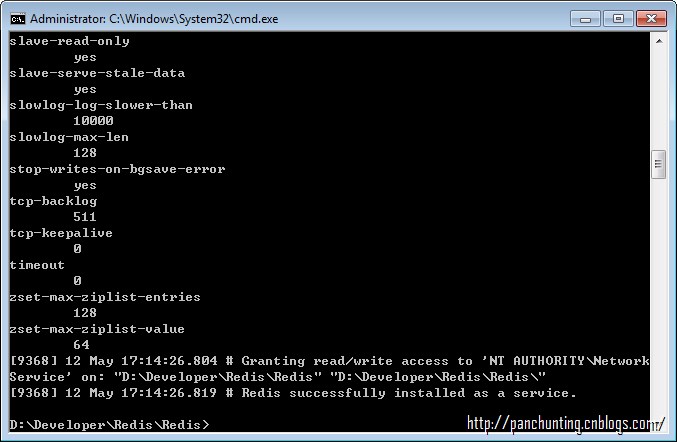
安装服务

安装成功提示
查看服务

启动服务

停止服务
卸载服务
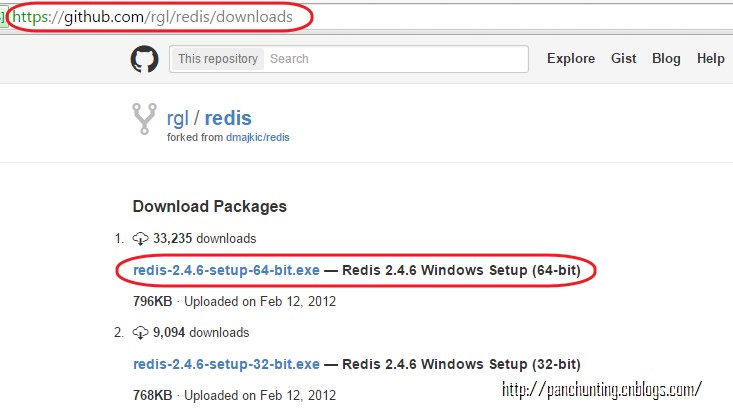
其实安装成 Windows 服务还有一种方式,就是从 Github 上直接下载安装文件,但是好像不是最新的版本
Redis 是一款依据BSD开源协议发行的高性能Key-Value存储系统(cache and store)。它通常被称为数据结构服务器,因为值(value)可以是 字符串(String), 哈希(Map), 列表(list), 集合(sets) , 有序集合(sorted sets)和位图(bitmaps)等类型。官方网站是 http://redis.io/
Redis 和其它 NO SQL 的比较本文不做过多阐述。我觉得 Redis 最好的地方就是提供数据持久化功能(定时把内存中的数据写入文件),从而不至于一旦宕机将造成数据丢失。而且相较于 Memcached ,它提供的值类型选择更为宽泛。
二、Redis 下载安装
打开 Redis 官网,我们发现 Redis 官方并不支持 Windows 平台,但 Microsoft Open Tech Group 却改变了这一情况
Microsoft Windows [Version 6.1.7601]
Copyright (c) 2009 Microsoft Corporation.  All rights reserved.

C:\Windows\system32>cd D:\Developer\Redis\Redis

C:\Windows\system32>D:

D:\Developer\Redis\Redis>redis-server.exe redis.conf
processing redis.conf
arguments seen:
activerehashing
yes
aof-load-truncated
yes
aof-rewrite-incremental-fsync
yes
appendfilename
appendonly.aof
appendfsync
everysec
appendonly
no
auto-aof-rewrite-min-size
64mb
auto-aof-rewrite-percentage
100
client-output-buffer-limit
normal, 0, 0, 0
slave, 256mb, 64mb, 60
pubsub, 32mb, 8mb, 60
daemonize
no
databases
16
dbfilename
dump.rdb
dir
./
hash-max-ziplist-entries
512
hash-max-ziplist-value
64
hll-sparse-max-bytes
3000
hz
10
latency-monitor-threshold
0
list-max-ziplist-entries
512
list-max-ziplist-value
64
logfile

loglevel
notice
lua-time-limit
5000
no-appendfsync-on-rewrite
no
notify-keyspace-events

pidfile
/var/run/redis.pid
port
6379
rdbchecksum
yes
rdbcompression
yes
repl-disable-tcp-nodelay
no
repl-diskless-sync
no
repl-diskless-sync-delay
5
save
900, 1
300, 10
60, 10000
set-max-intset-entries
512
slave-priority
100
slave-read-only
yes
slave-serve-stale-data
yes
slowlog-log-slower-than
10000
slowlog-max-len
128
stop-writes-on-bgsave-error
yes
tcp-backlog
511
tcp-keepalive
0
timeout
0
zset-max-ziplist-entries
128
zset-max-ziplist-value
64
[7696] 12 May 14:24:45.265 # Warning: 32 bit instance detected but no memory lim
it set. Setting 3 GB maxmemory limit with 'noeviction' policy now.
_._
_.-``__ ''-._
_.-``    `.  `_.  ''-._           Redis 2.8.19 (00000000/0) 32 bit
.-`` .-```.  ```\/    _.,_ ''-._
(    '      ,       .-`  | `,    )     Running in stand alone mode
|`-._`-...-` __...-.``-._|'` _.-'|     Port: 6379
|    `-._   `._    /     _.-'    |     PID: 7696
`-._    `-._  `-./  _.-'    _.-'
|`-._`-._    `-.__.-'    _.-'_.-'|
|    `-._`-._        _.-'_.-'    |           http://redis.io `-._    `-._`-.__.-'_.-'    _.-'
|`-._`-._    `-.__.-'    _.-'_.-'|
|    `-._`-._        _.-'_.-'    |
`-._    `-._`-.__.-'_.-'    _.-'
`-._    `-.__.-'    _.-'
`-._        _.-'
`-.__.-'

[7696] 12 May 14:24:45.283 # Server started, Redis version 2.8.19
[7696] 12 May 14:24:45.283 * The server is now ready to accept connections on po
rt 6379
[7696] 12 May 14:39:46.081 * 1 changes in 900 seconds. Saving...
arguments seen:
logfile
stdout
qfork
140, 7696
[7696] 12 May 14:39:46.246 # fork operation complete
[7696] 12 May 14:39:46.256 * Background saving terminated with success
Server 端好了,现在我们开一个 Client 端来测试一下,新打开 CMD (之前打开的 CMD - Server 端不能关闭)
redis-cli.exe -h 10.7.15.172 -p 6379
其中 10.7.15.172 为本机 IP
set hello helloworld
设置一个值
get hello
读取这个值
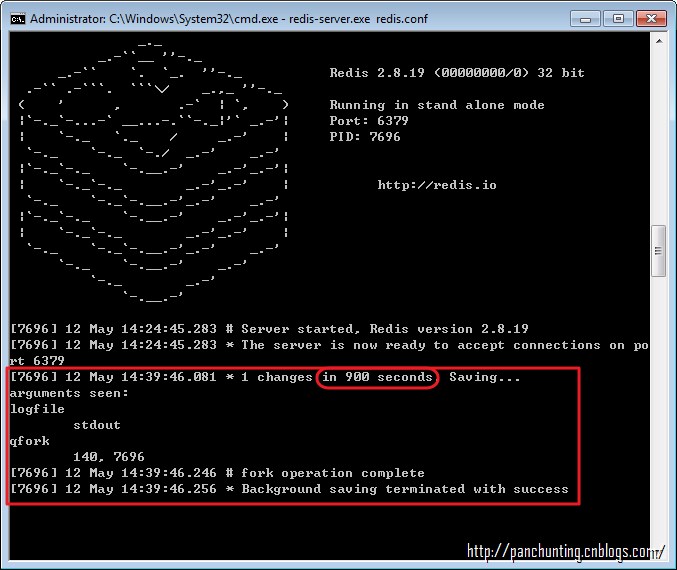
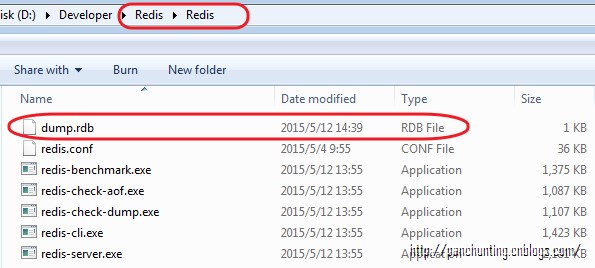
大概15分钟之后我们发现 Server 端也有变化
原来15分钟自动把内存中的数据写入 RDF 文件以防丢失。
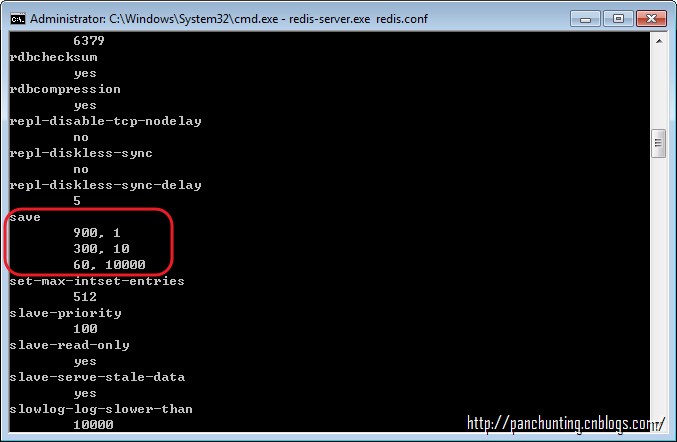
至于为什么是15分钟,我们可以看到配置文件是这样设置的(1个更改/900秒,10更改/300秒,10000更改/60秒),即更改的越多,数据写入文件的时间间隔越短,这样设计蛮合理的。
三、Redis Desktop Manager
虽然通过上面的 CMD 我们也能看到 Redis 在内存中的数据,但方式太不友好了,这里介绍一个工具 Redis Desktop Manager
下载完成后安装,之后连接至 Server 即可
点击查看数据
四、Install Redis as Windows Service
前面我们通过 CMD 方式安装了Redis, 但是非常不方便,因为我们要一直保持窗口打开,而且如果机器重启的话也需要重新打开。Redis 也可以以 Windows Service 的方式进行部署。在部署之前我们需要把配置文件找到
然后拷贝到 Redis 目录
安装服务
redis-server --service-install redis.windows.conf
安装成功提示
查看服务
启动服务
redis-server --service-start
停止服务
redis-server --service-stop
卸载服务
redis-server --service-uninstall
其实安装成 Windows 服务还有一种方式,就是从 Github 上直接下载安装文件,但是好像不是最新的版本

相关文章推荐
- Redis在windows的安装使用
- Redis在windows下的安装使用
- Redis for Windows(C#缓存)安装和使用
- 2 Redis在windows下的安装使用
- Windows下安装redis,并与PHP使用
- Redis在windows下的安装使用
- Redis在windows下的安装使用
- Redis for Windows(C#缓存)安装和使用
- Windows下redis 安装与PHP使用
- 初识Redis及Redis在Windows下的安装和使用
- windows下redis的安装和使用
- Redis在windows下的安装使用
- windows下安装redis 缓存程序的安装和使用
- Windows下redis 安装与PHP使用
- Redis在windows下的安装使用
- Redis在windows下的安装使用
- 初识Redis及Redis在Windows下的安装和使用
- windows下redis的安装配置和php扩展使用phpredis
- windows下redis的安装配置和php扩展使用phpredis
- Redis在windows下的安装使用