Android自定义View初步(一)
2016-07-05 21:20
393 查看
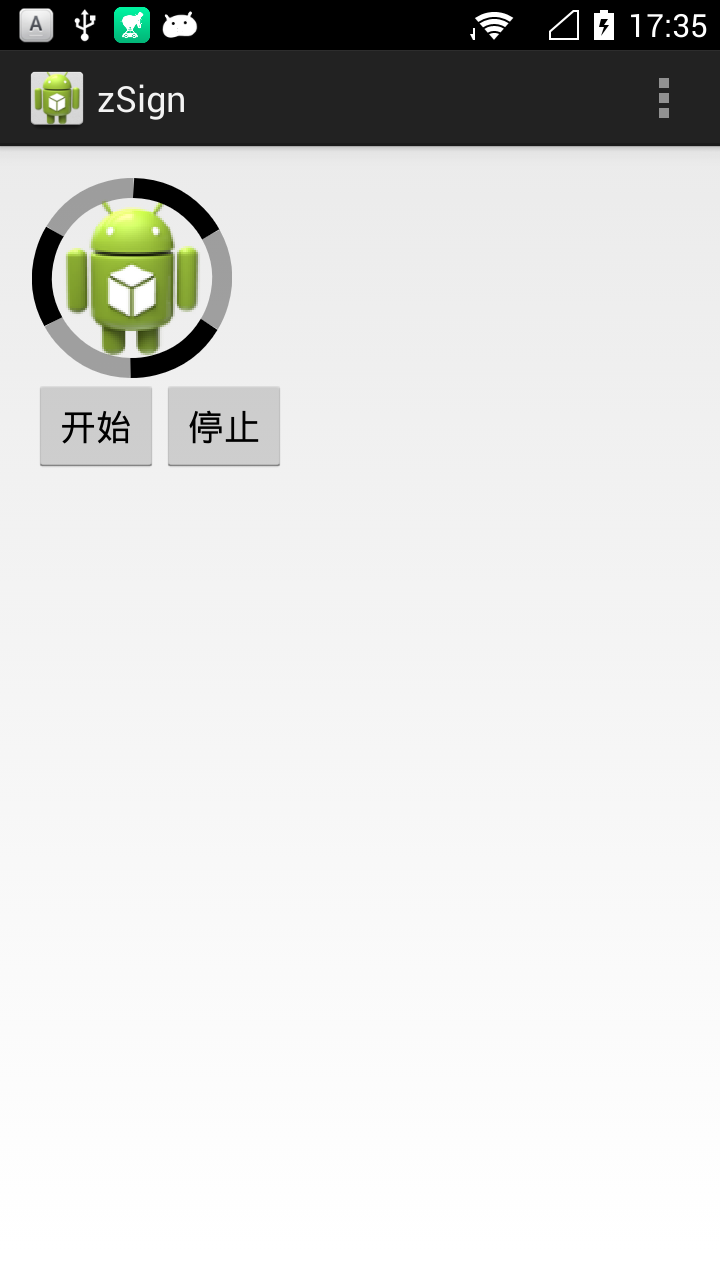
一、效果图
二、知识点Get
一)自定义View的步骤
1、自定义View的属性2、在View的构造方法中获得我们自定义的属性
[ 3、重写onMesure ]
4、重写onDraw
注意点
1、重写构造方法:
1)public View (Context context) 是在java代码创建视图的时候被调用,如果是从xml填充的视图,就不会调用这个,在代码里new的话用这个构造方法就OK了!2)public View (Context context, AttributeSet attrs) 调用2个参数的 attr里边传过来的是 xml里边对应的height width等参数,包括自己定义的参数,如果在xml里边写入自定义控件的话 必须要重写2个参数的构造函数
3)public View (Context context, AttributeSet attrs, int defStyle) 传style的吧貌似
所以如果要在xml中使用自定义属性的话,那么至少重写前两个构造方法!!!
否则会报错(遇到过)
2、构造方法中应该做些神马?
做一些初始化工作,如:1)一些new 操作,如new paint,避免在onDraw()中重复new 消耗资源
2)通过xml初始化自定义属性
姿势如下:
public MyView(Context context) {
this(context, null);
}

public MyView(Context context, AttributeSet attrs) {
this(context, attrs, 0);
}

public MyView(Context context, AttributeSet attrs, int defStyleAttr) {
super(context, attrs, defStyleAttr);
mContext = context;
init(attrs, defStyleAttr);
}

private void init(AttributeSet attrs, int defStyleAttr){
//圆弧画笔
mPaintArc = new Paint();
mPaintArc.setColor(0x55000000);
mPaintArc.setAntiAlias(true);
mPaintArc.setStyle(Style.STROKE);
mPaintArc.setTextSize(56);

recArc = new RectF();

//图片画笔
mPaintBit = new Paint();
mPaintBit.setAntiAlias(true);

// 初始化属性
if (attrs != null){
int  slideButtonResId= attrs.getAttributeResourceValue(NAMESPACE, "myviewImg", -1);
bitmap = BitmapFactory.decodeResource(getResources(), slideButtonResId);
}

recBit = new RectF();

//属性动画
percentAnimator = ValueAnimator.ofInt(0, 360);
percentAnimator.addUpdateListener(newValueAnimator.AnimatorUpdateListener(){
@Override
public void onAnimationUpdate(ValueAnimator animation) {
percentArc = (Integer) animation.getAnimatedValue();
invalidate();
}
});

percentAnimator.setDuration(2000);
percentAnimator.setRepeatCount(-1);  //循环次数
percentAnimator.setInterpolator(new LinearInterpolator());  //线性插值器
percentAnimator.start();
}3、重写onMeasure
重写之前先了解MeasureSpec的specMode,一共三种类型:EXACTLY:一般是设置了明确的值或者是MATCH_PARENT
AT_MOST:表示子布局限制在一个最大值内,一般为WARP_CONTENT
UNSPECIFIED:表示子布局想要多大就多大,很少使用
由于我的要求不高,可在xml中指定宽高具体值即可
so:
@Override
protected void onMeasure(int widthMeasureSpec, int heightMeasureSpec) {
// TODO Auto-generated method stub
super.onMeasure(widthMeasureSpec, heightMeasureSpec);
width = MeasureSpec.getSize(widthMeasureSpec);
height = MeasureSpec.getSize(heightMeasureSpec);

widthArc = width/10;   //基于控件宽度的十分之一
recArc.set(widthArc*0.5f, widthArc*0.5f, width - widthArc*0.5f, height - widthArc*0.5f);

recBit.set(widthArc*0.5f, widthArc*0.5f, width - widthArc*0.5f, height - widthArc*0.5f);

setMeasuredDimension(width, height);
}
注意:在onMeasure中获取控件的宽高,可以基于控件的宽高去设置View的其他宽度大小(如画笔宽度、文字大小等)
4、重写onDraw()
onDraw()中就靠自己通过Paint、Canvas等API自由发挥了注意:
1)onDraw()中避免创建对象(如new Paint)
2)onDraw()中避免做耗时操作
三)为自定义控件添加属性
1、在attrs.xml中定义属性
<?xml version="1.0" encoding="utf-8"?>
<resources>
<declare-styleable name="SuiYi">
<attr name="myviewImg" format="reference" />
</declare-styleable>

</resources>
declare-styleable name 可以随意命名,不影响
attr name=”myviewImg” 属性名!!!
format的几种格式:
reference:参考某一资源ID
color:颜色值
boolean:布尔值
string:字符串
…..等等
2、布局中使用
1)命名空间
xmlns:custom=”http://schemas.android.com/apk/com.example.zsign”切记添加命名空间 格式为 schemas.android.com/apk/ + 包名
2)使用
<com.example.zsign.MyView
android:id="@+id/myview"
android:layout_width="100dp"
android:layout_height="100dp"
custom:myviewImg="@drawable/ic_launcher" />
custom:myviewImg=”@drawable/ic_launcher”
3、自定义View中获取属性值
通过AttributeSet attrs获取属性值
// 初始化属性
if (attrs != null){
int  slideButtonResId= attrs.getAttributeResourceValue(NAMESPACE, "myviewImg", -1);
bitmap = BitmapFactory.decodeResource(getResources(), slideButtonResId);
}
具体请参考AttributeSet API
四)属性动画的使用
属性动画通过动态地改变对象的属性从而达到动画效果//属性动画
percentAnimator = ValueAnimator.ofInt(0, 360);
percentAnimator.addUpdateListener(new ValueAnimator.AnimatorUpdateListener() {
@Override
public void onAnimationUpdate(ValueAnimator animation) {
percentArc = (Integer) animation.getAnimatedValue();
invalidate();
}
});
percentAnimator.setDuration(2000);
percentAnimator.setRepeatCount(-1); //循环次数
percentAnimator.setInterpolator(new LinearInterpolator()); //线性插值器
percentAnimator.start();通过动态的改变属性值,再进行重绘invalidate()达到动画效果
这里体现出了属性动画相较于View动画的优越性
注意:
1)在主线程中start()属性动画
2)invalidate()和postInvalidate()的区别
3)Activity退出时应停止属性动画,避免内存泄漏

相关文章推荐
- 使用C++实现JNI接口需要注意的事项
- Android IPC进程间通讯机制
- Android Manifest 用法
- [转载]Activity中ConfigChanges属性的用法
- Android之获取手机上的图片和视频缩略图thumbnails
- Android之使用Http协议实现文件上传功能
- Android学习笔记(二九):嵌入浏览器
- android string.xml文件中的整型和string型代替
- i-jetty环境搭配与编译
- android之定时器AlarmManager
- android wifi 无线调试
- Android Native 绘图方法
- Android java 与 javascript互访(相互调用)的方法例子
- android 代码实现控件之间的间距
- android FragmentPagerAdapter的“标准”配置
- Android"解决"onTouch和onClick的冲突问题
- android:installLocation简析
- android searchView的关闭事件
- SourceProvider.getJniDirectories