QtQuick学习笔记之QML自定义信号
2016-06-14 08:57
405 查看
这里把Qtquick核心编程里面的练习记录下:
这个是信号与信号连接代码:
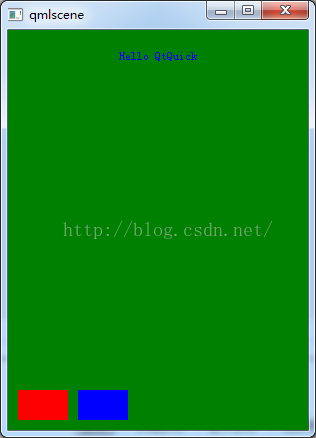
import QtQuick 2.5
Rectangle{width:300;
height:400;
id:root;
color:"green";
Text{id:colorText;
anchors.horizontalCenter: parent.horizontalCenter;
anchors.top : parent.top;
anchors.topMargin: 20;
text:"Hello QtQuick";
}
Component {id:colorComponent;
Rectangle{id:colorPicker;
width: 50;
height: 30;
signal colorPicked(color clr);
MouseArea {anchors.fill: parent;
onPressed: colorPicker.colorPicked(colorPicker.color);
}
}
}
Loader {id:redLoader;
anchors.left: parent.left;
anchors.leftMargin: 10;
anchors.bottom: parent.bottom;
anchors.bottomMargin: 10;
sourceComponent: colorComponent;
onLoaded: {item.color = "red";
}
}
Loader {id:blueLoader;
anchors.left: redLoader.right;
anchors.leftMargin: 10;
anchors.bottom: parent.bottom;
anchors.bottomMargin: 10;
sourceComponent: colorComponent;
onLoaded: {item.color = "blue";
}
}
Connections{target: redLoader.item;
onColorPicked:{colorText.color = clr;
}
}
Connections{target: blueLoader.item;
onColorPicked:{colorText.color = clr;
}
}
}
这个是信号与信号连接代码:
import QtQuick 2.5
Rectangle{width:300;
height:400;
id:root;
color:"green";
signal send();
onSend: colorText.text = "信号connect信号";
Text{id:colorText;
anchors.horizontalCenter: parent.horizontalCenter;
anchors.top : parent.top;
anchors.topMargin: 20;
text:"Hello QtQuick";
}
MouseArea{id:mouseArea;
anchors.fill: parent;
onClicked: console.log("MouseArea clicked");}
Component.onCompleted: {mouseArea.clicked.connect(send);
}
}

相关文章推荐
- windows用windeployqt发布qt quick application程序
- QML的import目录爬坑记录
- QtQuick项目部署
- QtQuick修改Android Application Name
- 基于PyQt5的快速开发框架QFramer
- 基于QT4.8.3的手机操作系统,已完成QML语言的加入
- BB10 Cascades介绍之Image和ImageTracker
- qml使用js-httprequest
- qml使用js-httprequest
- BB10 Cascades介绍之Image和ImageTracker
- qml之Loader使用
- QML实现分页显示
- 纯QML实现画图工具
- 纯QML实现视频播放器
- Qt5与QML(六)
- Qt5与QML(五)
- QT5与QML(三)
- Qt5与QML(一)
- pyqt5载入qml
- QML-ListView