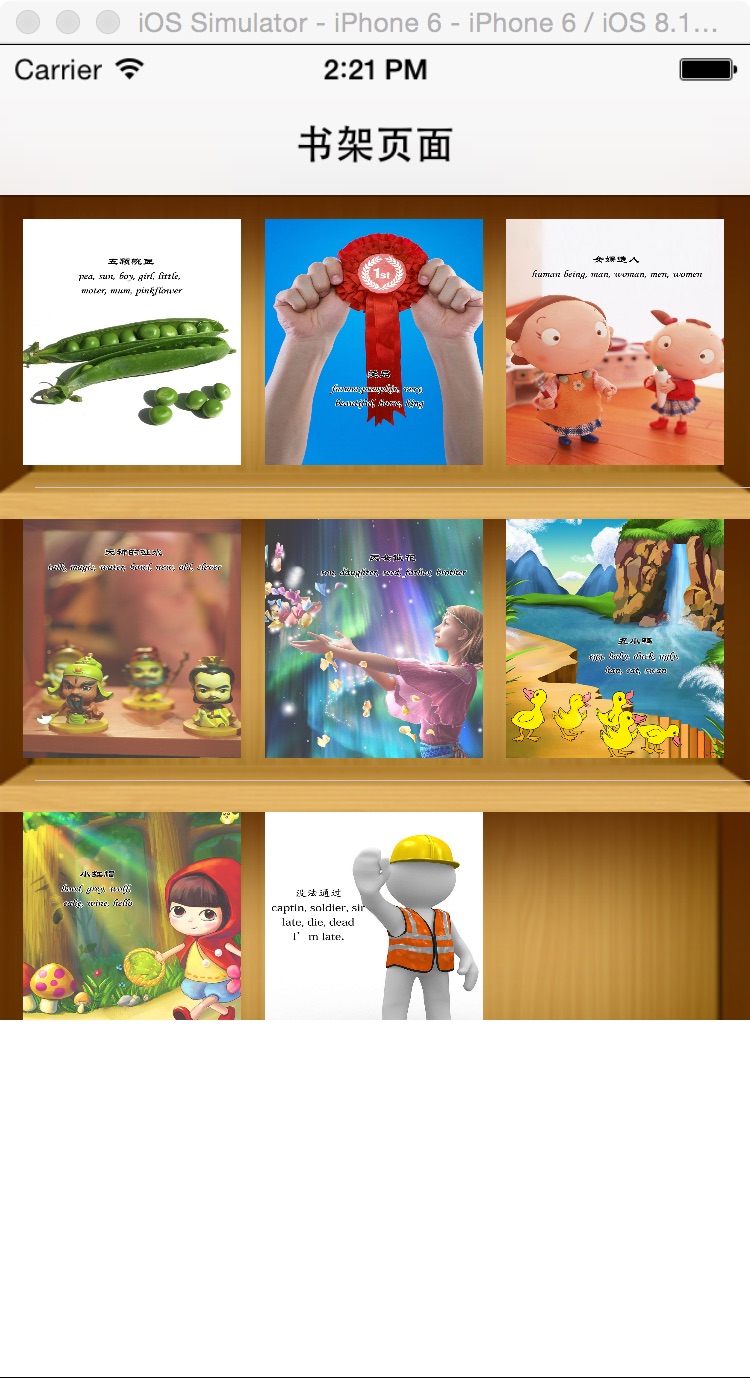
【代码笔记】iOS-书架页面
2016-05-31 09:05
447 查看
一,效果图。
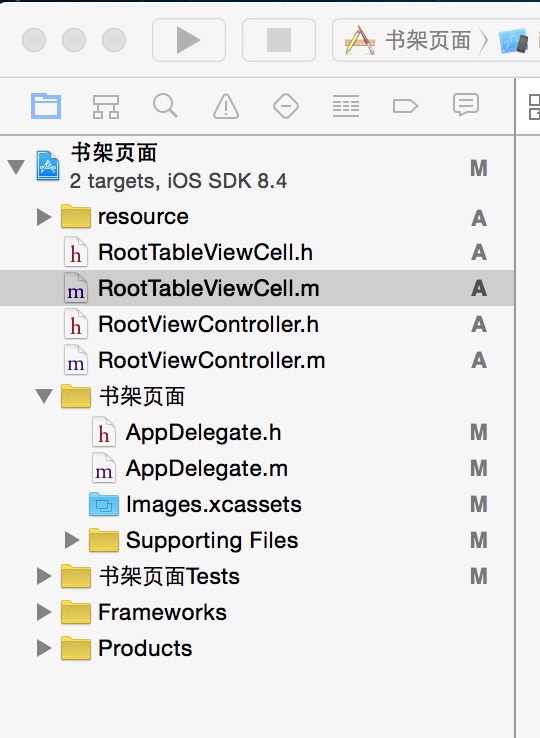
二,工程图。
三,代码。
RootViewController.h
RootViewController.m
RootTableViewCell.h
RootTableViewCell.m
二,工程图。
三,代码。
RootViewController.h
#import <UIKit/UIKit.h>

@interface RootViewController : UIViewController
<UITableViewDataSource,UITableViewDelegate>
{
NSMutableArray * dataArray;
UITableView * myTableView;
}

@end
RootViewController.m
#import "RootViewController.h"
//cell
#import "RootTableViewCell.h"

@interface RootViewController ()

@end

@implementation RootViewController

- (id)initWithNibName:(NSString *)nibNameOrNil bundle:(NSBundle *)nibBundleOrNil
{
self = [super initWithNibName:nibNameOrNil bundle:nibBundleOrNil];
if (self) {
// Custom initialization
}
return self;
}

- (void)viewDidLoad
{
[super viewDidLoad];
// Do any additional setup after loading the view.

//初始化背景图
[self initBackGroundView];

}
#pragma -mark -functions
-(void)initBackGroundView
{
self.title=@"书架页面";

dataArray=[[NSMutableArray alloc]initWithObjects:@"1",@"2",@"3",@"4",@"5",@"6",@"7",@"8",@"9", nil];

myTableView = [[UITableView alloc]initWithFrame:CGRectMake(0, 0, 320, 416) style:UITableViewStylePlain];
myTableView.delegate = self;
myTableView.dataSource = self;
[self.view addSubview:myTableView];
}
#pragma -mark -UITableViewDelegate
-(NSInteger)tableView:(UITableView *)tableView numberOfRowsInSection:(NSInteger)section
{
return 3;
}
-(CGFloat)tableView:(UITableView *)tableView heightForRowAtIndexPath:(NSIndexPath *)indexPath
{
return 376/3;

}
-(UITableViewCell*)tableView:(UITableView *)tableView cellForRowAtIndexPath:(NSIndexPath *)indexPath
{
RootTableViewCell * cell = [tableView dequeueReusableCellWithIdentifier:@"ID"];
if(cell == nil)
{
cell =[[RootTableViewCell alloc]initWithStyle:UITableViewCellStyleValue1 reuseIdentifier:@"ID"];
}

cell.tag = indexPath.row;

[cell.bookLeft addTarget:self action:@selector(buttonClick:) forControlEvents:UIControlEventTouchUpInside];
[cell.bookMiddle addTarget:self action:@selector(buttonClick:) forControlEvents:UIControlEventTouchUpInside];
[cell.bookRight addTarget:self action:@selector(buttonClick:) forControlEvents:UIControlEventTouchUpInside];

[cell.bookLeft setBackgroundImage:[UIImage imageNamed:[NSString stringWithFormat:@"%@.jpg",[dataArray objectAtIndex:indexPath.row*3]]] forState:UIControlStateNormal];
[cell.bookMiddle setBackgroundImage:[UIImage imageNamed:[NSString stringWithFormat:@"%@.jpg",[dataArray objectAtIndex:indexPath.row*3+1]]] forState:UIControlStateNormal];
[cell.bookRight setBackgroundImage:[UIImage imageNamed:[NSString stringWithFormat:@"%@.jpg",[dataArray objectAtIndex:indexPath.row*3+2]]] forState:UIControlStateNormal];
NSLog(@"--celll.tag--%ld",cell.tag);
return cell;

}
#pragma -mark -doClickActions
-(void)buttonClick:(UIButton*)btn
{
RootTableViewCell * cell = (RootTableViewCell *)[[btn superview] superview];
NSIndexPath * path = [myTableView indexPathForCell:cell];
NSLog(@"--点击图片的时候,所在的坐标-(%ld,%ld)--",path.row,btn.tag);
}
- (void)didReceiveMemoryWarning
{
[super didReceiveMemoryWarning];
// Dispose of any resources that can be recreated.
}

@end
RootTableViewCell.h
#import <UIKit/UIKit.h>

@interface RootTableViewCell : UITableViewCell
@property(nonatomic,strong) UIButton * bookLeft;
@property(nonatomic,strong) UIButton * bookMiddle;
@property(nonatomic,strong) UIButton * bookRight;
@end
RootTableViewCell.m
#import "RootTableViewCell.h"

@implementation RootTableViewCell
@synthesize bookLeft;
@synthesize bookMiddle;
@synthesize bookRight;

- (id)initWithStyle:(UITableViewCellStyle)style reuseIdentifier:(NSString *)reuseIdentifier
{
self = [super initWithStyle:style reuseIdentifier:reuseIdentifier];
if (self) {
// Initialization code

UIImageView  * imageview= [[UIImageView alloc]initWithFrame:CGRectMake(0, 0, 320, 416/3)];
imageview.image = [UIImage imageNamed:@"BookShelfCell.png"];
[self addSubview:imageview];

bookLeft = [UIButton buttonWithType:UIButtonTypeCustom];
bookLeft.frame = CGRectMake(10, 10, 280/3, 376/3-20);
bookLeft.tag = 1;

bookMiddle = [UIButton buttonWithType:UIButtonTypeCustom];
bookMiddle.frame = CGRectMake(20+280/3, 10, 280/3, 376/3-20);
bookMiddle.tag = 2;

bookRight = [UIButton buttonWithType:UIButtonTypeCustom];
bookRight.frame = CGRectMake(30+280/3*2, 10, 280/3, 376/3-20);
bookRight.tag = 3;

[self addSubview:bookLeft];
[self addSubview:bookMiddle];
[self addSubview:bookRight];
}
return self;
}
相关文章推荐
- [iOS]Core Data浅析(一)
- IOS开发:一些零碎知识
- iOS编程(1)TabBarController
- iOS 源代码分析——Alamofire
- iOS存储数据的几种方式
- iOS gif 图片播放实现方法 (image 扩展方案)
- [iOS]深入理解GCD
- iOS,一行代码进行RSA、DES 、AES、MD5加密、解密
- iOS签名授权机制
- IOS博客项目搭建-18-项目分层思想
- iOS设置夜间模式
- iOS中格式化输出日志
- iOS 一步一步带你实现引导页
- iOS开发自动补全第18位身份证号码的X
- iOS开发总结之 Foundation框架总结
- iOS-静态库(1)
- [iOS]多线程和GCD
- IOS学习之——Cocoa 和Cocoa Touch
- iOS中的窗口与视图
- CFString,NSString , const char *的联系