IOS上路_01-Win7+VMWare9+MacOSX10.8+XCode4.6.3
2016-04-28 17:46
525 查看
目录[-]
1. 资源准备:
1)实体机:
2)VMWare9:
3)VM for MacOS 补丁:
4)OS_X_10_8_Mountain_Lion:
5)XCode4.6.3:
2. 制作ISO格式系统:
1)首先解压下载的dmg文件:
2)然后用UltraISO打开解压出的dmg文件:
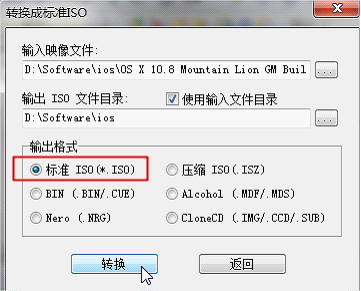
3)格式转换:
3. 安装VMWare9:
1)安装vmware,破解,汉化:
2)安装增强补丁:
4. 创建MacOSX系统:
1)创建虚拟机:
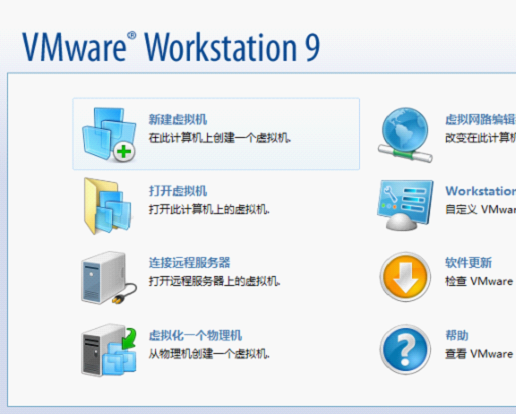
(1)新建虚拟机:
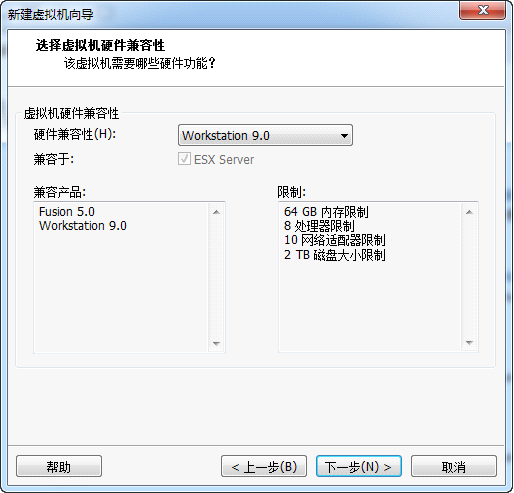
(2)自定义-高级:
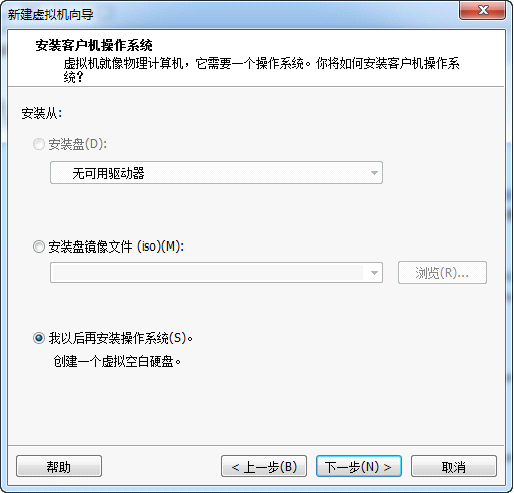
(3)以后再安装操作系统:
(4)选择64位Apple Mac OS X 10.8:
(5)命名虚拟机:
(6)配置CPU个数及核数:
(7)配置内存:
(8)配置网络:
(9)磁盘连接方式:
(10)创建虚拟机硬盘:
(11)虚拟硬盘接口:
(12)虚拟硬盘容量:
(13)保存虚拟硬盘文件:
(14)创建完成:
2)配置虚拟机:
(1)删除软驱:
(2)配置光驱:
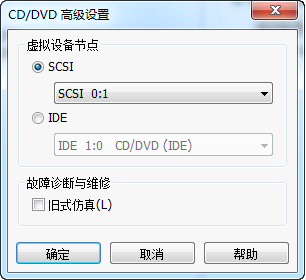
(3)高级配置:
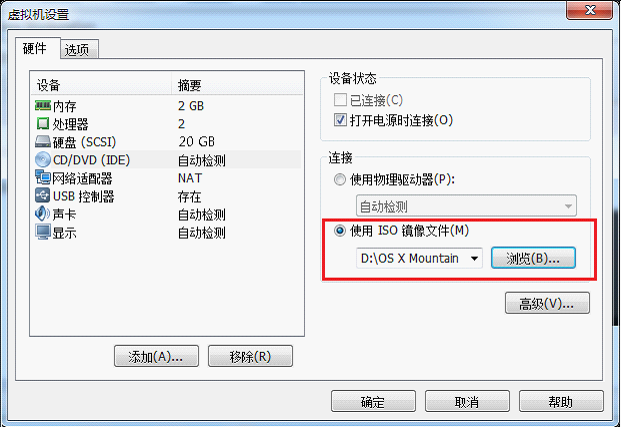
(4)加载系统镜像:
(5)配置显卡:
5. 安装MacOSX:
1)开机:
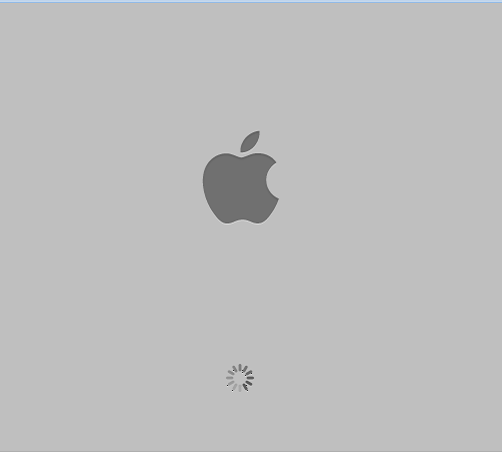
2)等待:
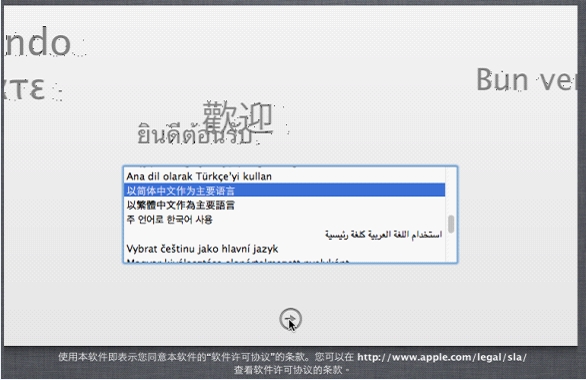
3)选择安装向导语言:
4)初始化磁盘:
5)清除原系统日志:
6)新装系统:
7)继续:
8)阅读许可:
9)同意许可:
10)选择硬盘:
11)等待:
12)重启:
6. 配置系统:
1)国家:
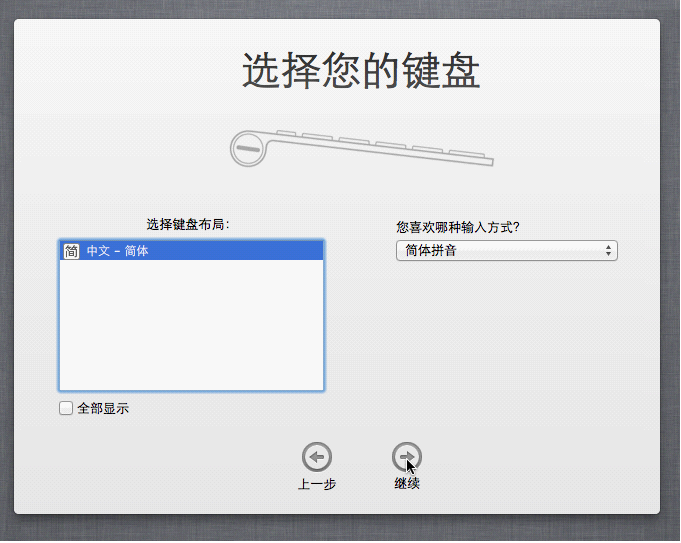
2)键盘:
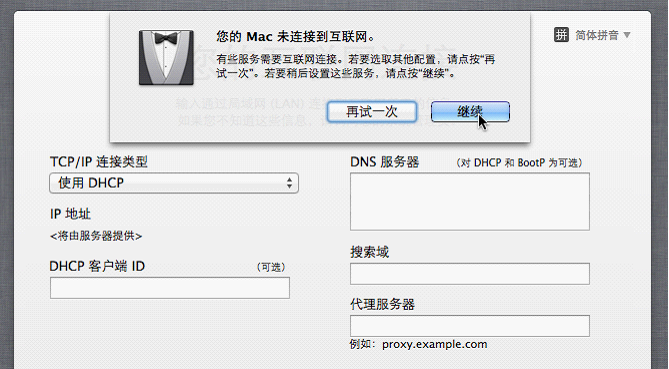
3)网络:
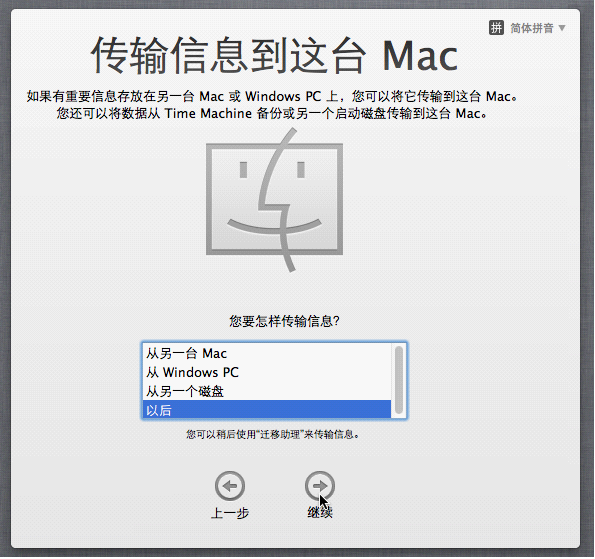
4)以后:
5)使用协议:
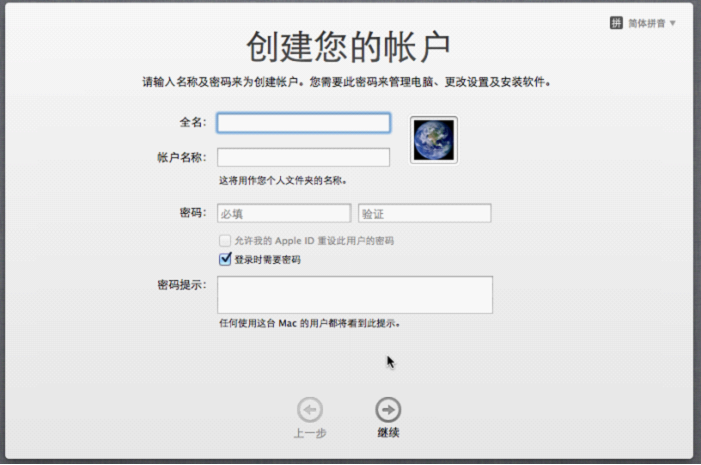
6)账户:
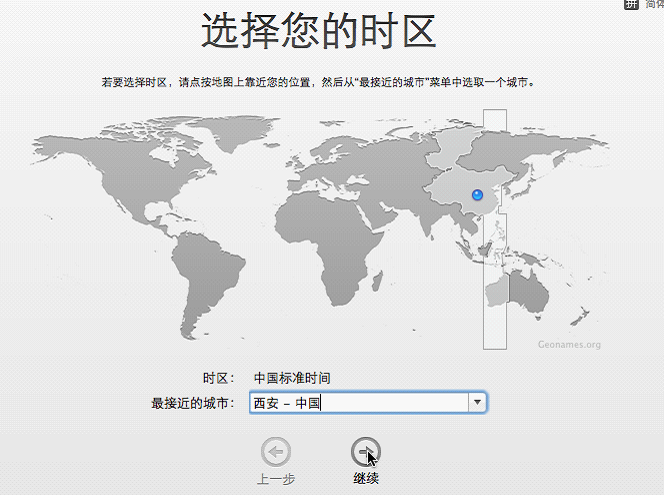
7)时区:
8)完成:
7. 安装Mac OS VMware Tools:
1)从VM for MacOS 补丁中的tools文件夹中得到darwin.iso:
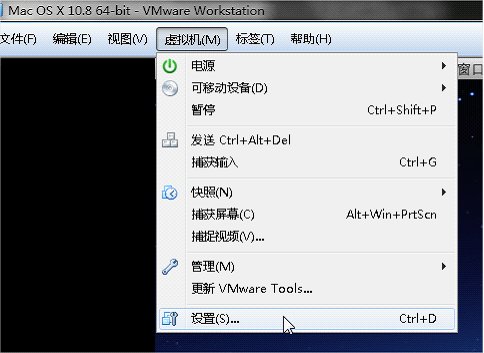
2)配置虚拟机:
3)加载tools镜像:
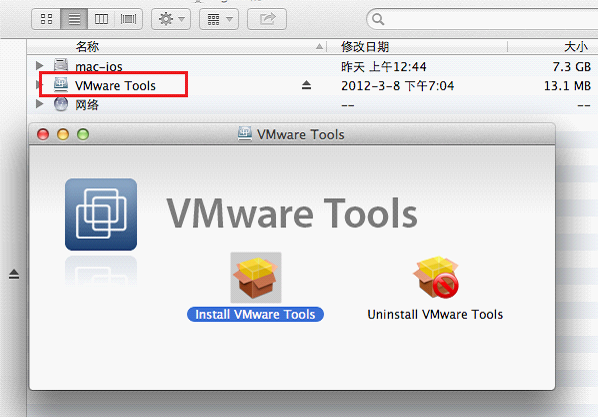
4)运行安装程序:
5)使用结束后弹出镜像:
8. 安装XCode:
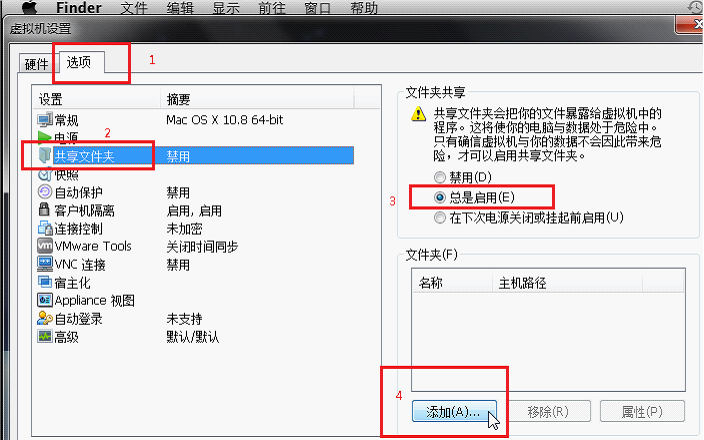
1)配置共享:
(1)启用共享文件夹:
(2)添加共享目录:
(3)配置共享目录:
(4)配置共享目录:
(5)确定:
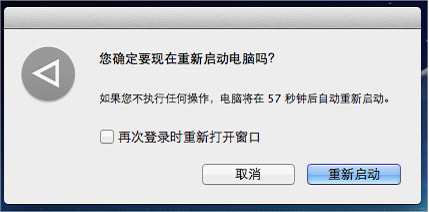
(6)重启系统:
2)加载XCode.dmg:
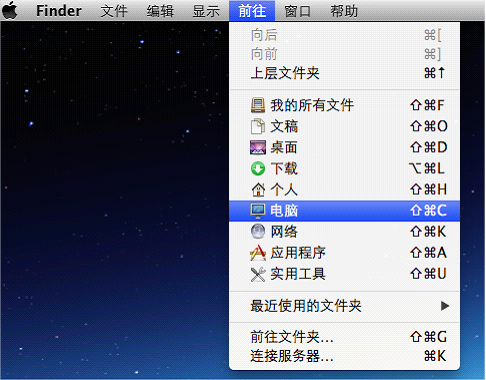
(1)点击桌面,进入共享目录:
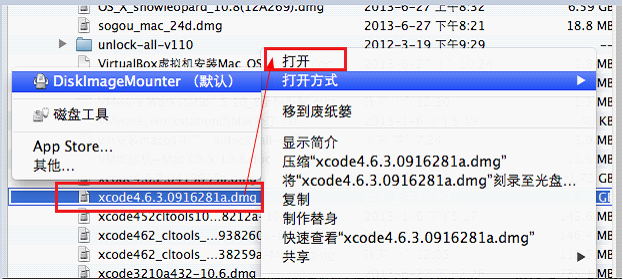
(2)采用DiskImageMounter方式打开:
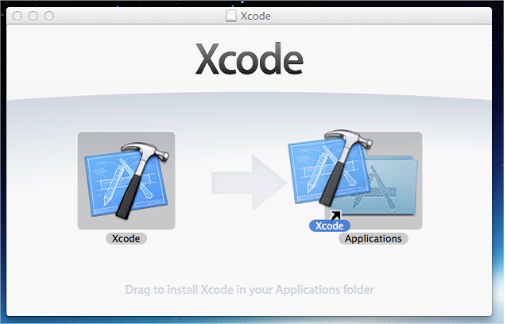
(3)拖动左边的Xcode图标到右边的Applications图标上:
(4)拷贝结束后前往应用程序:
(5)固定在Dock快捷工具栏:
9. HelloWorld!:
1)创建新项目:
2)创建IOS应用:
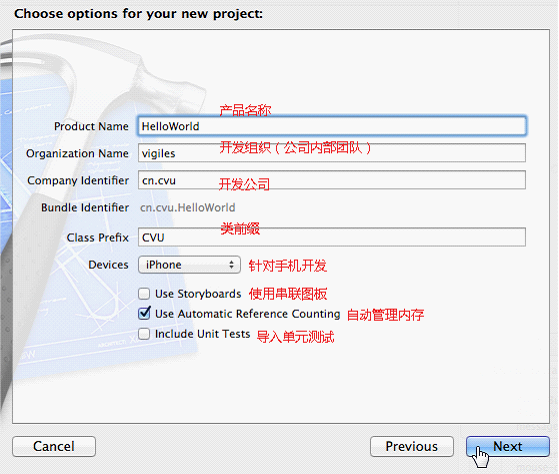
3)配置应用参数:
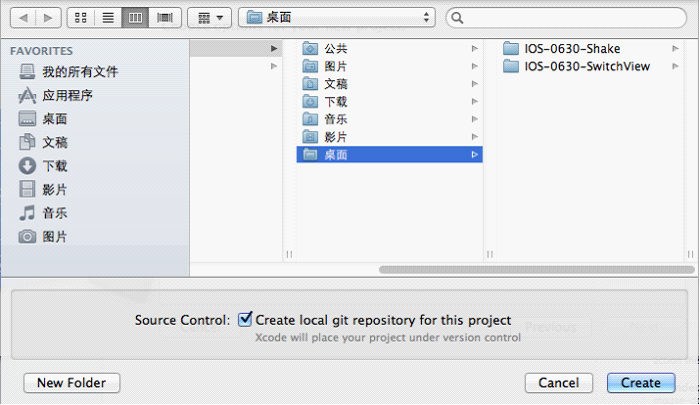
4)配置保存路径:
5)进入Xcode开发界面:
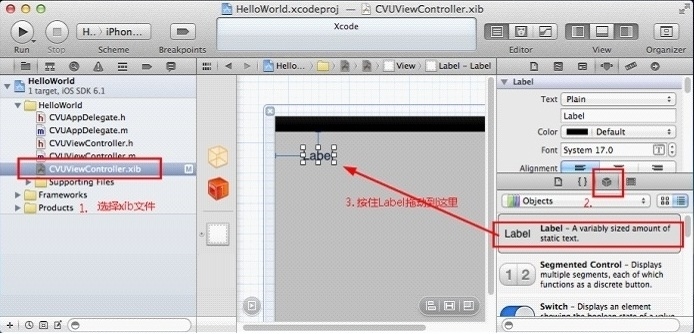
6)在主视图加入一个标签:
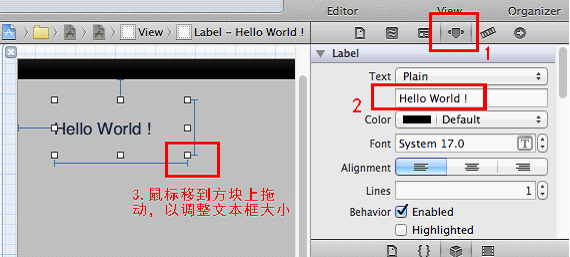
7)修改标签:
8)command+b编译,command+r运行:
IOS开发最好的环境是苹果机,如果没有这个条件,请看下文,否则请闪。
RAM : 4G
独显: 1G
系统: Win7 旗舰版, 64 位
VMware10(中文):http://pan.baidu.com/s/1sjo9ZZZ
VMware10.0.3(原生中文):https://download3.vmware.com/software/wkst/file/VMware-workstation-full-10.0.3-1895310.exe
Mavericks_10.92_13C64.cdr:http://pan.baidu.com/s/1pJmCrKB 。下载后改后缀为iso,“2.
制作ISO格式系统”可省略。
Mavericks-10.9.4(可安装XCode6,支持Swift): http://pan.baidu.com/s/1o6DMokU
XCode5.1:http://adcdownload.apple.com/Developer_Tools/xcode_5.1/xcode_5.1.dmg
http://pan.baidu.com/s/1c0d5owK
XCode6_beta_3(集成Swift):http://pan.baidu.com/s/1bnrNZWV


建议双CPU或单CPU双核!
建议分配至少2G!我分一半物理内存给虚拟机。

桥接:如同和主机搭建局域网;
NAT:可以直接访问外网。


建议至少20G! 单一文件存储!

注意保存位置所在磁盘剩余空间必须充足!建议空余20G。


或者从桌面自动创建的图标打开:


双击运行。


- end
1. 资源准备:
1)实体机:
2)VMWare9:
3)VM for MacOS 补丁:
4)OS_X_10_8_Mountain_Lion:
5)XCode4.6.3:
2. 制作ISO格式系统:
1)首先解压下载的dmg文件:
2)然后用UltraISO打开解压出的dmg文件:
3)格式转换:
3. 安装VMWare9:
1)安装vmware,破解,汉化:
2)安装增强补丁:
4. 创建MacOSX系统:
1)创建虚拟机:
(1)新建虚拟机:
(2)自定义-高级:
(3)以后再安装操作系统:
(4)选择64位Apple Mac OS X 10.8:
(5)命名虚拟机:
(6)配置CPU个数及核数:
(7)配置内存:
(8)配置网络:
(9)磁盘连接方式:
(10)创建虚拟机硬盘:
(11)虚拟硬盘接口:
(12)虚拟硬盘容量:
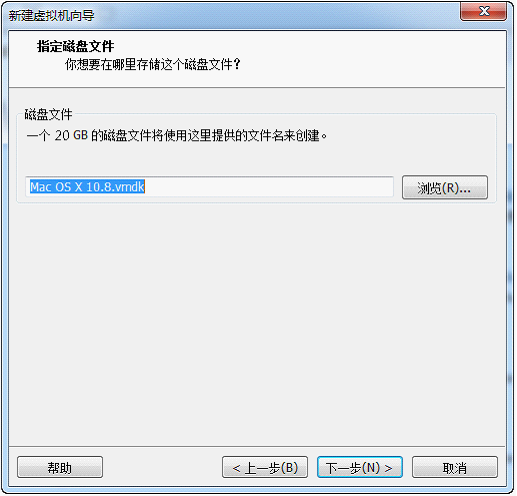
(13)保存虚拟硬盘文件:
(14)创建完成:
2)配置虚拟机:
(1)删除软驱:
(2)配置光驱:
(3)高级配置:
(4)加载系统镜像:
(5)配置显卡:
5. 安装MacOSX:
1)开机:
2)等待:
3)选择安装向导语言:
4)初始化磁盘:
5)清除原系统日志:
6)新装系统:
7)继续:
8)阅读许可:
9)同意许可:
10)选择硬盘:
11)等待:
12)重启:
6. 配置系统:
1)国家:
2)键盘:
3)网络:
4)以后:
5)使用协议:
6)账户:
7)时区:
8)完成:
7. 安装Mac OS VMware Tools:
1)从VM for MacOS 补丁中的tools文件夹中得到darwin.iso:
2)配置虚拟机:
3)加载tools镜像:
4)运行安装程序:
5)使用结束后弹出镜像:
8. 安装XCode:
1)配置共享:
(1)启用共享文件夹:
(2)添加共享目录:
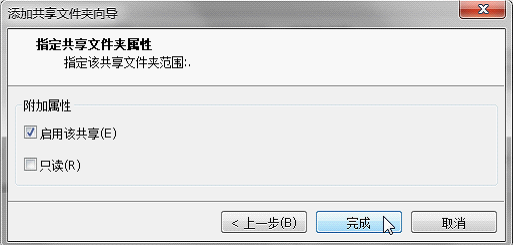
(3)配置共享目录:
(4)配置共享目录:
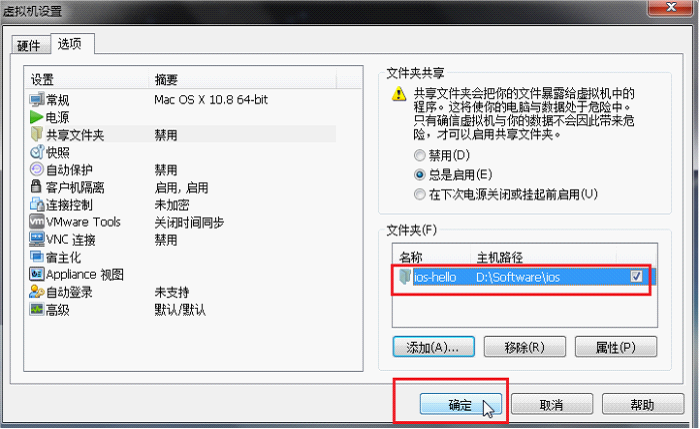
(5)确定:
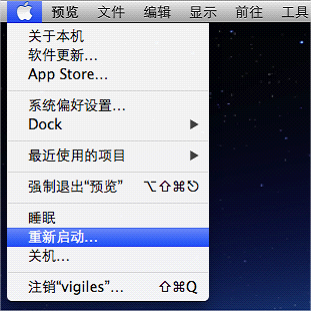
(6)重启系统:
2)加载XCode.dmg:
(1)点击桌面,进入共享目录:
(2)采用DiskImageMounter方式打开:
(3)拖动左边的Xcode图标到右边的Applications图标上:
(4)拷贝结束后前往应用程序:
(5)固定在Dock快捷工具栏:
9. HelloWorld!:
1)创建新项目:
2)创建IOS应用:
3)配置应用参数:
4)配置保存路径:
5)进入Xcode开发界面:
6)在主视图加入一个标签:
7)修改标签:
8)command+b编译,command+r运行:
IOS开发最好的环境是苹果机,如果没有这个条件,请看下文,否则请闪。
1. 资源准备:
1)实体机:
CPU : Intel Core i5-3210MRAM : 4G
独显: 1G
系统: Win7 旗舰版, 64 位
2)VMWare9:
参考下载地址: http://www.xp510.com/xiazai/ossoft/OtherSystems/19194.htmlVMware10(中文):http://pan.baidu.com/s/1sjo9ZZZ
VMware10.0.3(原生中文):https://download3.vmware.com/software/wkst/file/VMware-workstation-full-10.0.3-1895310.exe
3)VM for MacOS 补丁:
参考下载地址: http://download.csdn.net/detail/vigiles/56788254)OS_X_10_8_Mountain_Lion:
种子下载地址: http://download.csdn.net/detail/vigiles/5678753Mavericks_10.92_13C64.cdr:http://pan.baidu.com/s/1pJmCrKB 。下载后改后缀为iso,“2.
制作ISO格式系统”可省略。
Mavericks-10.9.4(可安装XCode6,支持Swift): http://pan.baidu.com/s/1o6DMokU
5)XCode4.6.3:
官方下载地址: https://developer.apple.com/downloads/index.actionXCode5.1:http://adcdownload.apple.com/Developer_Tools/xcode_5.1/xcode_5.1.dmg
http://pan.baidu.com/s/1c0d5owK
XCode6_beta_3(集成Swift):http://pan.baidu.com/s/1bnrNZWV
2. 制作ISO格式系统:
1)首先解压下载的dmg文件:
首先用Winrar打开查看是否是二次压缩的,如果不是直接跳到第三步。2)然后用UltraISO打开解压出的dmg文件:
如果是二次压缩的,将解压出的dmg系统文件用UltraISO打开。3)格式转换:
3. 安装VMWare9:
1)安装vmware,破解,汉化:
略。2)安装增强补丁:
双击运行install.cmd。
4. 创建MacOSX系统:
1)创建虚拟机:
(1)新建虚拟机:
(2)自定义-高级:
(3)以后再安装操作系统:
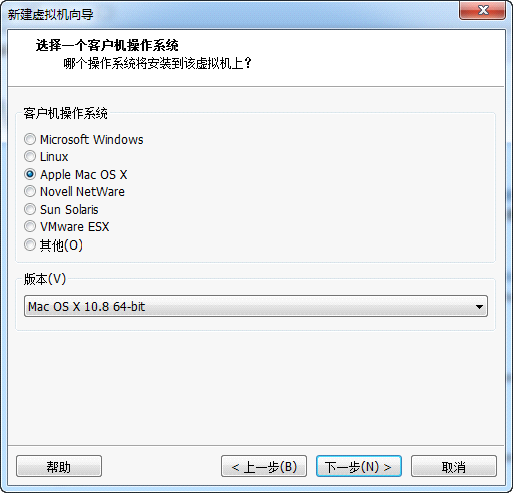
(4)选择64位Apple Mac OS X 10.8:
(5)命名虚拟机:
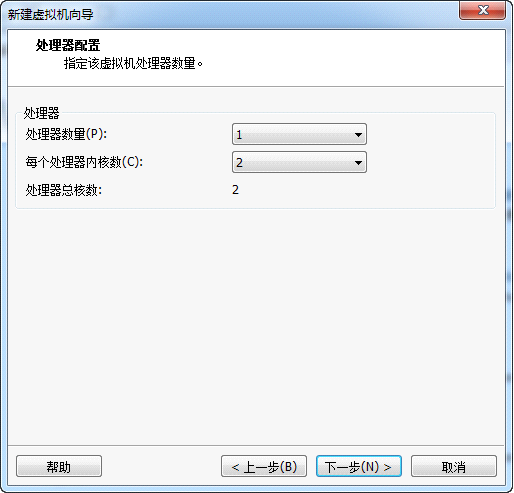
(6)配置CPU个数及核数:
建议双CPU或单CPU双核!
(7)配置内存:
建议分配至少2G!我分一半物理内存给虚拟机。
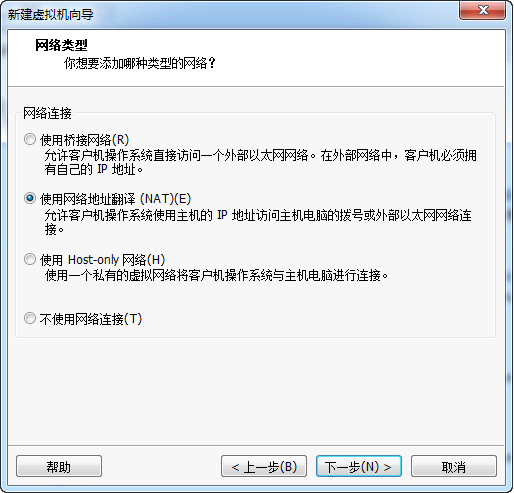
(8)配置网络:
桥接:如同和主机搭建局域网;NAT:可以直接访问外网。
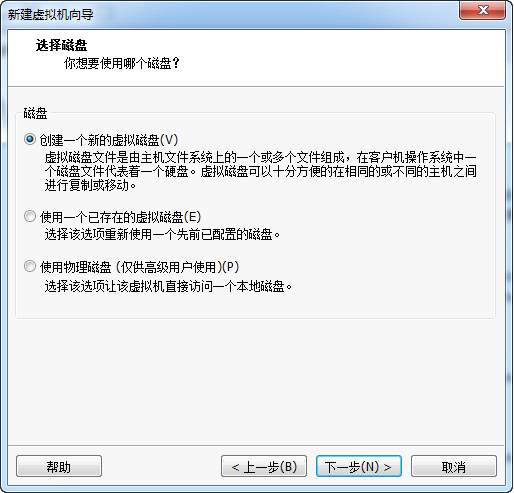
(9)磁盘连接方式:
(10)创建虚拟机硬盘:
(11)虚拟硬盘接口:
(12)虚拟硬盘容量:
建议至少20G! 单一文件存储!
(13)保存虚拟硬盘文件:
注意保存位置所在磁盘剩余空间必须充足!建议空余20G。
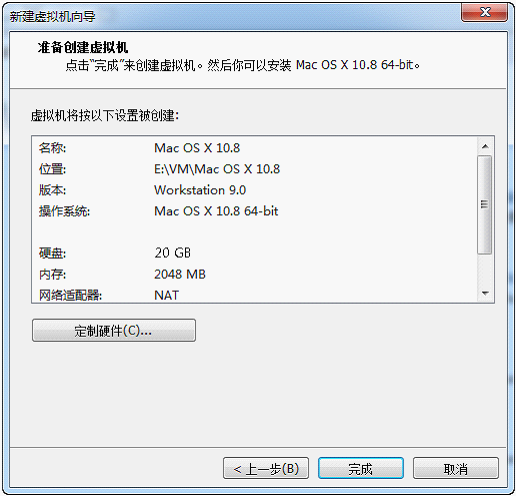
(14)创建完成:
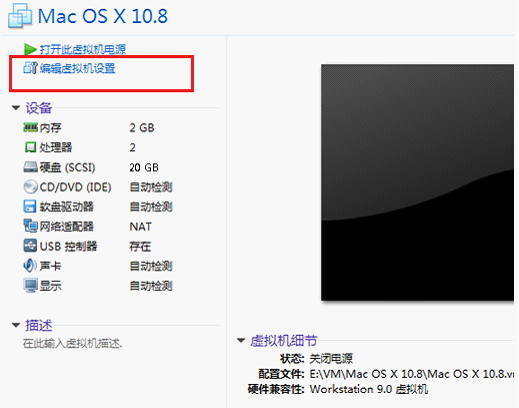
2)配置虚拟机:
(1)删除软驱:
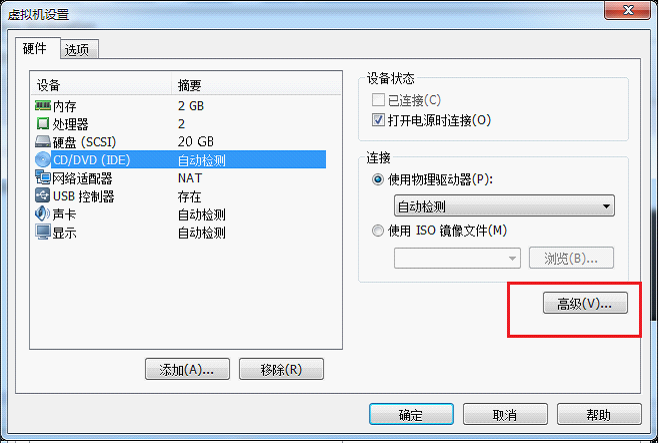
(2)配置光驱:
(3)高级配置:
(4)加载系统镜像:
(5)配置显卡:
5. 安装MacOSX:
1)开机:
2)等待:
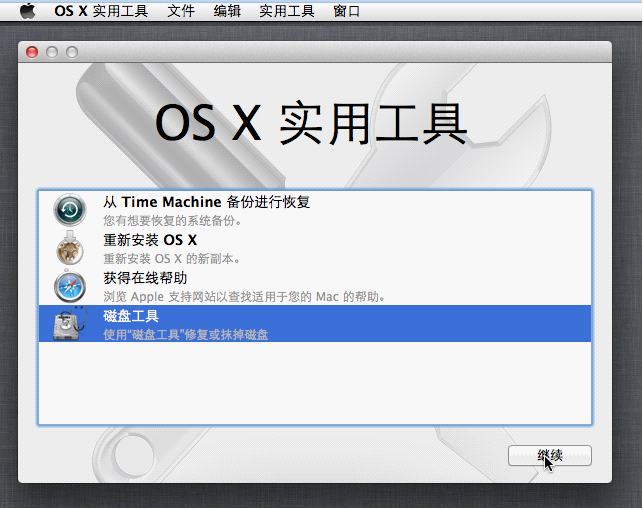
3)选择安装向导语言:
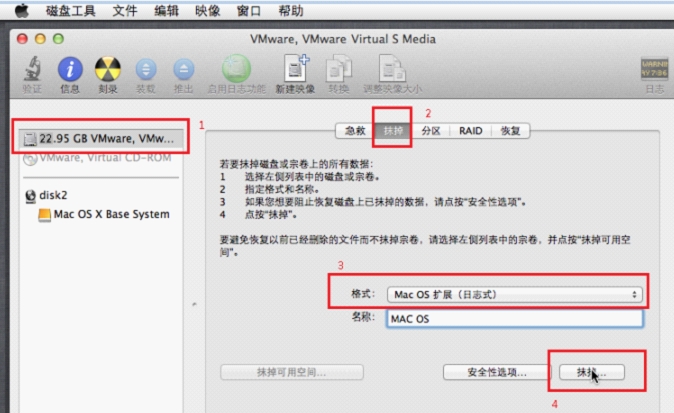
4)初始化磁盘:
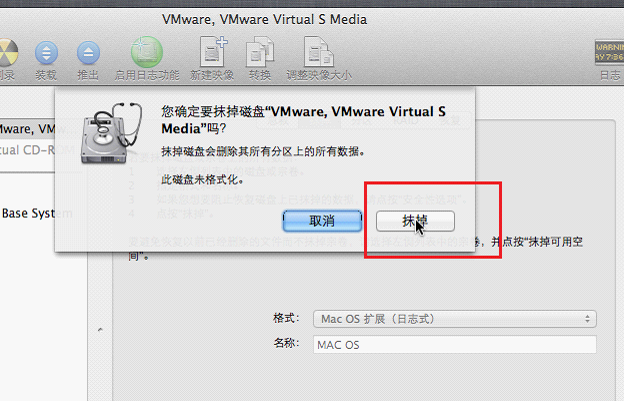
5)清除原系统日志:
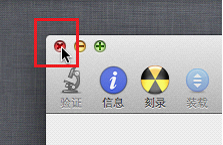
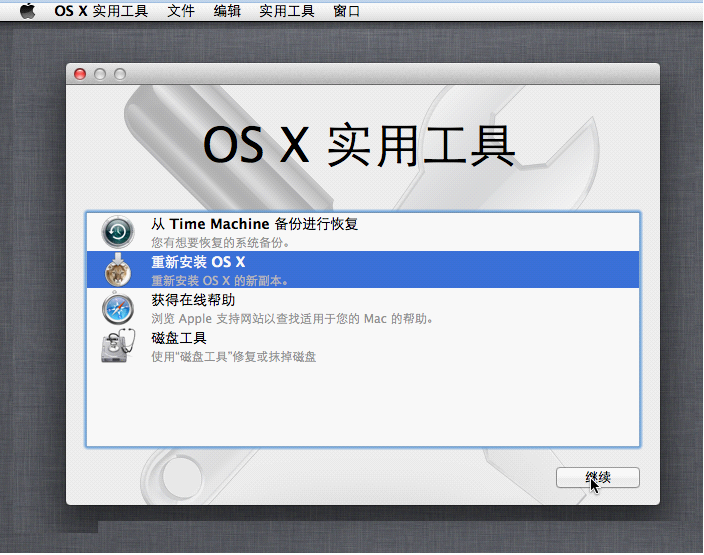
6)新装系统:
7)继续:
8)阅读许可:
9)同意许可:
10)选择硬盘:
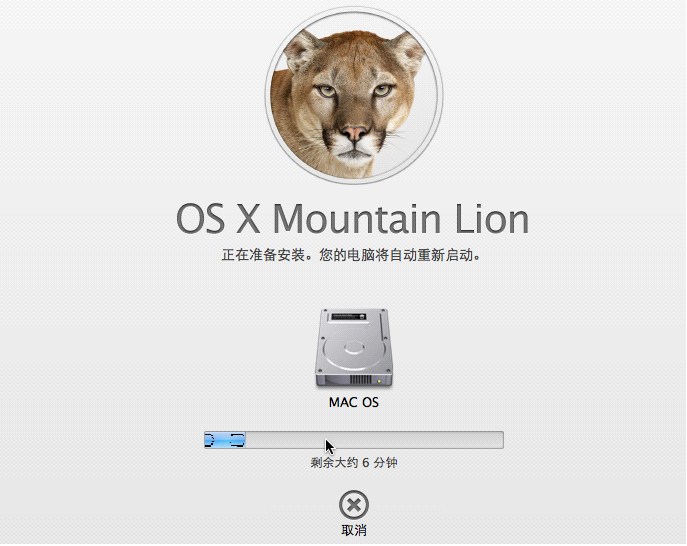
11)等待:
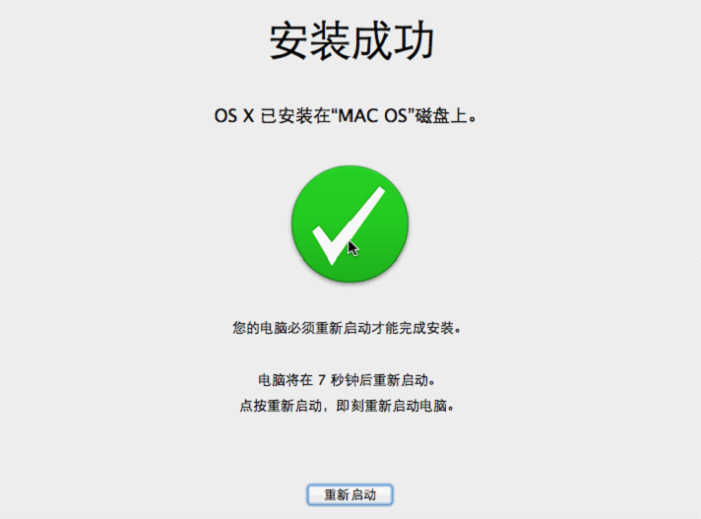
12)重启:
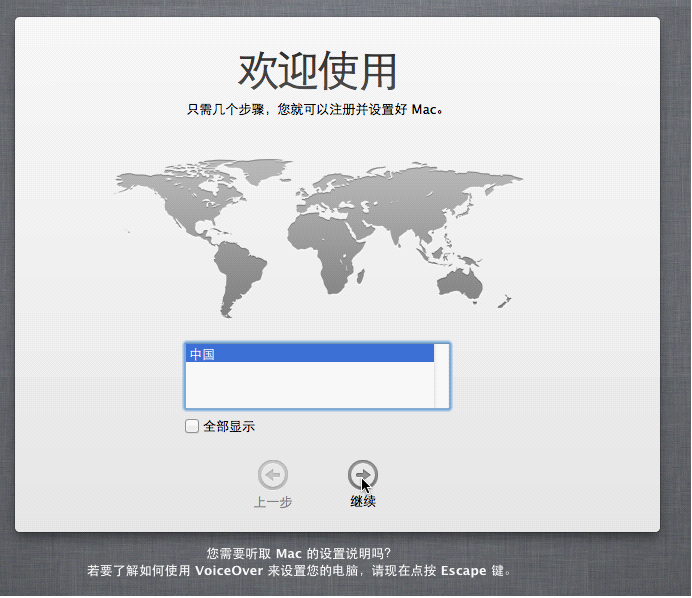
6. 配置系统:
1)国家:
2)键盘:
3)网络:
4)以后:
5)使用协议:
6)账户:
7)时区:
8)完成:
7. 安装Mac OS VMware Tools:
1)从VM for MacOS 补丁中的tools文件夹中得到darwin.iso:
参考下载地址: http://download.csdn.net/detail/vigiles/56788252)配置虚拟机:
3)加载tools镜像:
4)运行安装程序:
如果没有自动弹出安装提示窗口,前往,电脑,选择加载的镜像。5)使用结束后弹出镜像:
8. 安装XCode:
1)配置共享:
(1)启用共享文件夹:
(2)添加共享目录:
(3)配置共享目录:
(4)配置共享目录:
(5)确定:
(6)重启系统:
2)加载XCode.dmg:
(1)点击桌面,进入共享目录:
或者从桌面自动创建的图标打开:
(2)采用DiskImageMounter方式打开:
(3)拖动左边的Xcode图标到右边的Applications图标上:
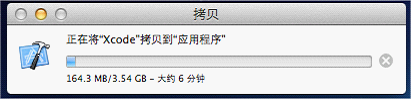
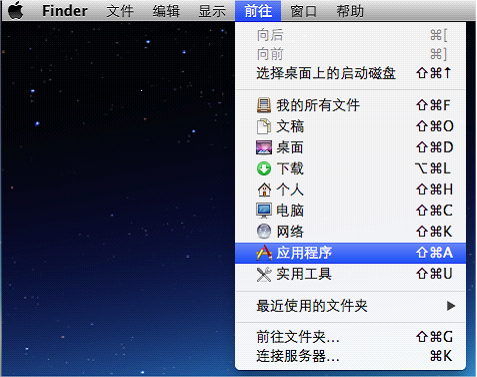
(4)拷贝结束后前往应用程序:
双击运行。
(5)固定在Dock快捷工具栏:
9. HelloWorld!:
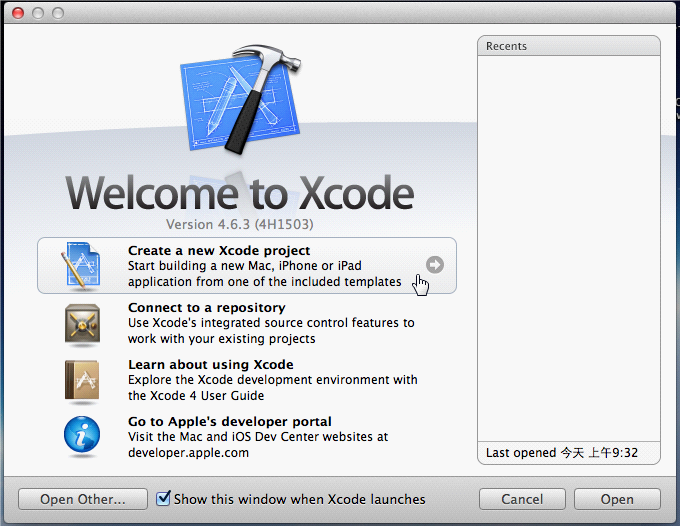
1)创建新项目:
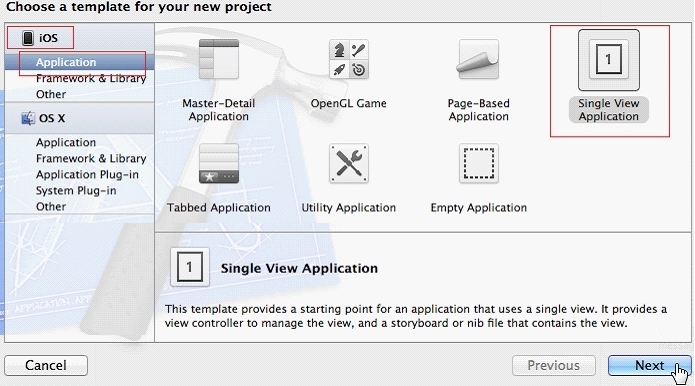
2)创建IOS应用:
3)配置应用参数:
4)配置保存路径:
5)进入Xcode开发界面:
6)在主视图加入一个标签:
7)修改标签:
8)command+b编译,command+r运行:
- end

相关文章推荐
- iOS语音书写功能(语音转文本)
- iOS开发多线程篇—多线程简单介绍
- iOS之常用第三方库的介绍
- 简单讲解iOS应用开发中的MD5加密的相关使用
- github优秀开源项目大全-iOS
- ios tableView编辑模式下cell中创建多个功能
- iOS去掉导航栏底部黑线
- iOS prepare for resign
- iOS 项目知识积累
- NSDataDetector,字符串中检测URL
- iOS~runtime理解
- iOS中block的探究
- iOS 苹果官方Demo合集
- cocoapods安装以及使用问题总结
- iOS LaunchScreen设置启动图片并且设置启动页停留时间
- iOS单元测试,String类型的宏,单个类测试可以正常取到,多个类一起测试取到的宏为null
- input disable属性下面 更改文本框或者按钮的颜色(对IOS兼容处理)
- iOS 本地通知详解
- iOS深入学习(Block全面分析)
- iOS 工厂方法模式