maven profile实现多环境打包
2016-04-06 16:35
316 查看
快速解决:
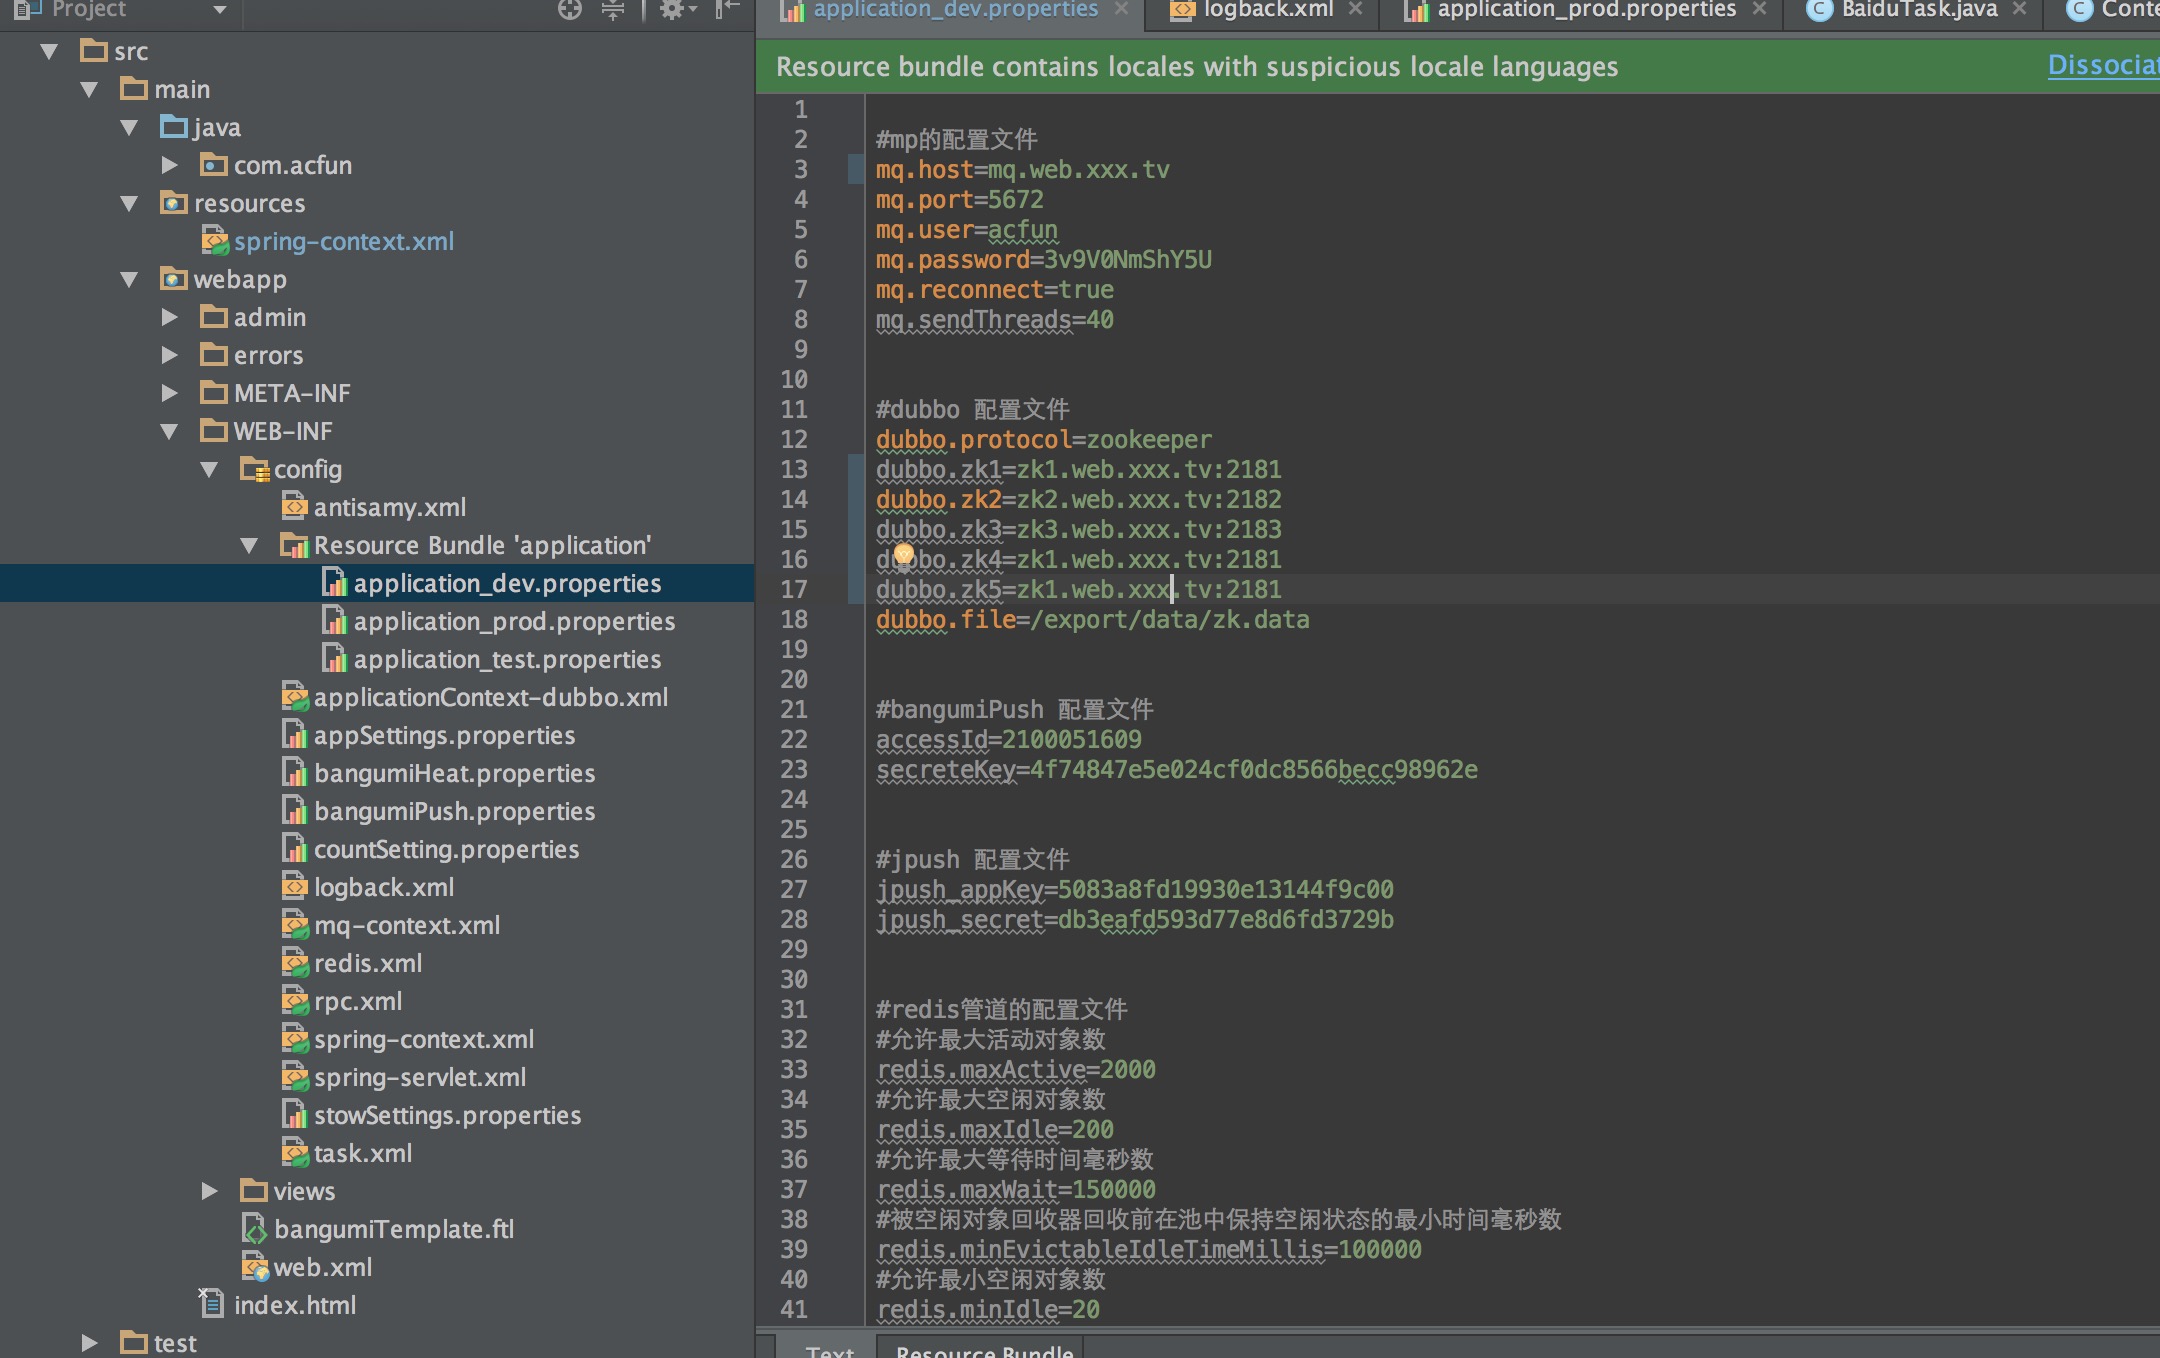
项目目录
1.pom文件中添加profile
2. pom中指定 filter文件夹 和 maven-war-plugin指定替换文件夹
3. 对比 WEB-INF/config下aplicationContent.xml(将被后面替换)和 src/main/resources 下aplicationContent.xml
指定-Dmaven.test.skip=true表示跳过测试 -Ptest 激活Profile id=test的环境参数
实现效果

config下 原本application_dev.properties 编译完成 替换为application_test.properties
从而实现了加载多环境配置.
概念简介
构建项目时可能会遇到在测试(如单元测试)、开发、模拟、生产等不同环境下需要不同配置.
如果需要修改的项目很多而且复杂的话,则应该使用 Apache Maven 的 Profile 和 Filtering 功能来解决。
profile-development.properties,内容
在编译项目时,可以使用 -P 参
数指定需要使用的 profile 的 id,比如下面命令将会使用 development profile:
至此,通过 filtering 和 profile 功能实现了为开发环境和生产环境使用不同配置值的目的。当然 profile 还可以允许你添加更多的定义,比如为某一个 profile 添加不同的资源文件。在一些大中型项目里,不同的环境可能仅仅修改配置值并不足够,可能还需要某个配置文件整个替换,那么就应该在 profiles/profile/build/resources 段里指定了。详细的可以参阅附录链接。
http://archboy.org/2012/05/21/apache-maven-profile-filtering-multiple-build-environments/ http://www.kafeitu.me/solution/2013/06/29/a-successful-cofiguration-file-management-solution.html
项目目录
1.pom文件中添加profile
<profiles>
<profile>
<!-- 本地开发环境 -->
<id>dev</id>
<properties>
<profiles.active>dev</profiles.active>
</properties>
<activation>
<activeByDefault>true</activeByDefault>
</activation>
</profile>
<profile>
<!-- 测试环境 -->
<id>test</id>
<properties>
<profiles.active>test</profiles.active>
</properties>

</profile>
<profile>
<!-- 生产环境 -->
<id>prod</id>
<properties>
<profiles.active>prod</profiles.active>
</properties>
</profile>
</profiles>
2. pom中指定 filter文件夹 和 maven-war-plugin指定替换文件夹
<build>
<resources>
<resource>
<directory>src/main/resources</directory>
<includes>
<include>spring-content.xml</include>
</includes>
<filtering>true</filtering>
</resource>
</resources>
<plugins>
<plugin>
<groupId>org.apache.maven.plugins</groupId>
<artifactId>maven-war-plugin</artifactId>
<version>2.4</version>
<configuration>
<archiveClasses>true</archiveClasses>
<warName>${project.artifactId}</warName>
<warSourceDirectory>${basedir}/src/main/webapp</warSourceDirectory>
<webXml>${basedir}/src/main/webapp/WEB-INF/web.xml</webXml>
<webappDirectory>${project.build.directory}/${project.artifactId}
</webappDirectory>
<webResources>
<resource>
<!-- 由于我是把配置文件都在/WEB-INF/config/文件夹-->
<!-- 所以把src/main/resources 被filter替换的文件替换dao WEB-INF/config/下-->
<directory>src/main/resources</directory>
<targetPath>WEB-INF/config</targetPath>
<filtering>true</filtering>
</resource>
</webResources>
</configuration>
</plugin>
<plugin>
<groupId>org.eclipse.jetty</groupId>
<artifactId>jetty-maven-plugin</artifactId>
<version>9.3.0.M2</version>
<configuration>
<scanIntervalSeconds>6</scanIntervalSeconds>
<httpConnector>
<port>5004</port>
</httpConnector>
<webAppConfig>
<contextPath>/xxxx</contextPath>
<!--<defaultsDescriptor>${basedir}/src/main/resources/webdefault.xml</defaultsDescriptor>-->
</webAppConfig>
</configuration>
</plugin>
</plugins>
</build>
3. 对比 WEB-INF/config下aplicationContent.xml(将被后面替换)和 src/main/resources 下aplicationContent.xml
<bean id="configProperties"
class="org.springframework.beans.factory.config.PropertiesFactoryBean">
<property name="locations">
<list>
<value>/WEB-INF/config/application_dev.properties</value>
</list>
</property>
</bean>
VS
<bean id="configProperties"
class="org.springframework.beans.factory.config.PropertiesFactoryBean">
<property name="locations">
<list>
<!--${profiles.active} 此处占位符 会被mvn替换从pom中profile.active的环境变量
第三步中 maven-war-plugin配置替换文件  完成多环境切换-->
<value>/WEB-INF/config/application_${profiles.active}.properties</value>
</list>
</property>
</bean>
4.maven 编译打包 mvn clean package -Dmaven.test.skip=true -Ptest指定-Dmaven.test.skip=true表示跳过测试 -Ptest 激活Profile id=test的环境参数
实现效果
config下 原本application_dev.properties 编译完成 替换为application_test.properties
从而实现了加载多环境配置.
概念简介
构建项目时可能会遇到在测试(如单元测试)、开发、模拟、生产等不同环境下需要不同配置.
如果需要修改的项目很多而且复杂的话,则应该使用 Apache Maven 的 Profile 和 Filtering 功能来解决。
Filtering 功能
Filtering 是 Maven Resources Plugin 的一个功能,它会使用系统属性或者项目属性的值替换资源文件(*.properties,*.xml)当中 ${…} 符号的值。比如你系统属性有一项 “user.name=foobar”,那么资源文件当中的 ${user.name} 符号会在 Maven 编译时自动被替换为 “foobar”。Profile 功能
Profile 的作用是允许你在项目文件(pom.xml)里定义若干个 profile 段,然后在编译时选择其中的一个用于覆盖项目文件原先的定义。接着上一个例子,如果我们需要为开发环境和生产环境定义不同的 user.name 属性值,则我们在项目目录里创建两个属性文件:profile-development.properties,内容
user.name=foobarprofile-production.properties,内容
user.name=tom然后在项目文件(pom.xml)里增加 profile 段,如下:
<build>
<filters>
<filter>src/main/filters/filter-${env}.properties</filter>
</filters>
<resources>
<resource>
<directory>src/main/resources</directory>
<filtering>true</filtering>
</resource>
</resources>
</build>
<profiles>
<profile>
<id>develop</id>
<properties>
<env>develop</env>
</properties>
</profile>
<profile>
<id>test</id>
<properties>
<env>test</env>
</properties>
</profile>
<profile>
<id>product</id>
<properties>
<env>product</env>
</properties>
</profile>
</profiles>pasting在编译项目时,可以使用 -P 参
数指定需要使用的 profile 的 id,比如下面命令将会使用 development profile:
$mvn clean compile -Pdevelopment如果想使用 production profile 则执行如下命令:
$mvn clean compile -Pproduction假如不指定 -P 参数的话,则会使用 activeByDefault=true 的一项(即 development)。
至此,通过 filtering 和 profile 功能实现了为开发环境和生产环境使用不同配置值的目的。当然 profile 还可以允许你添加更多的定义,比如为某一个 profile 添加不同的资源文件。在一些大中型项目里,不同的环境可能仅仅修改配置值并不足够,可能还需要某个配置文件整个替换,那么就应该在 profiles/profile/build/resources 段里指定了。详细的可以参阅附录链接。
http://archboy.org/2012/05/21/apache-maven-profile-filtering-multiple-build-environments/ http://www.kafeitu.me/solution/2013/06/29/a-successful-cofiguration-file-management-solution.html

相关文章推荐
- jsp入门(一个菜鸟的搬砖历程
- 不一样的命令行 – Windows PowerShell简介
- 内存管理
- 一个简单的JDBC程序
- 关于C语言的问卷调查
- Android 属性动画跟插值器估值器
- Shiro学习(3)授权
- 【OSI】--数据链路层
- 特征选择常用算法综述
- jdbcTemplate:包含占位符的SQL无法打印参数信息
- 应用SuperIO(SIO)和开源跨平台物联网框架ServerSuperIO(SSIO)构建系统的整体方案
- IBM appscan 9.0破解版分享
- IE8 jquery解析xml的兼容问题
- 二维数组和指向指针的指针
- 友盟分享适配iOS9
- JS两种方案解决跨域问题
- M180刷lubuntu问题__和A20刷debian问题,
- jmeter测试服务器性能之数据连接数瓶颈分析和优化
- Android Studio 连接自己的git服务器
- 通过配置光猫路由器实现家用主机远程桌面连接