centos7上安装oracle 12c
2016-03-11 17:31
627 查看
环境
VMware Workstation11+Centos7_64+Oracle12c_641.关闭防火墙
root>systemctl stop firewalld.serviceroot>systemctl disable firewalld.service
2.安装必须软件包
root>yum -y install binutils compat-libcap gcc gcc-c++ glib2-devel glibc ksh libaio libaio-devel libgcc libstdc++ libstdc++-devel libX11 libXau libxcb libXext libXtst make sysstat3.安装调用图形化需要的包
root>yum -y install unixODBC unixODBC-devel xterm4.添加用户及相关目录
root>groupadd oinstallroot>groupadd dba
root>useradd -g oinstall -G dba oracle
root>passwd oracle
root>id oracle
uid=1001(oracle) gid=1001(oinstall) groups=1001(oinstall),1002(dba)
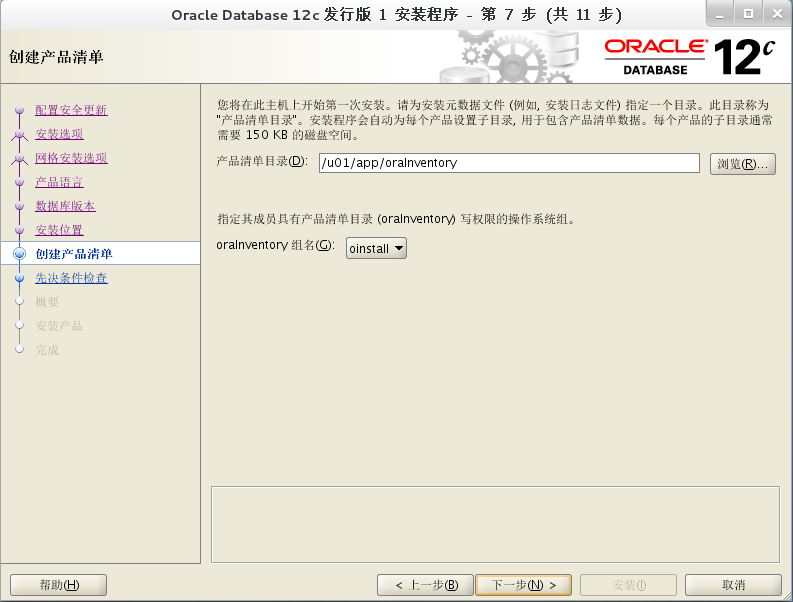
root>mkdir -p /u01/app/oracle/product/12.1.0/db_1
root>mkdir -p /u01/app/oraInventory
root>chown -R oracle:oinstall /u01/app
root>chmod -R 775 /u01/app
5.配置内核参数
root>vi /etc/sysctl.conf# System default settings live in /usr/lib/sysctl.d/00-system.conf.
# To override those settings, enter new settings here, or in an /etc/sysctl.d/.conf file
#
# For more information, see sysctl.conf(5) and sysctl.d(5).
fs.aio-max-nr = 1048576
fs.file-max = 6815744
kernel.shmall = 2097152
kernel.shmmax = 4294967295
kernel.shmmni = 4096
kernel.sem = 250 32000 100 128
net.ipv4.ip_local_port_range = 9000 65500
net.core.rmem_default = 262144
net.core.rmem_max = 4194304
net.core.wmem_default = 262144
net.core.wmem_max = 1048576
root>sysctl -p
fs.aio-max-nr = 1048576
fs.file-max = 6815744
kernel.shmall = 2097152
kernel.shmmax = 4294967295
kernel.shmmni = 4096
kernel.sem = 250 32000 100 128
net.ipv4.ip_local_port_range = 9000 65500
net.core.rmem_default = 262144
net.core.rmem_max = 4194304
net.core.wmem_default = 262144
net.core.wmem_max = 1048576
–修改系统限制
root>vi /etc/security/limits.conf
# End of file
oracle soft nproc 2047
oracle hard nproc 16384
oracle soft nofile 1024
oracle hard nofile 65536
root>vi /etc/pam.d/login
session required /lib/security/pam_limits.so
session required pam_limits.so
root>vi /etc/profile
if [ USER=“oracle”];thenif[SHELL = “/bin/ksh” ]; then
ulimit -p 16384
ulimit -n 65536
else
ulimit -u 16384 -n 65536
fi
fi
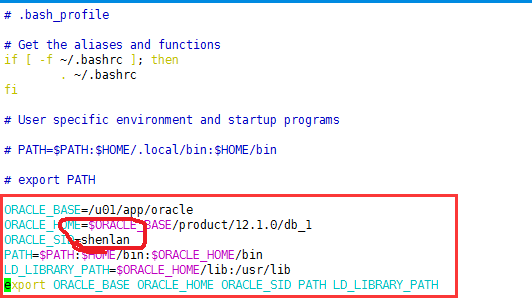
6.切换到oracle用户下,配置环境变量
root>su - oracleoracle>vi .bash_profile
ORACLE_BASE=/u01/app/oracle
ORACLE_HOME=$ORACLE_BASE/product/12.1.0/db_1
ORACLE_SID=lytzats
PATH=$PATH:$HOME/bin:$ORACLE_HOME/bin
LD_LIBRARY_PATH=$ORACLE_HOME/lib:/usr/lib
export ORACLE_BASE ORACLE_HOME ORACLE_SID PATH LD_LIBRARY_PATH
oracle>xhost +
access control disable, clients can connect from any host
oracle>./runInstaller
中文乱码问题
如果你采用的centos7选择中文模式,在安装oracle12c的时候会出现乱码解决:
oracle12c安装乱码解决
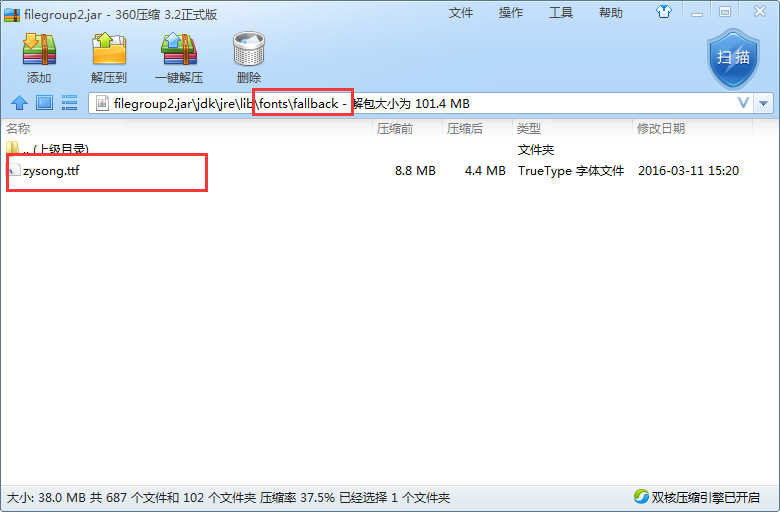
1. 进入安装包目录下找到filegroup2.jar文件:
/home/oracle/soft/database/stage/Components/oracle.jdk/1.6.0.75.0/1/DataFiles/filegroup2.jar
2. 拷贝到Windows环境下用360压缩打开
3. 建立fallback文件夹,把下载的字符集zysong.ttf拷贝进去
4. 保存,覆盖掉原来的文件
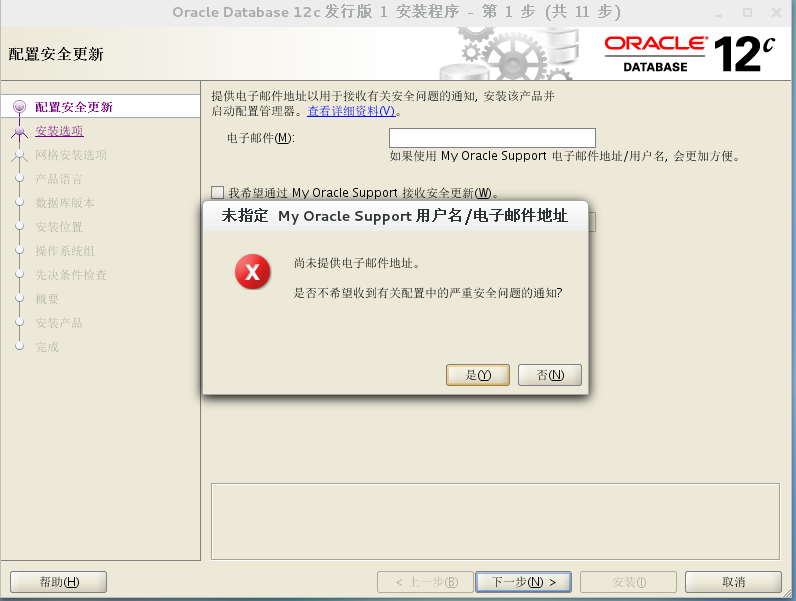
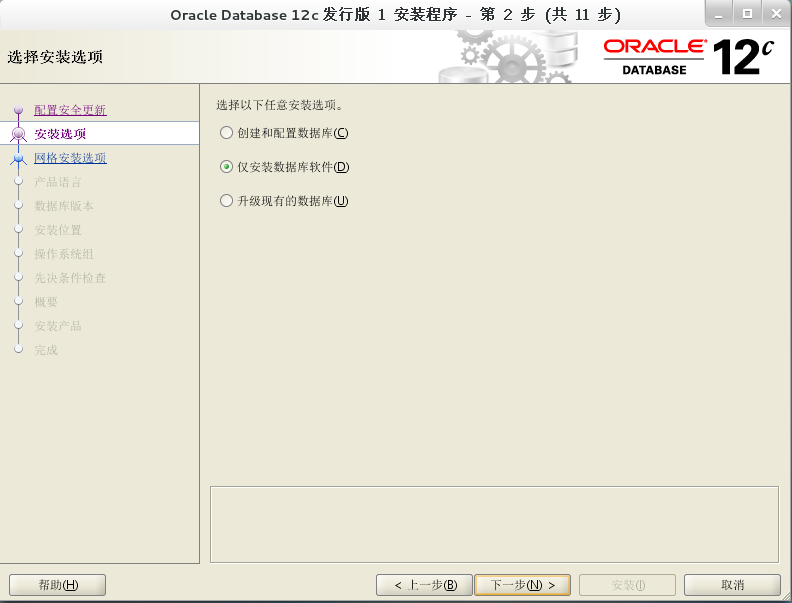
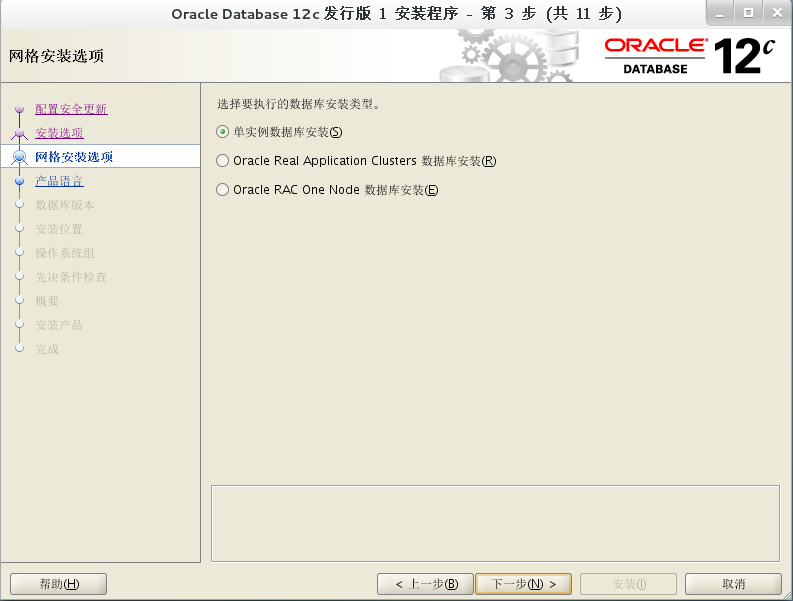
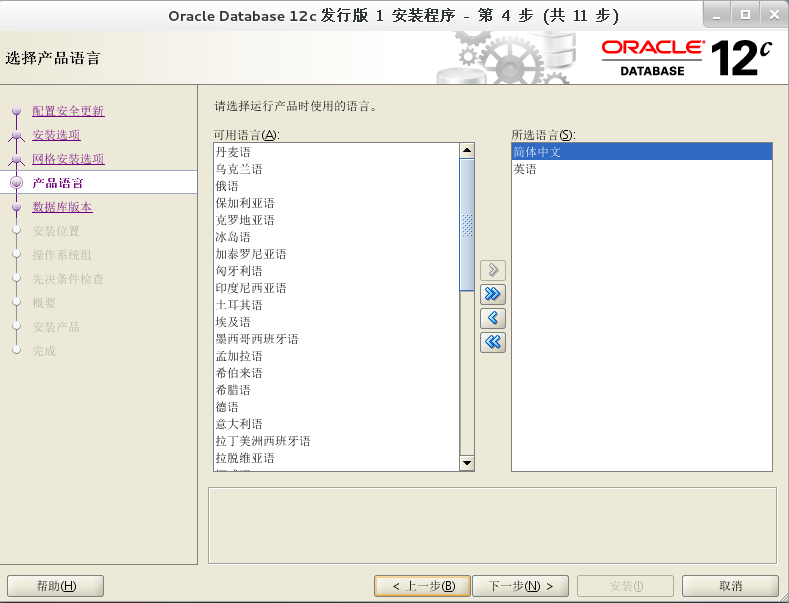
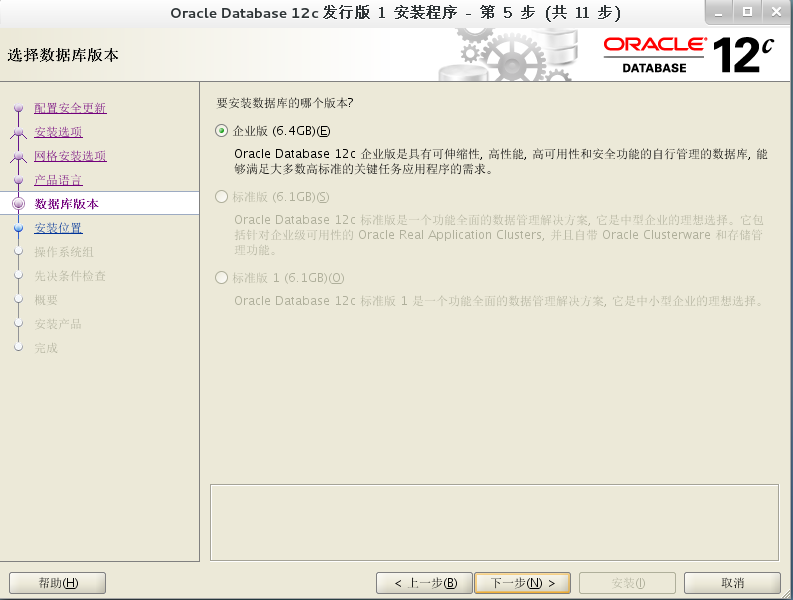
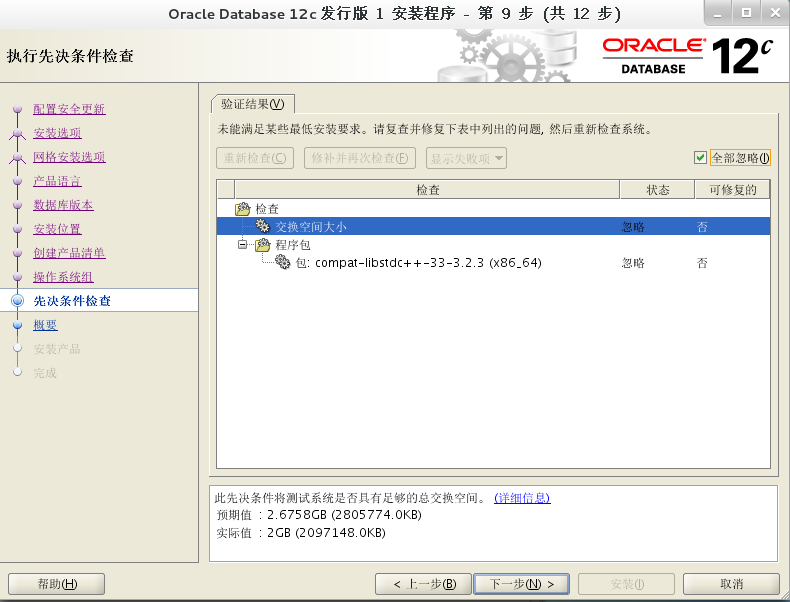
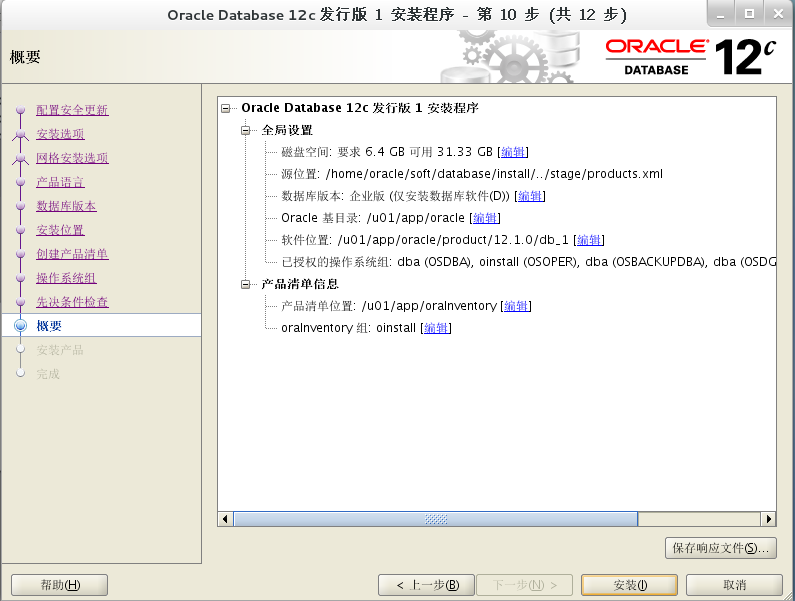
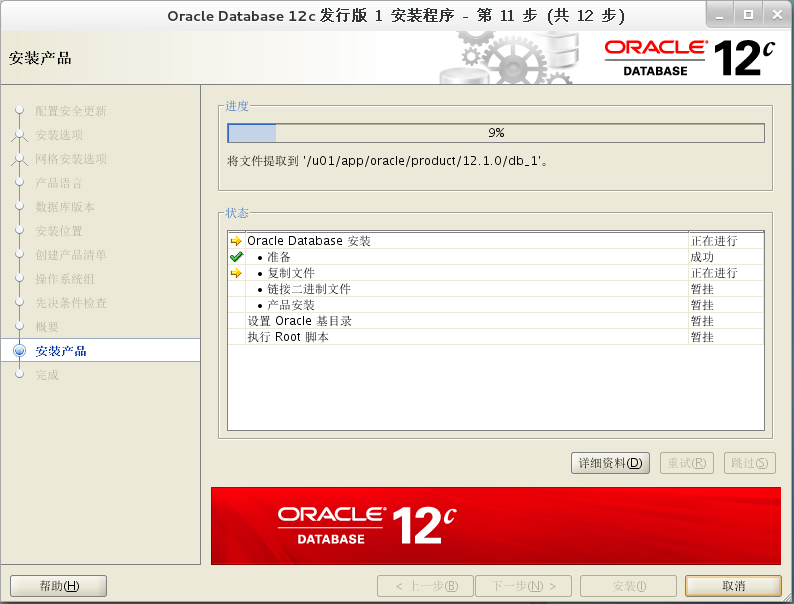
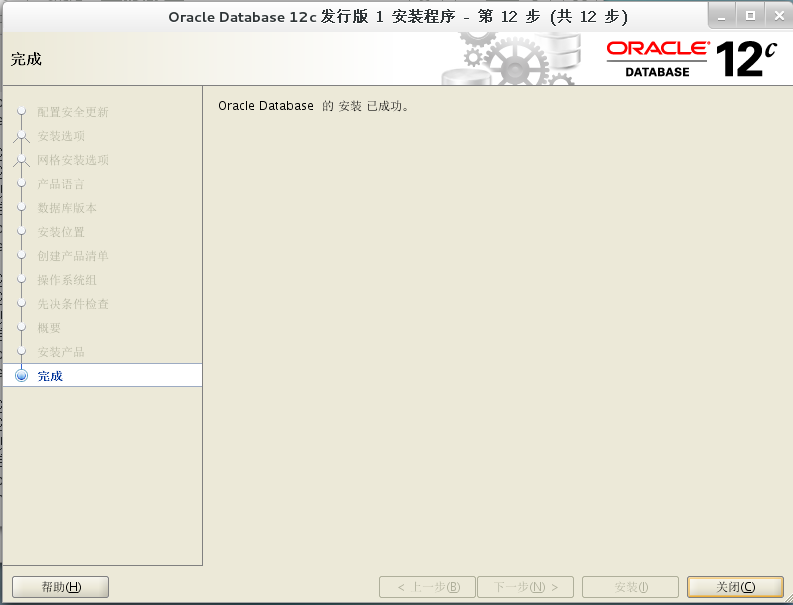
7.图形化安装步骤
这里我们选择安装仅安装数据库软件,在后面我们需要手动创建Oracle实例。


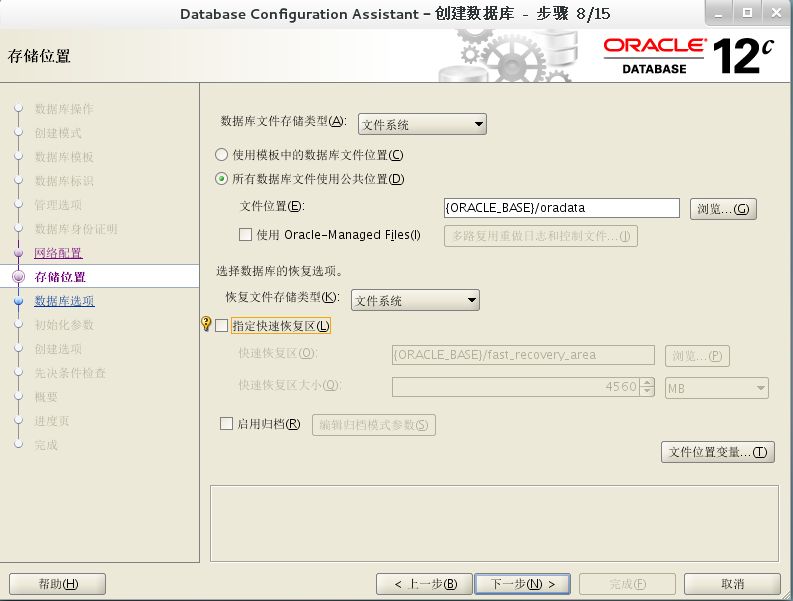
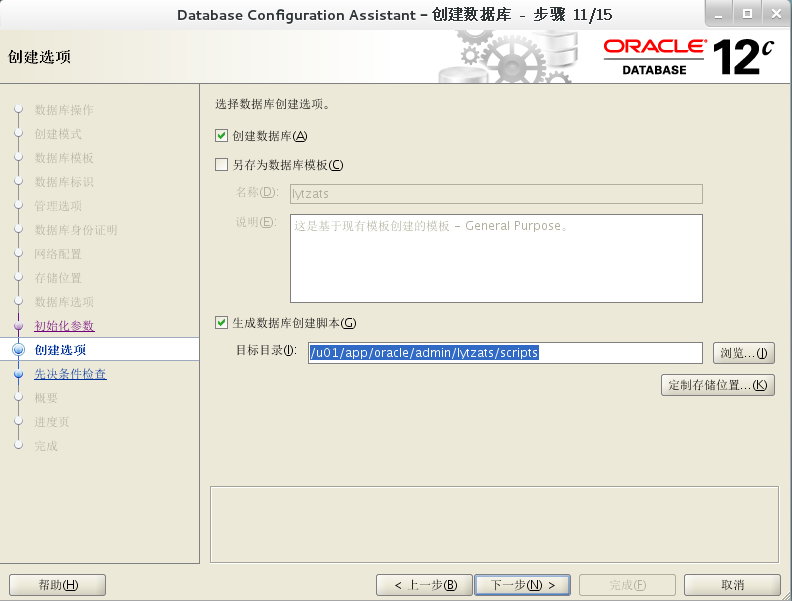
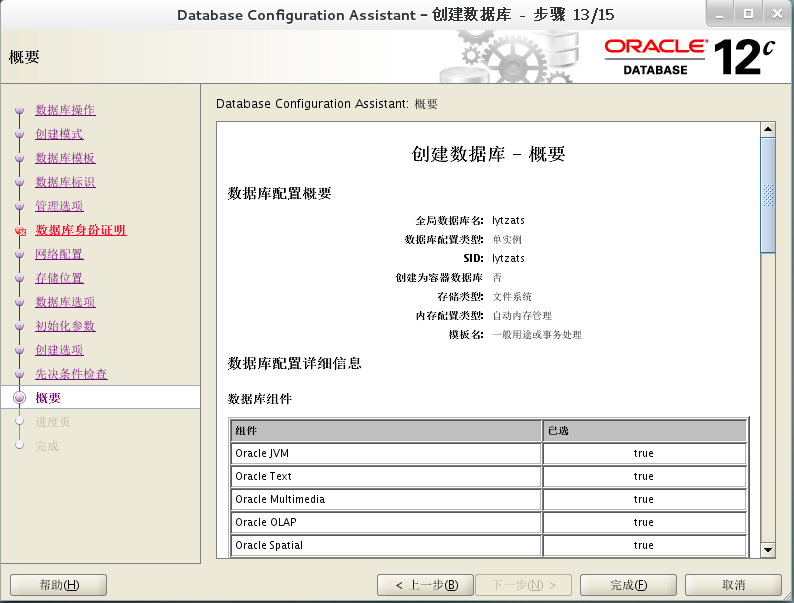
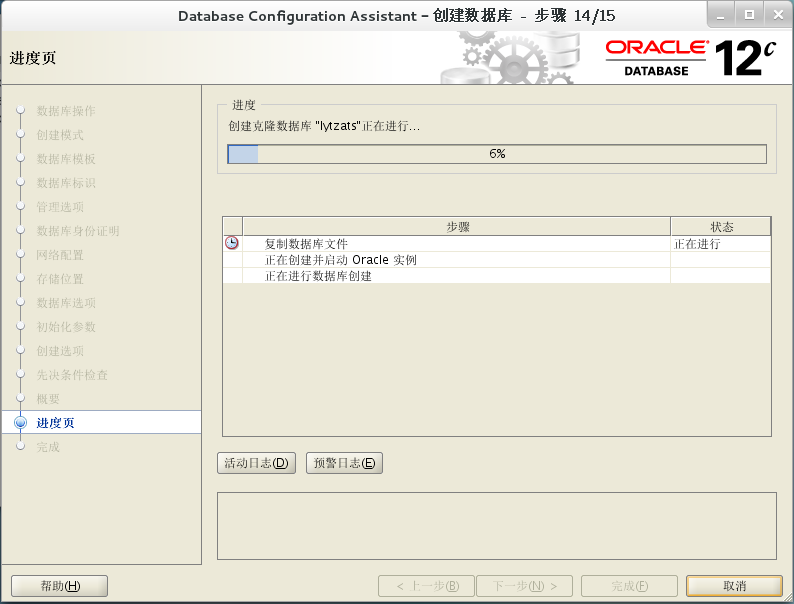
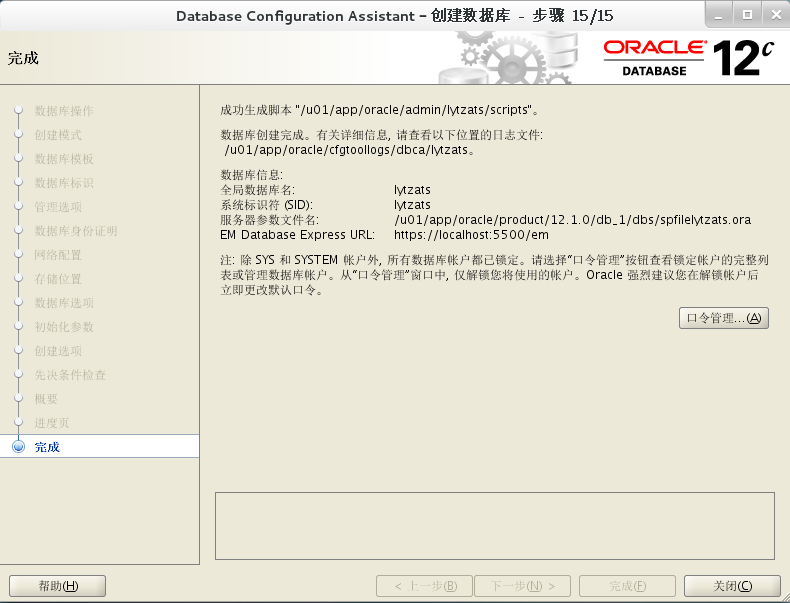
8.创建数据库实例
oracle>dbca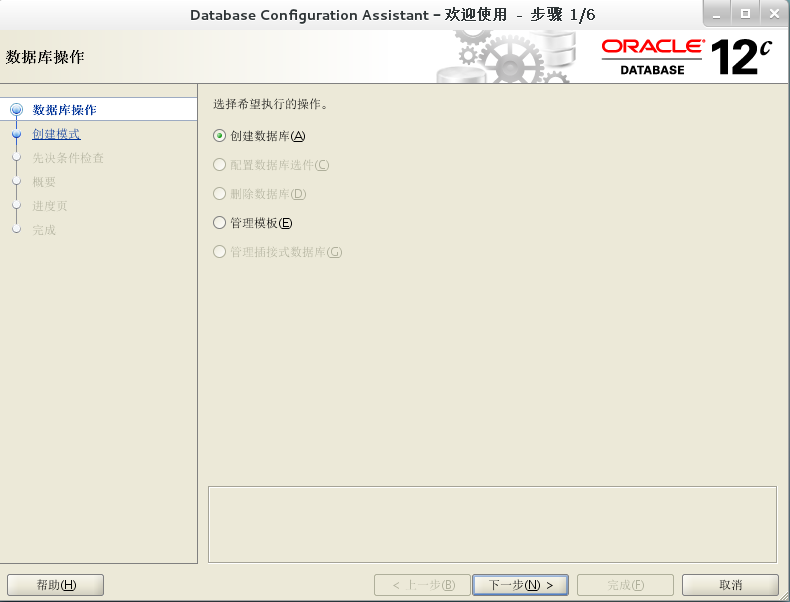
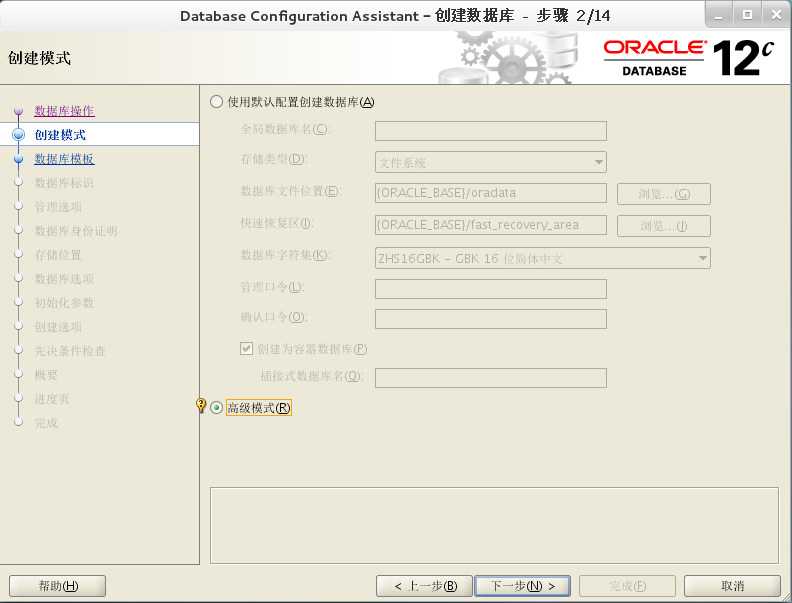
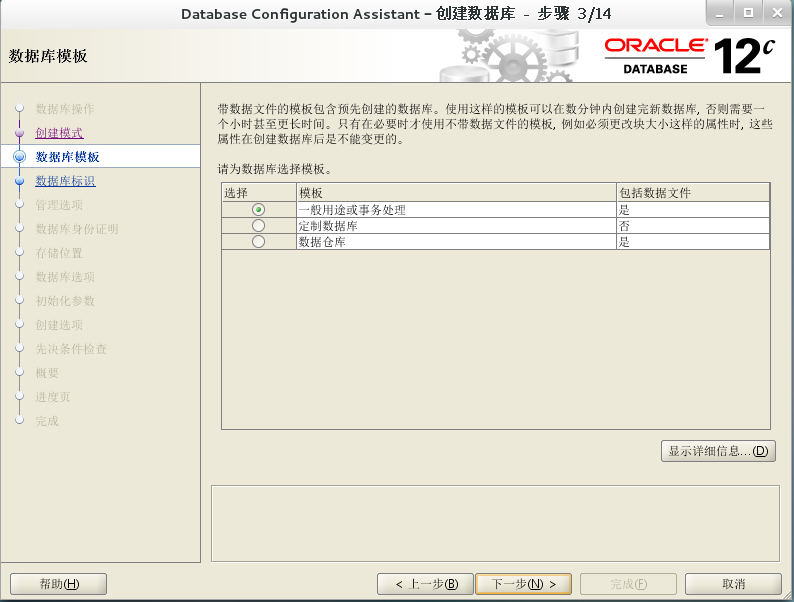
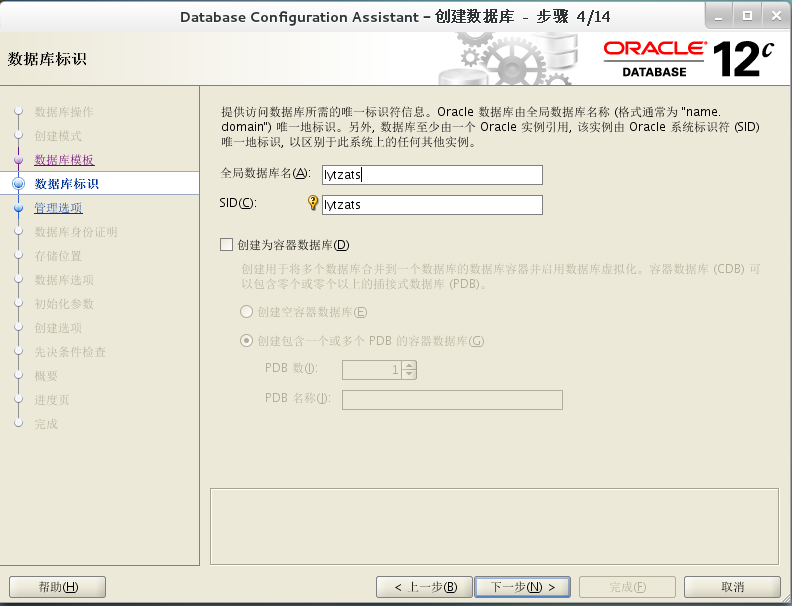
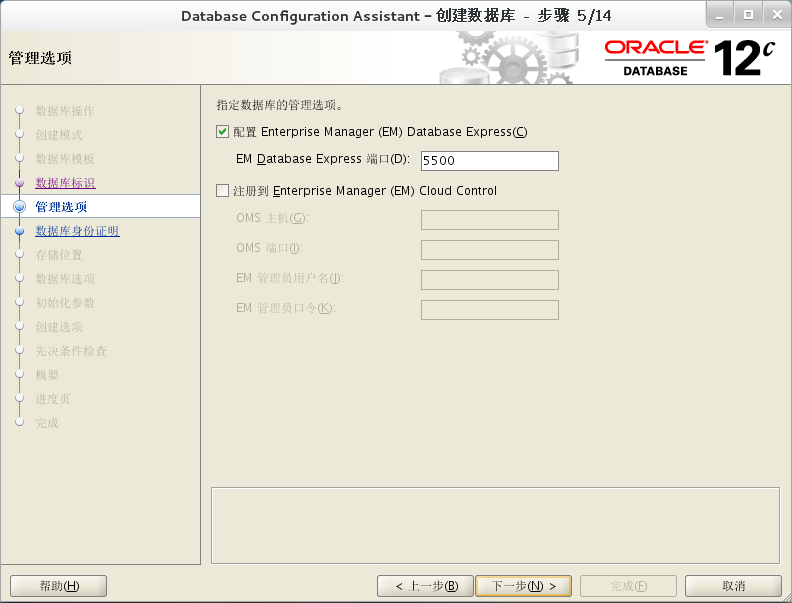
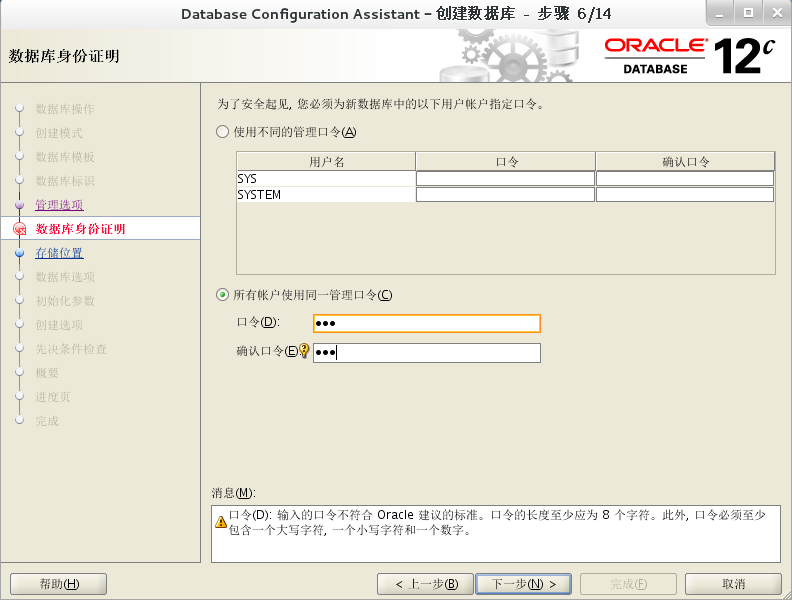

在这里可以选择配置数据库的字符集。

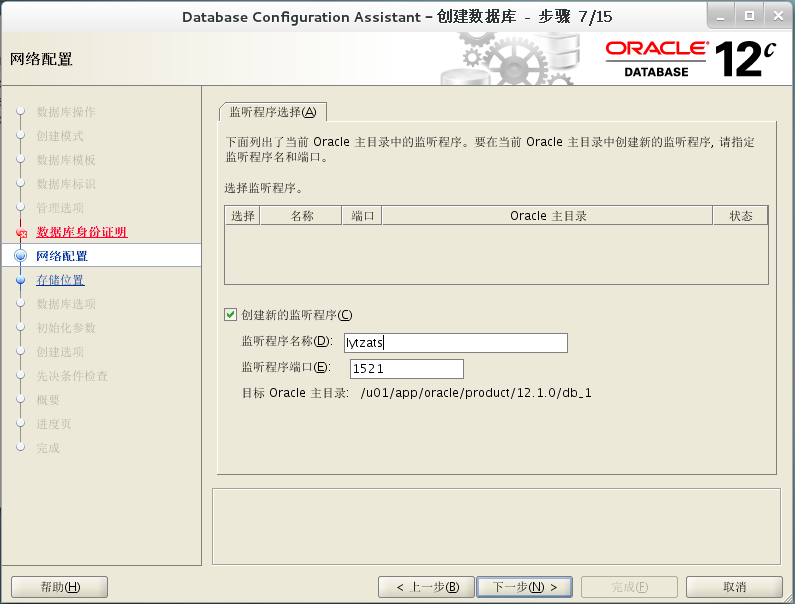
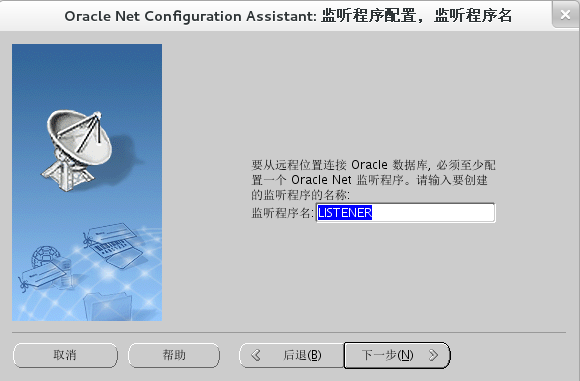
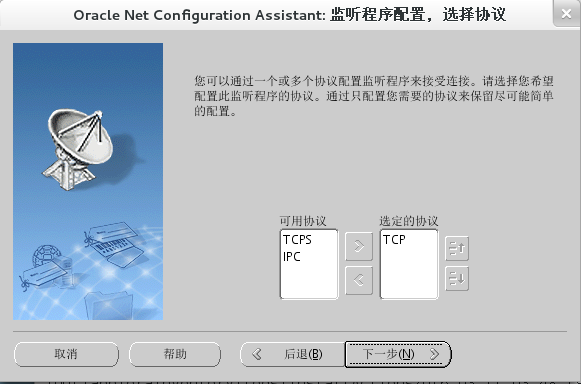
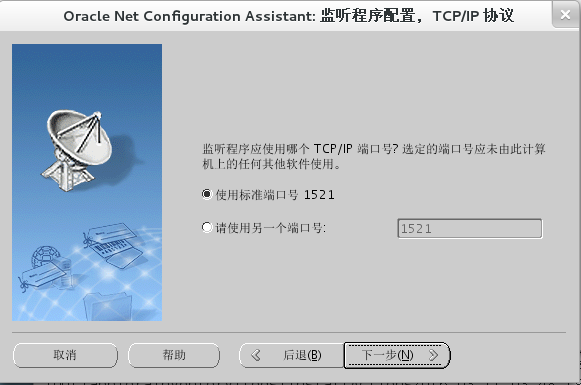
9.配置监听


相关文章推荐
- 基于 Red Hat 的发行版 Oracle Linux 正式发布Oracle Linux 7.1
- Centos6 编译安装Python
- Oracle Containers for J2EE远程安全漏洞(CVE-2014-0413)
- 硬盘安装CentOS 6.2以及添加GRUB启动菜单
- Oracle 10g R2不能使用EM的问题
- 表空间操作
- CentOS 6.2实战部署Nginx+MySQL+PHP
- PreparedStatement中in子句的处理
- VMware下RedHat4.8_64位安装Oracle 10g RAC--简略脚本
- oracle sql日期比较
- 基于 Red Hat 的发行版 Oracle Linux 正式发布Oracle Linux 7.1
- OS block size和Oracle block size,查找OS Blocksize的方法
- CentOS 7系统配置上的变化解析
- oracle中创建数据库和表空间的几点总结
- 数据库自动备份脚本
- CentOS下DB2数据库安装过程详解
- CentOS 6.3下编译安装Ruby 2.0笔记