Adding and displaying a background
2015-12-10 14:14
267 查看
Using the empty project we created in the previous part, we will now learn how to add a background and some fancy clouds.

(Right click to save the image)
Import the image in the "Textures" folder. Simply copy the file in it, or drag and drop it from the explorer.
Do not worry about the import settings for now.
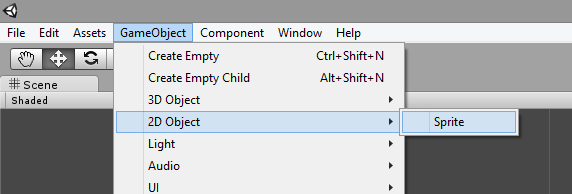
In Unity, create a new

(You have to click on the small round icon at the right of the input box to show the "Select Sprite" inspector)
"My sprite doesn't show up in the dialog?": First, make sure you are in the "Assets" tab of the "Select Sprite" dialog.
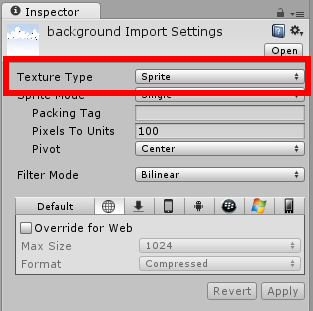
Some readers have reported that, in their project, this dialog was empty. The reason is that for some Unity installations, even with a fresh new 2D project, images are imported as "Texture" and not "Sprite".
To fix this, you need to select the image in the "Project" pane, and in the "Inspector", change the "Texture Type" property to "Sprite":
We don't know why everybody doesn't seem to have the same behavior.
Well, we have set a simple sprite displaying a cloudy sky background. Let's reorganize the scene.
In the "Hierarchy" pane, select the
something you will easily remember.
Then move the object to where it belongs:
A quick exercise: duplicate the background and place it at
Tip: You can duplicate an objet with the
Here are some simple flying platform sprites:
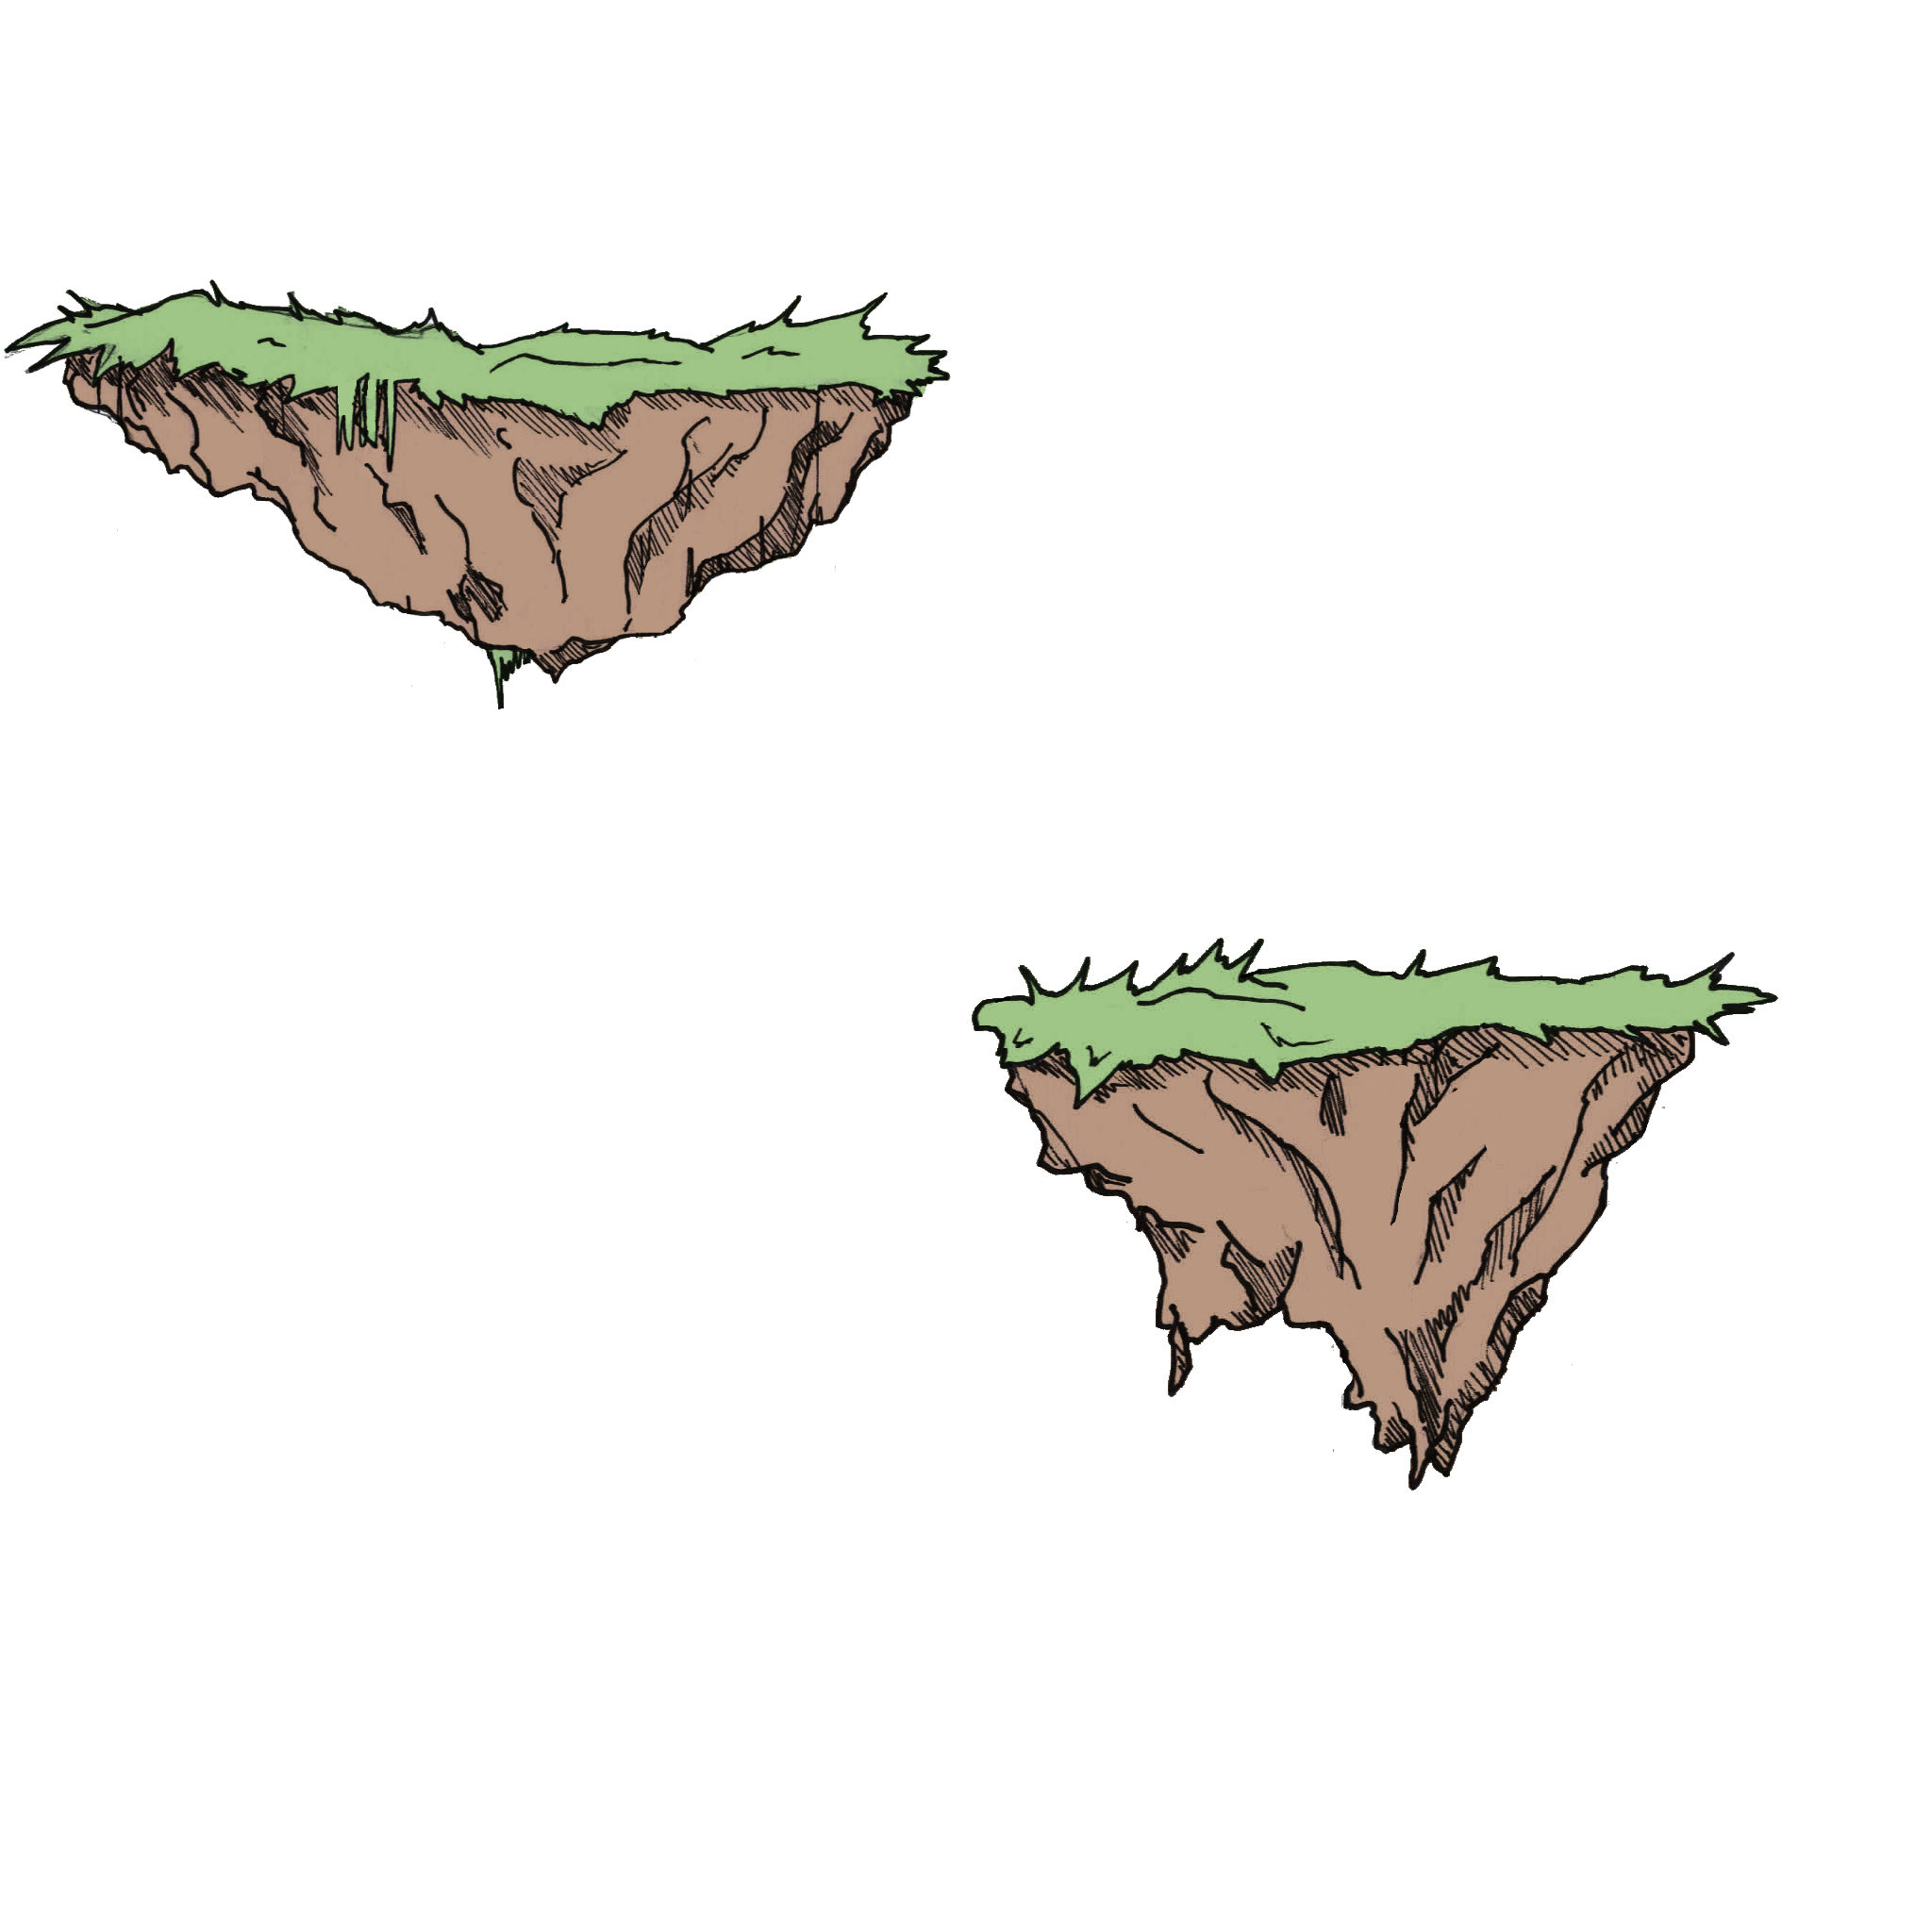
(Right click to save the image)
As you can see, we got two platforms in one file. This is a good way to learn how to crop sprites with the new Unity tools.
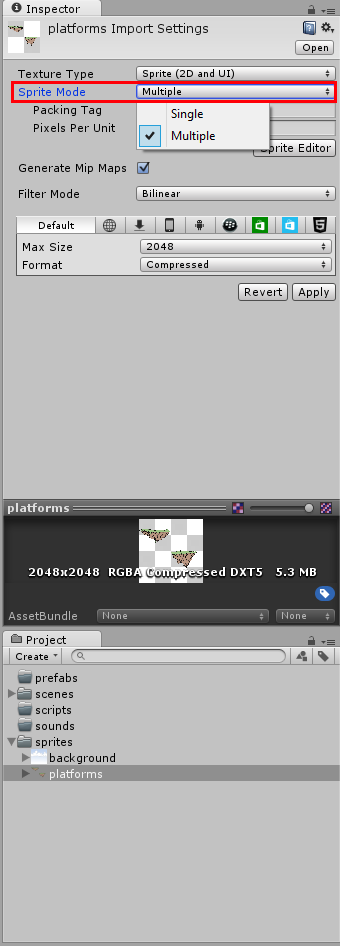
Select the "platforms" sprite and go to the inspector
Change "Sprite Mode" to "Multiple"
Click on "Sprite Editor"
In the new window ("Sprite Editor"), you can draw rectangles around each platform to slice the texture into smaller parts:
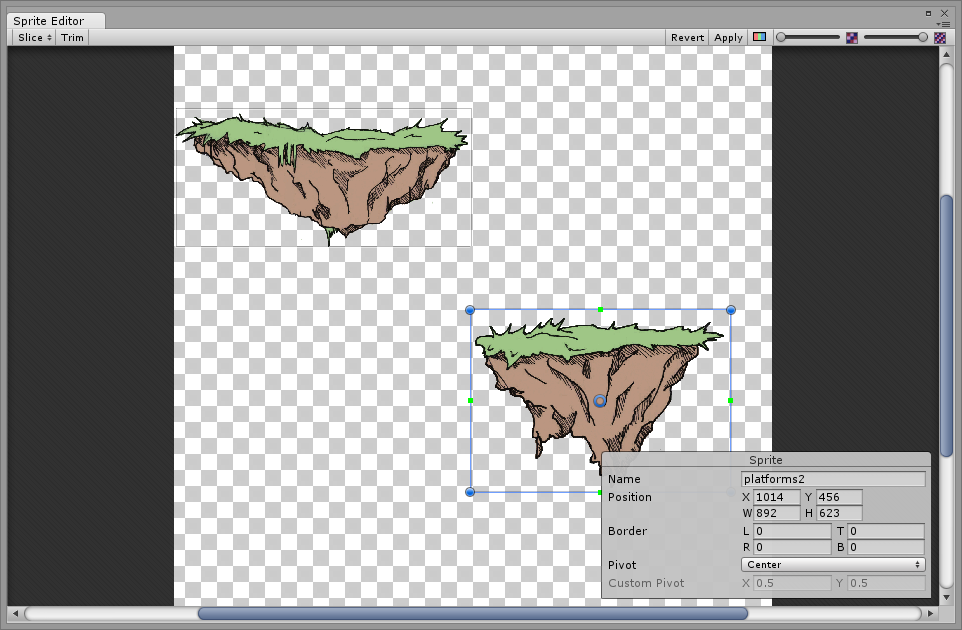
The top-left button "Slice" allow you to quickly and automatically make this tedious task:

Unity will find the objects inside the image and will slice them automatically. You can specify the default pivot point, or set a minimum size for a slice. For a simple image without artifacts, it's really efficient. However, if you use this tool, be
careful and check the result to be sure to get what you want.
For this tutorial, do it manually first. Call the platforms "platform1" and "platform2".
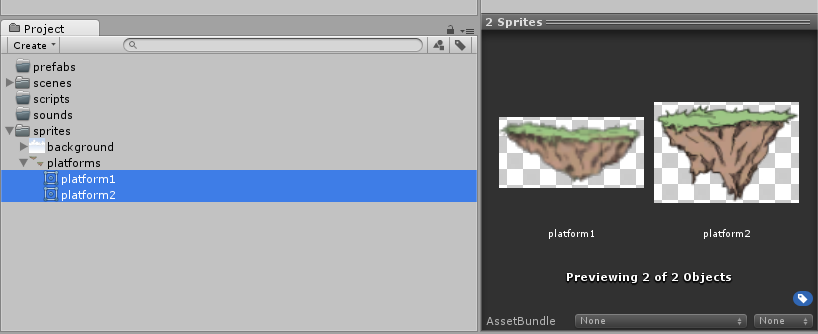
Now, under the image file, you should see the two sprites separately:
Place them in the
position.
And... it's working! I'm still amazed how simple it is now (to be honest, it was a bit tricky without the 2D tools, involving quad and image tiling).
By doing so, you will create a
that you have converted to a
Note on the "Prefab" buttons: If you modify the game object later, you can "Apply" its changes to the
"Revert" it to the
directly to the
Creating prefabs with the platform objects will make them easier to reuse later. Simply drag the
scene to add a copy. Try to add another platform that way.
You are now able to add more platforms, change their positions, scales and planes (you can put some in background or foreground too, just make sure that the platform Z position is `
It's not very fancy but in two chapters we will add a parallax scrolling and it will suddenly bring the scene to life.
Simply change the Z position of the game objects in your "Hierarchy" view as following:
If you switch from 2D to 3D view in the "Scene" view, you will clearly see the layers:

The good news is that it's completely useless now. You have nothing to do. It just works™.
Aside: If you click on the
object, you can see that it has a "Projection" flag set to "Orthographic". This is the setting that allows the camera to render a 2D game without taking the 3D into account. Keep in mind that even if you are working with 2D objects, Unity is still using its
3D engine to render the scene. The gif above shows this well.
In the next chapter, we will learn how to add a player and its enemies.
Adding a background
Your first background will be static. We will use the following image:(Right click to save the image)
Import the image in the "Textures" folder. Simply copy the file in it, or drag and drop it from the explorer.
Do not worry about the import settings for now.
In Unity, create a new
Spritegame object in the scene.
What is a sprite?
In general, we call "sprite" a 2D image displayed in a video game. Here, it's a Unity specific object made for 2D games.Add the texture to the sprite
Unity may have set automatically your background as the sprite to display. If not, or if you want to change the texture, go to the inspector and select "background":(You have to click on the small round icon at the right of the input box to show the "Select Sprite" inspector)
"My sprite doesn't show up in the dialog?": First, make sure you are in the "Assets" tab of the "Select Sprite" dialog.
Some readers have reported that, in their project, this dialog was empty. The reason is that for some Unity installations, even with a fresh new 2D project, images are imported as "Texture" and not "Sprite".
To fix this, you need to select the image in the "Project" pane, and in the "Inspector", change the "Texture Type" property to "Sprite":
We don't know why everybody doesn't seem to have the same behavior.
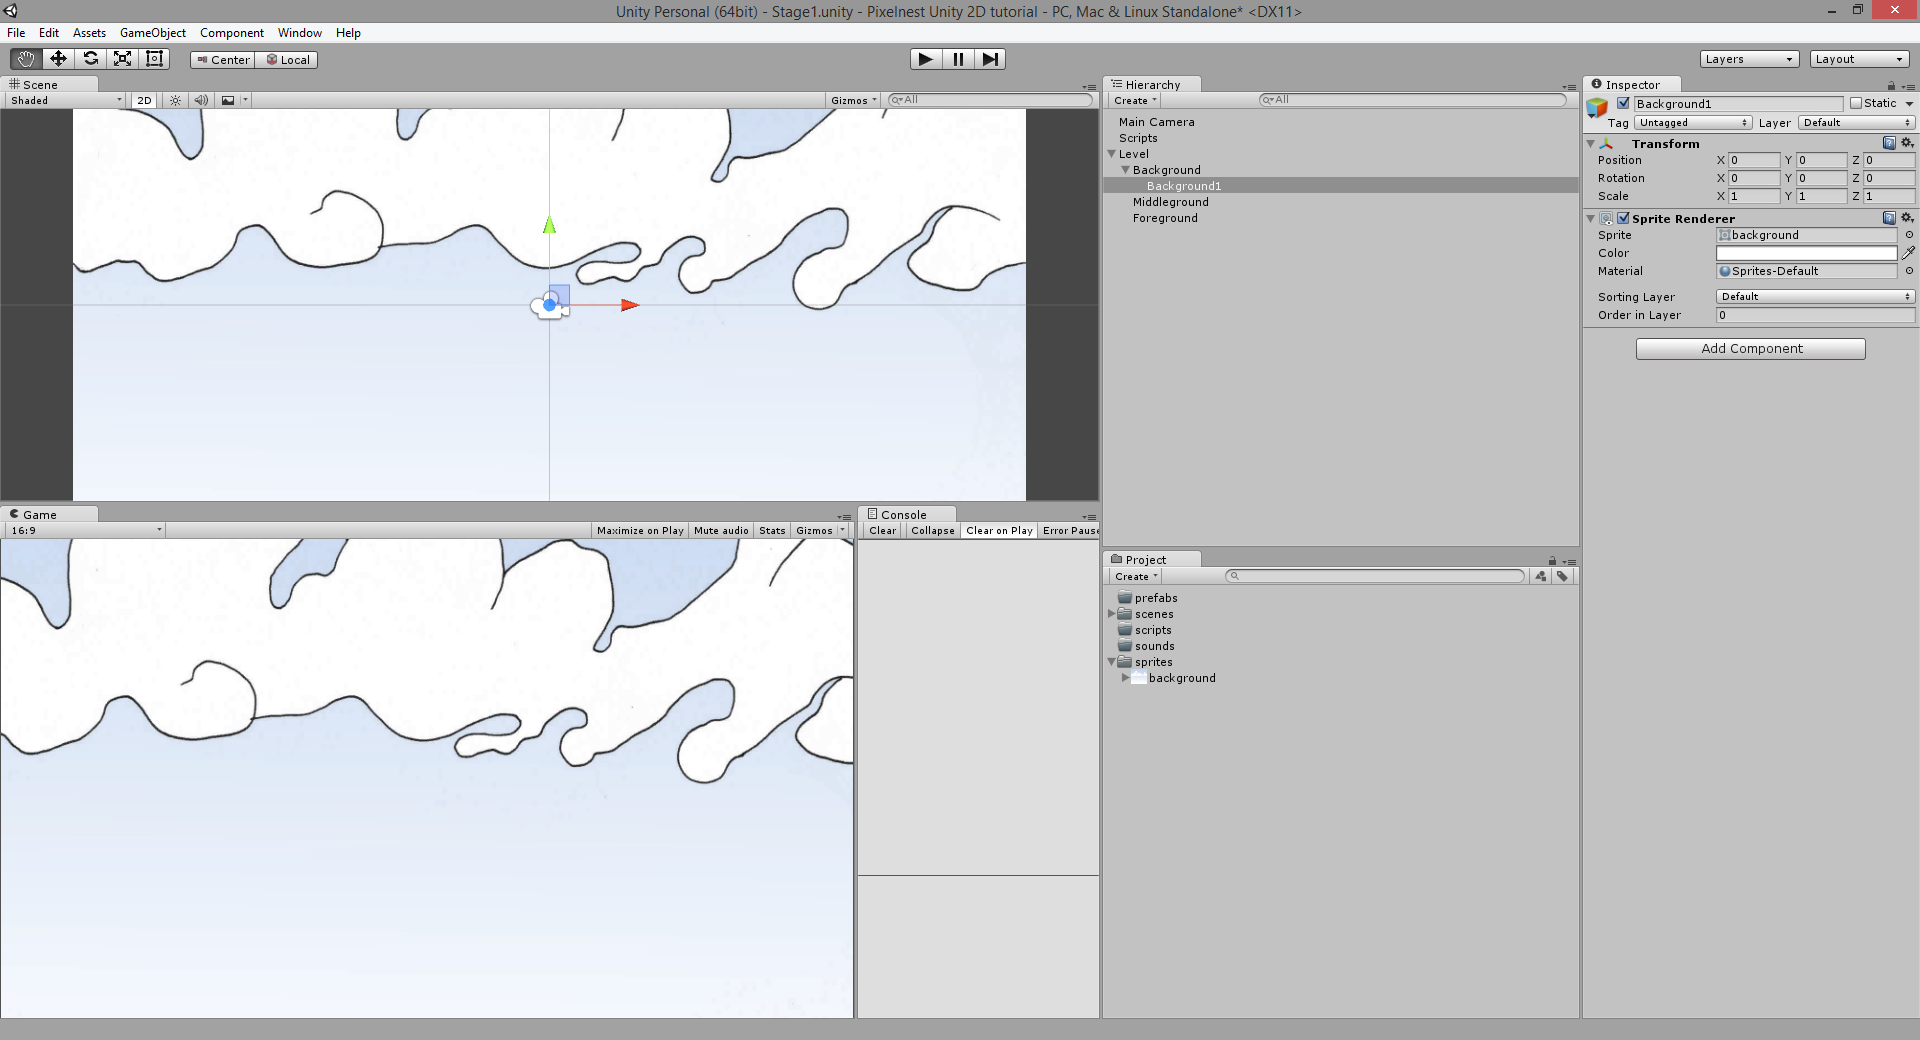
Well, we have set a simple sprite displaying a cloudy sky background. Let's reorganize the scene.
In the "Hierarchy" pane, select the
New Sprite. Rename it in
Background1or
something you will easily remember.
Then move the object to where it belongs:
Level -> 0 - Background. Change its position to
(0,
0, 0)
.
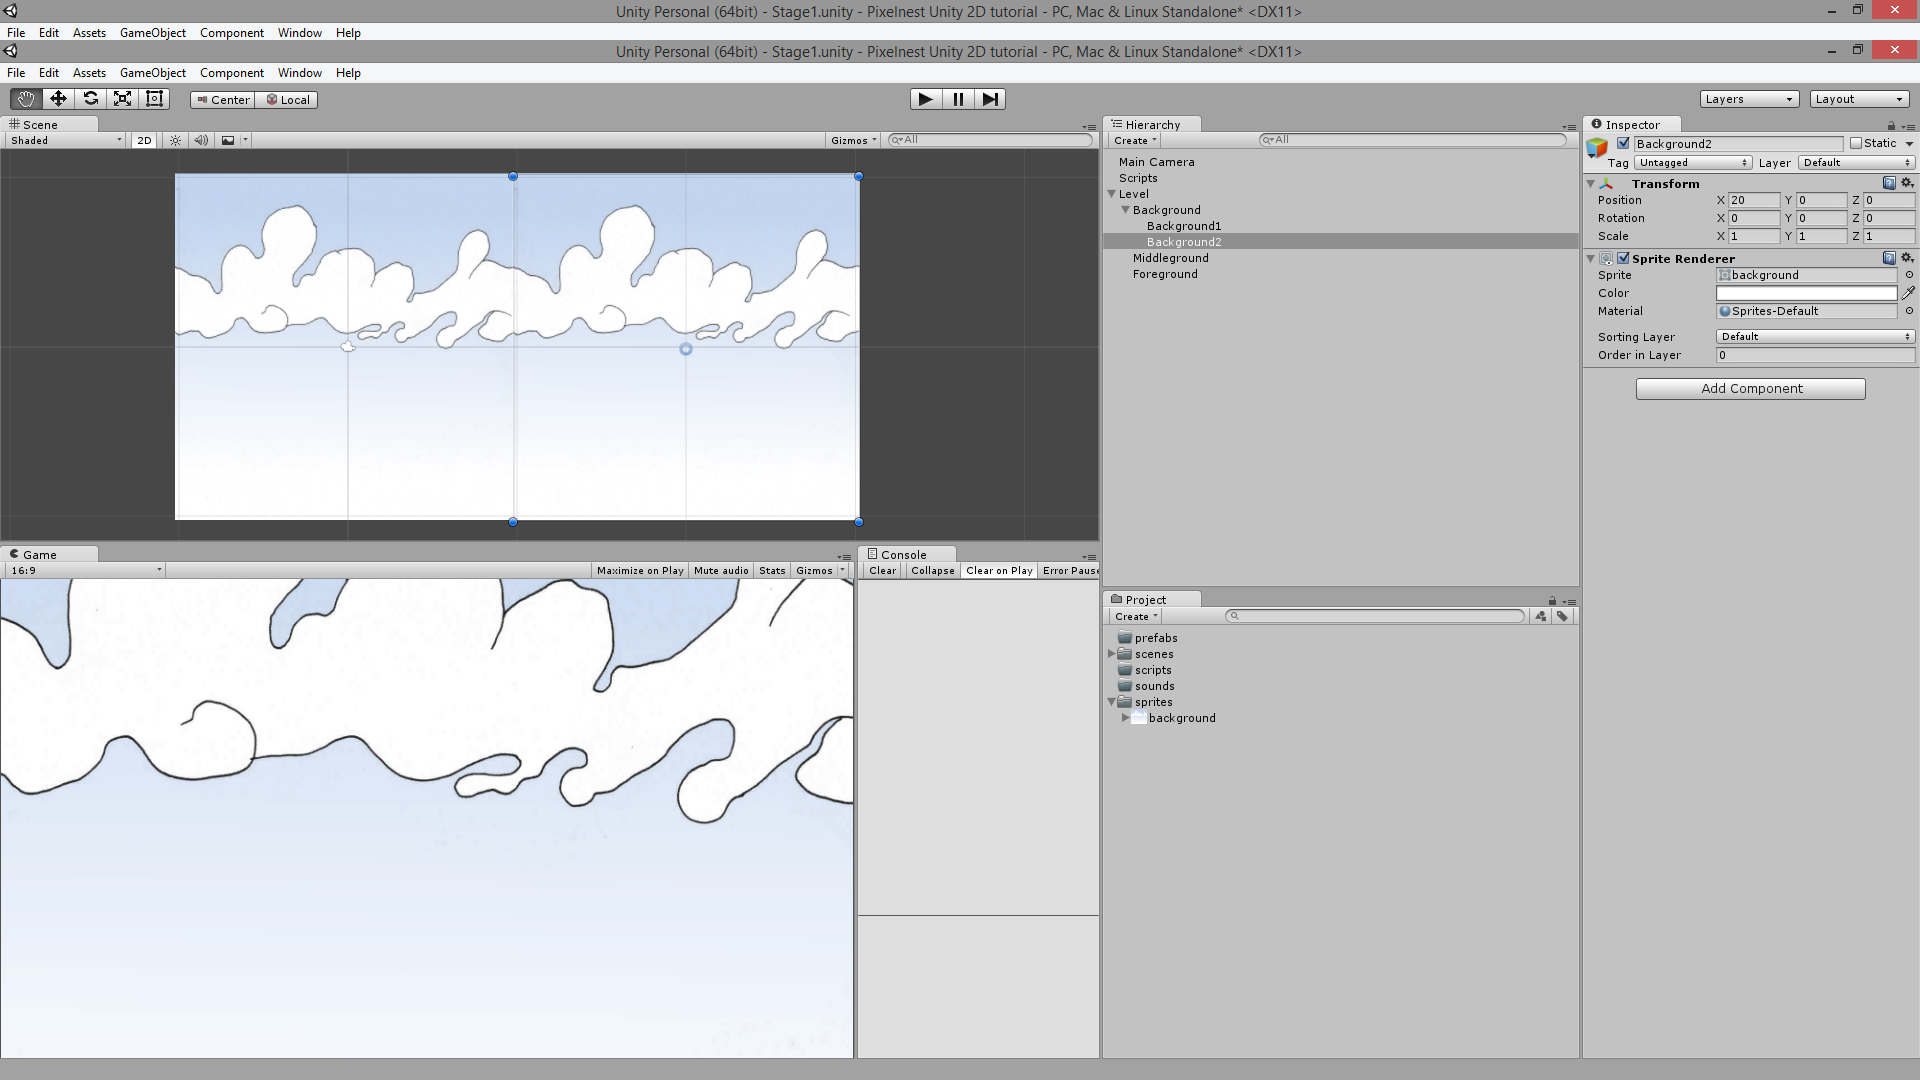
A quick exercise: duplicate the background and place it at
(20, 0, 0). It should fit perfectly with the first part.
Tip: You can duplicate an objet with the
cmd
+ D
(OS X) or
ctrl + D(Windows) shortcuts.
Adding background elements
Also known as props. These elements aren't used to improve the gameplay but to visually enhance the scene.Here are some simple flying platform sprites:
(Right click to save the image)
As you can see, we got two platforms in one file. This is a good way to learn how to crop sprites with the new Unity tools.
Getting two sprites from one image
Import the image in your "Textures" folderSelect the "platforms" sprite and go to the inspector
Change "Sprite Mode" to "Multiple"
Click on "Sprite Editor"
In the new window ("Sprite Editor"), you can draw rectangles around each platform to slice the texture into smaller parts:
The top-left button "Slice" allow you to quickly and automatically make this tedious task:
Unity will find the objects inside the image and will slice them automatically. You can specify the default pivot point, or set a minimum size for a slice. For a simple image without artifacts, it's really efficient. However, if you use this tool, be
careful and check the result to be sure to get what you want.
For this tutorial, do it manually first. Call the platforms "platform1" and "platform2".
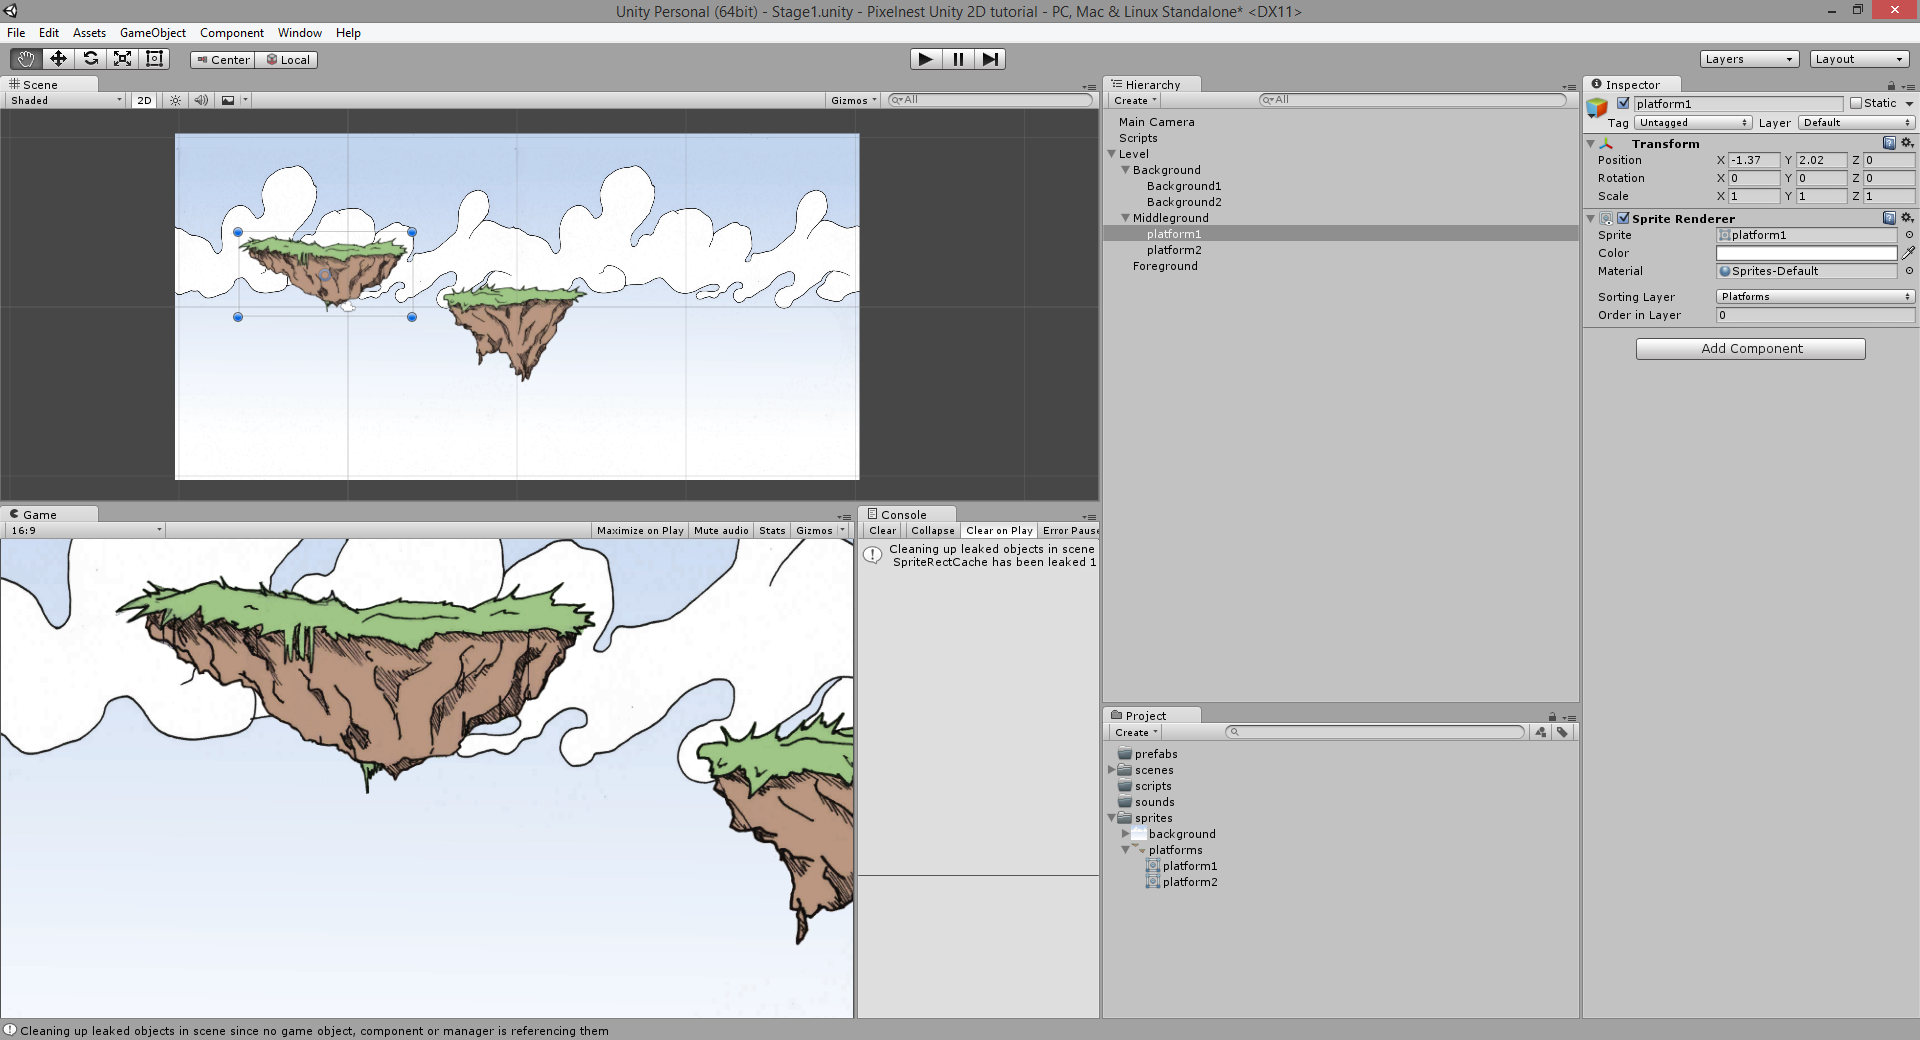
Now, under the image file, you should see the two sprites separately:
Adding them to the scene
We will proceed like for the background sprite: create a newSpriteand select the "platform1" sprite. Repeat for "platform2".
Place them in the
1 - Middlegroundobject. Again make sure they have a
0Z
position.
And... it's working! I'm still amazed how simple it is now (to be honest, it was a bit tricky without the 2D tools, involving quad and image tiling).
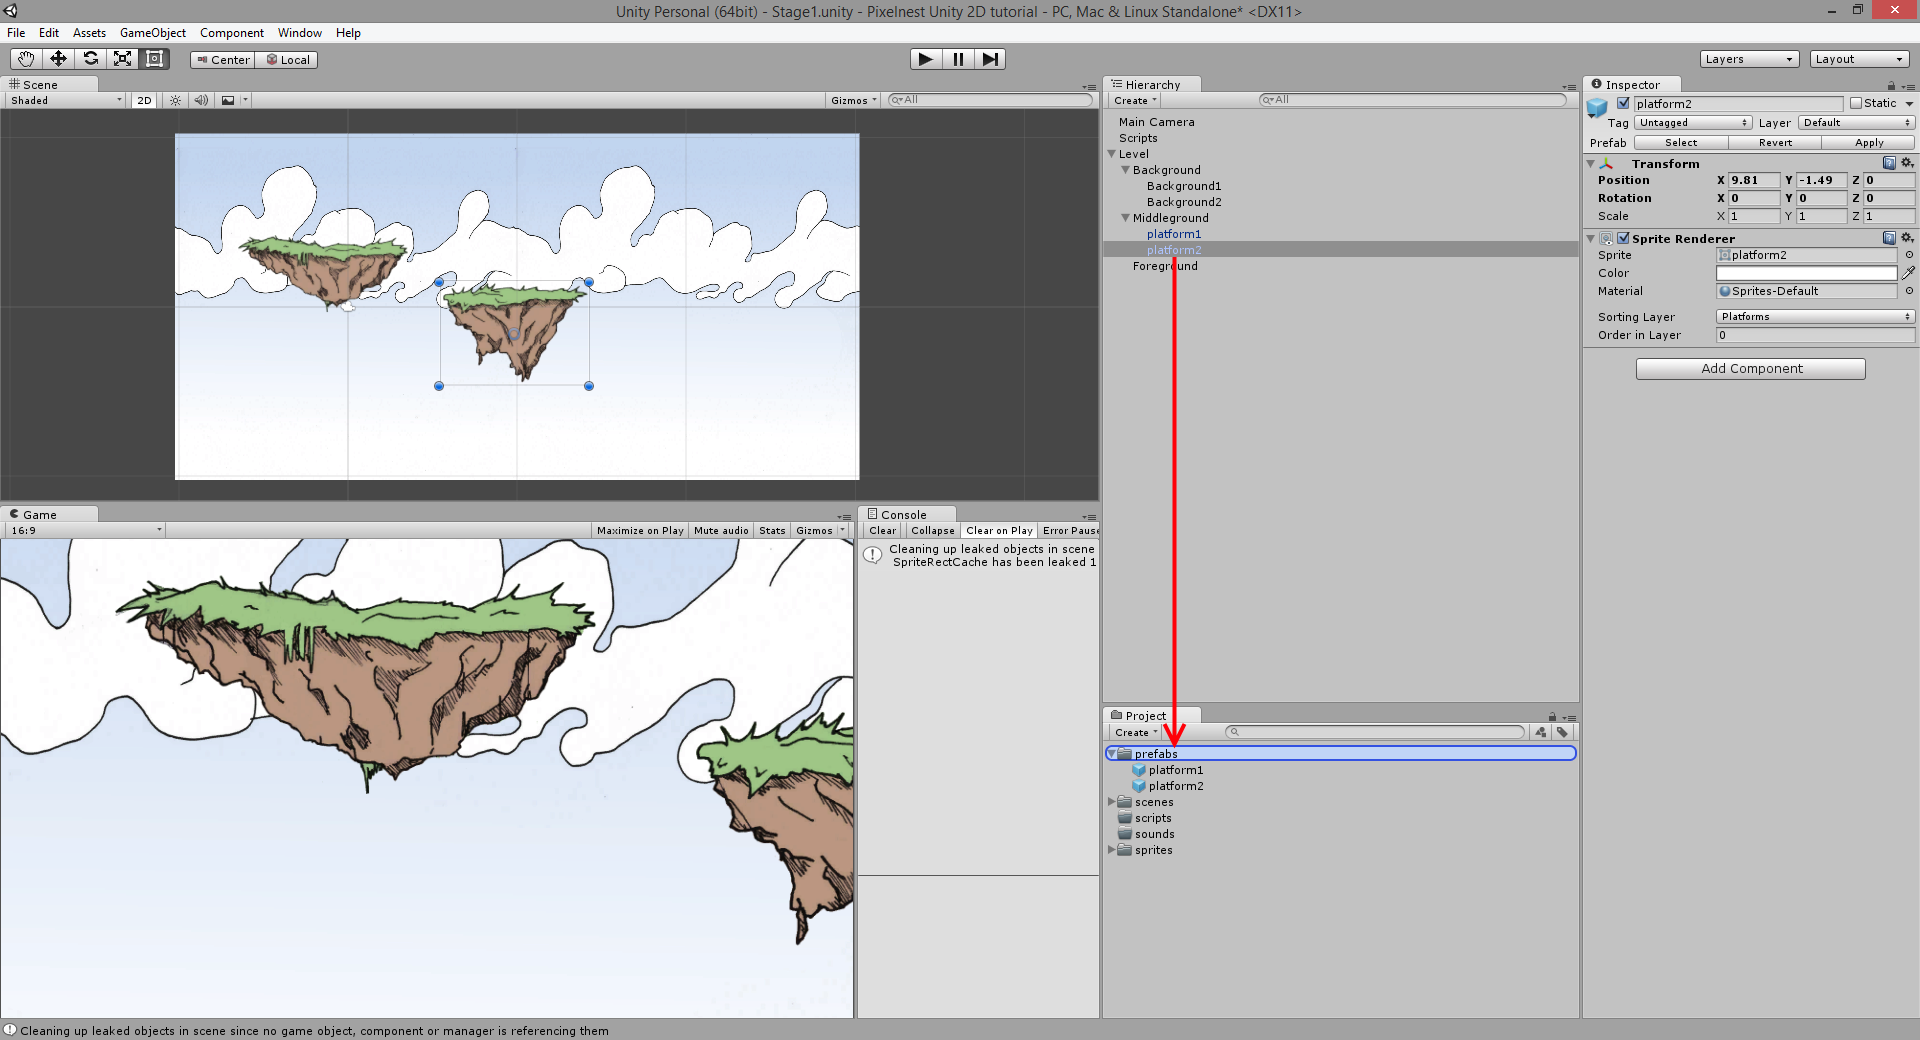
Prefabs
Save those platforms as prefabs. Just drag'n'drop them inside the "Prefabs" folder of the "Project" pane from the "Hierarchy":By doing so, you will create a
Prefabbased exactly on the original game object. You can notice that the game object
that you have converted to a
Prefabpresents a new row of buttons just under its name:
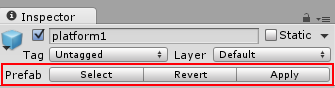
Note on the "Prefab" buttons: If you modify the game object later, you can "Apply" its changes to the
Prefabor
"Revert" it to the
Prefabproperties (canceling any change you've made on the game object). The "Select" button move your selection
directly to the
Prefabasset in the "Project" view (it will be highlighted).
Creating prefabs with the platform objects will make them easier to reuse later. Simply drag the
Prefabinto the
scene to add a copy. Try to add another platform that way.
You are now able to add more platforms, change their positions, scales and planes (you can put some in background or foreground too, just make sure that the platform Z position is `
0).
It's not very fancy but in two chapters we will add a parallax scrolling and it will suddenly bring the scene to life.
Layers
Before we get any further, we will modify our homemade layers to avoid any display order issues.Simply change the Z position of the game objects in your "Hierarchy" view as following:
| Layer | Z Position |
|---|---|
| 0 - Background | 10 |
| 1 - Middleground | 5 |
| 2 - Foreground | 0 |
Camera and lights
Well. In the previous version of this tutorial (for Unity 4.2), we had a long and detailed explanation on how to set the camera and the lights for a 2D game.The good news is that it's completely useless now. You have nothing to do. It just works™.
Aside: If you click on the
Main Cameragame
object, you can see that it has a "Projection" flag set to "Orthographic". This is the setting that allows the camera to render a 2D game without taking the 3D into account. Keep in mind that even if you are working with 2D objects, Unity is still using its
3D engine to render the scene. The gif above shows this well.
Next step
You have just learned how to create a simple static background and how to display it properly. Then, we have taught you how to make simple sprites from an image.In the next chapter, we will learn how to add a player and its enemies.

相关文章推荐
- instruments分析工具
- 将截断字符串或二进制数据
- C#如何调用SQLServer写的函数
- IOS-UIScrollView
- js操作数组函数实例小结
- MarkdownPad初使用
- Centos下Tomcat以指定的用户,非root权限开机自启
- CocoaPods的安装使用和常见问题
- Android 内存优化汇总
- 按键实验
- Java中的Object的Wait() 和notify()方法使用时应注意的地方
- iPhone设置-通用-访问限制 里的密码修改、重置密码的实现
- 查找组内某字段不一致的组
- hibernate 与spring 整合
- GoEasy在web端推送及接收
- Oracle内连接、外连接、右外连接、全外连接小总结
- Centos 6.6 安装python3.4及Django1.9
- window.localtion.href深入理解
- SpringMVC框架下JQuery传递并解析Json格式的数据是如何实现的
- 老李分享:走读unittest源码 2