opencv2:读入摄像机视频并写入AVI视频文件
2015-06-15 10:48
399 查看
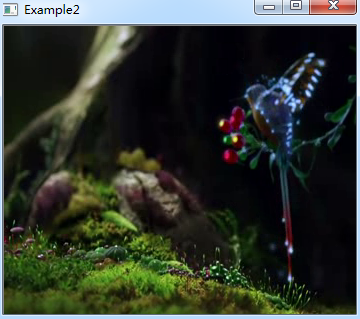
首先用opencv 来显示一段视频,视频是提取成图片帧来播放的。
显示结果:
添加一个滚动条,但没有滚动条随代码播放移动功能。
显示结果:
显示结果:
opencv读入一段视频
#include <opencv2/opencv.hpp>

using namespace cv;

int main(int argc, char** argv){
cvNamedWindow("Example2", CV_WINDOW_AUTOSIZE);
CvCapture* capture = cvCreateFileCapture("Bye.mp4");
IplImage* frame;
while(1){
frame = cvQueryFrame(capture);
if(!frame) break;
cvShowImage("Example2", frame);
char c = cvWaitKey(33);
if(c == 27) break;
}
cvReleaseCapture(&capture);
cvDestroyWindow("Example2");
}
显示结果:
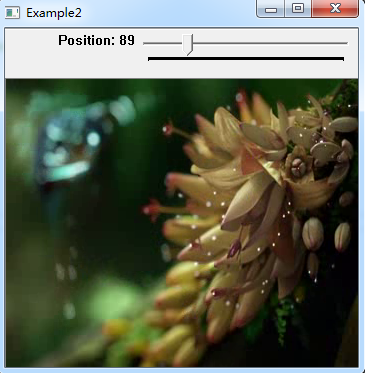
添加一个滚动条,但没有滚动条随代码播放移动功能。
opencv输出带有滚动条的视频播放
#include <opencv2/opencv.hpp>

using namespace cv;

int g_slider_position = 0;
CvCapture* g_capture = NULL;

void onTrackbarSlide(int pos){
cvSetCaptureProperty(g_capture, CV_CAP_PROP_POS_FRAMES, pos);
}

int main(int argc, char** argv){
cvNamedWindow("Example2", CV_WINDOW_AUTOSIZE);
g_capture = cvCreateFileCapture("Bye.mp4");
int frames = (int) cvGetCaptureProperty(g_capture, CV_CAP_PROP_FRAME_COUNT); //obtain the total frame number of video

if(frames!=0){
cvCreateTrackbar("Position", "Example2", &g_slider_position, frames, onTrackbarSlide);
}

CvCapture* capture = cvCreateFileCapture("Bye.mp4");
IplImage* frame;
while(1){
frame = cvQueryFrame(capture);
if(!frame) break;
cvShowImage("Example2", frame);
char c = cvWaitKey(33);
if(c == 27) break;
}
cvReleaseCapture(&capture);
cvDestroyWindow("Example2");

return 0;
}
显示结果:
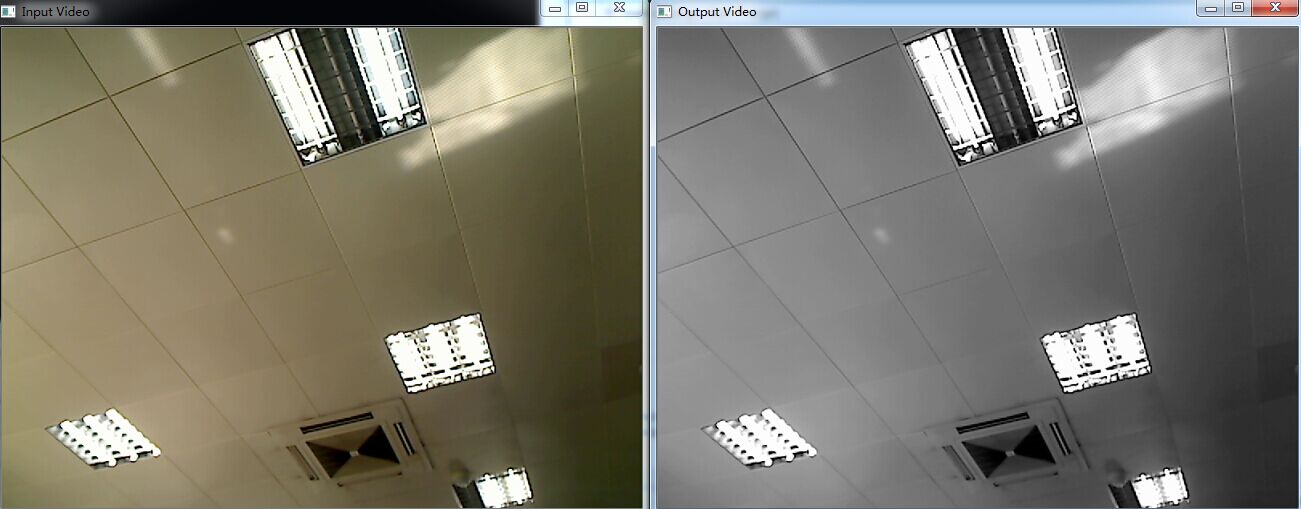
opencv从摄像机读入数据并写入AVI视频文件
#include <opencv2/opencv.hpp>

using namespace cv;
using namespace std;

IplImage* in = NULL;
IplImage* out = NULL;
const char * InputTitle = "Input Video";
const char * OutputTitle = "Output Video";

int main(int argc, char** argv){
cvNamedWindow(InputTitle, CV_WINDOW_AUTOSIZE);
cvNamedWindow(OutputTitle, CV_WINDOW_AUTOSIZE);

CvCapture* capture;
if(argc == 1){
capture = cvCreateCameraCapture(0);
}else{
capture = cvCreateFileCapture("Bye.mp4");
}
assert(capture != NULL);

double fps = cvGetCaptureProperty(capture, CV_CAP_PROP_FPS);
CvSize size = cvSize((int)cvGetCaptureProperty(capture, CV_CAP_PROP_FRAME_WIDTH), (int)cvGetCaptureProperty(capture, CV_CAP_PROP_FRAME_HEIGHT));
CvVideoWriter* writer = cvCreateVideoWriter("shuchu2.avi", CV_FOURCC('M', 'J', 'P', 'S'), fps, size);

// show
IplImage* in_frame;
IplImage* out_frame  = cvCreateImage(size, IPL_DEPTH_8U, 1);
while(in_frame = cvQueryFrame(capture)){
cvCvtColor(in_frame, out_frame, CV_BGR2GRAY);
cvWriteFrame(writer, in_frame);

cvShowImage(InputTitle, in_frame);
cvShowImage(OutputTitle, out_frame);
char c = cvWaitKey(33);
if(c == 27) break;
}

waitKey(0);
cvReleaseVideoWriter(&writer);
cvReleaseCapture(&capture);
cvDestroyWindow(InputTitle);
cvDestroyWindow(OutputTitle);

return 0;
}
显示结果:

相关文章推荐
- python中使用OpenCV进行人脸检测的例子
- opencv 做人脸识别 opencv 人脸匹配分析
- 使用opencv拉伸图像扩大分辨率示例
- OpenCV 2.4.3 C++ 平滑处理分析
- 利用Python和OpenCV库将URL转换为OpenCV格式的方法
- python结合opencv实现人脸检测与跟踪
- 在树莓派2或树莓派B+上安装Python和OpenCV的教程
- OpenCV配置,从来没有这么简单!
- ubuntu下opencv和qt的安装配置
- OpenCV学习笔记(二十五)——OpenCV图形界面设计Qt+VS2008
- 分享一些OpenCV实现立体视觉的经验
- 关于OpenCv图像变换与基本图形检测
- "应用程序正常初始化失败"-0xc0150002 解决办法
- OpenCV->HSV色彩空间
- opencv 内存泄露
- OpenCV函数cvFindContours
- OpenCV 2.3.1图像文件的读入和显示
- opencv2 矩阵方式 resize图像缩放代码
- OpenCV 灰度直方图
- 彩色图转为灰度图