UIKit基础:3.利用UITextField-UILabel-Tag标签-UIButton控件打造简易计算器
2015-02-10 00:47
555 查看
前言:
之前我们使用了纯代码的形式做了一个小Demo, 那么这次我们使用StoryBoard来做Demo, 为什么这次会选择StoryBoard呢? 前面我也说过, 纯代码虽然是非常的灵活, 但我们也要劳逸结合, 哪个方便就使用哪个, 要保证效率的情况下选择最优.
开始:
说了要使用StoryBoard来做项目了, 那肯定是少不了拖控件, 还有连线啦, 下面我们就来试试看吧.
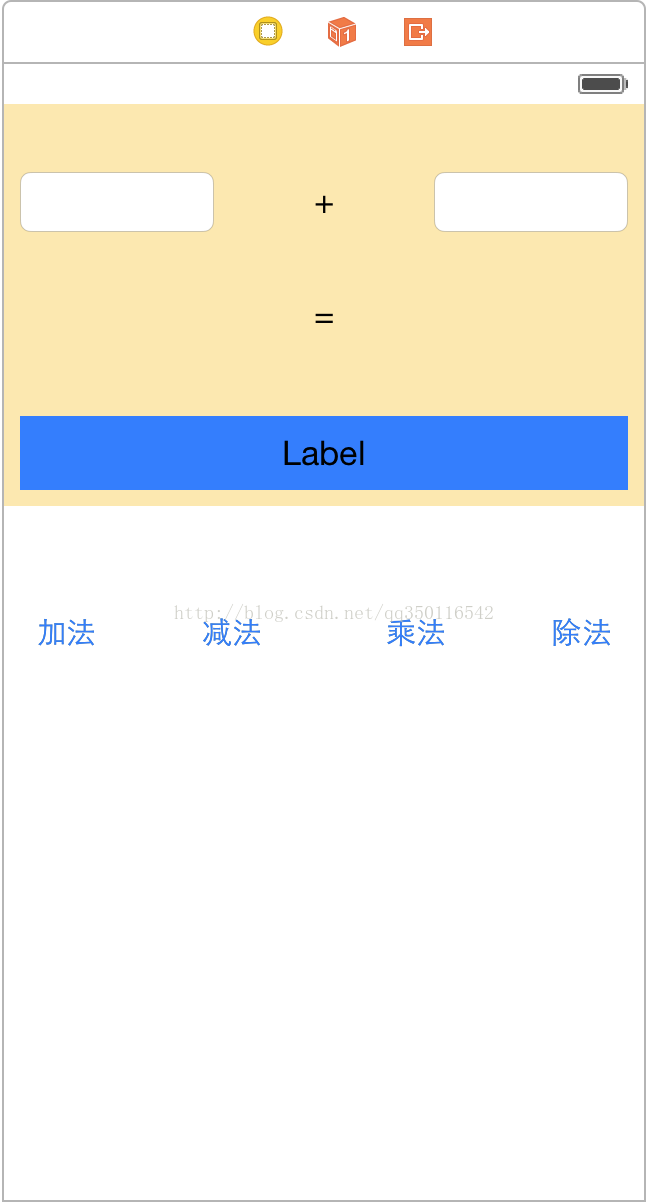
我们需要的控件:两个TextField, 三个Label, 四个UIButton, 位置自己调整, 我这里使用的是iPhone5s的分辨率
下面是效果图:
拖拽好以后我们打开辅助编辑器:
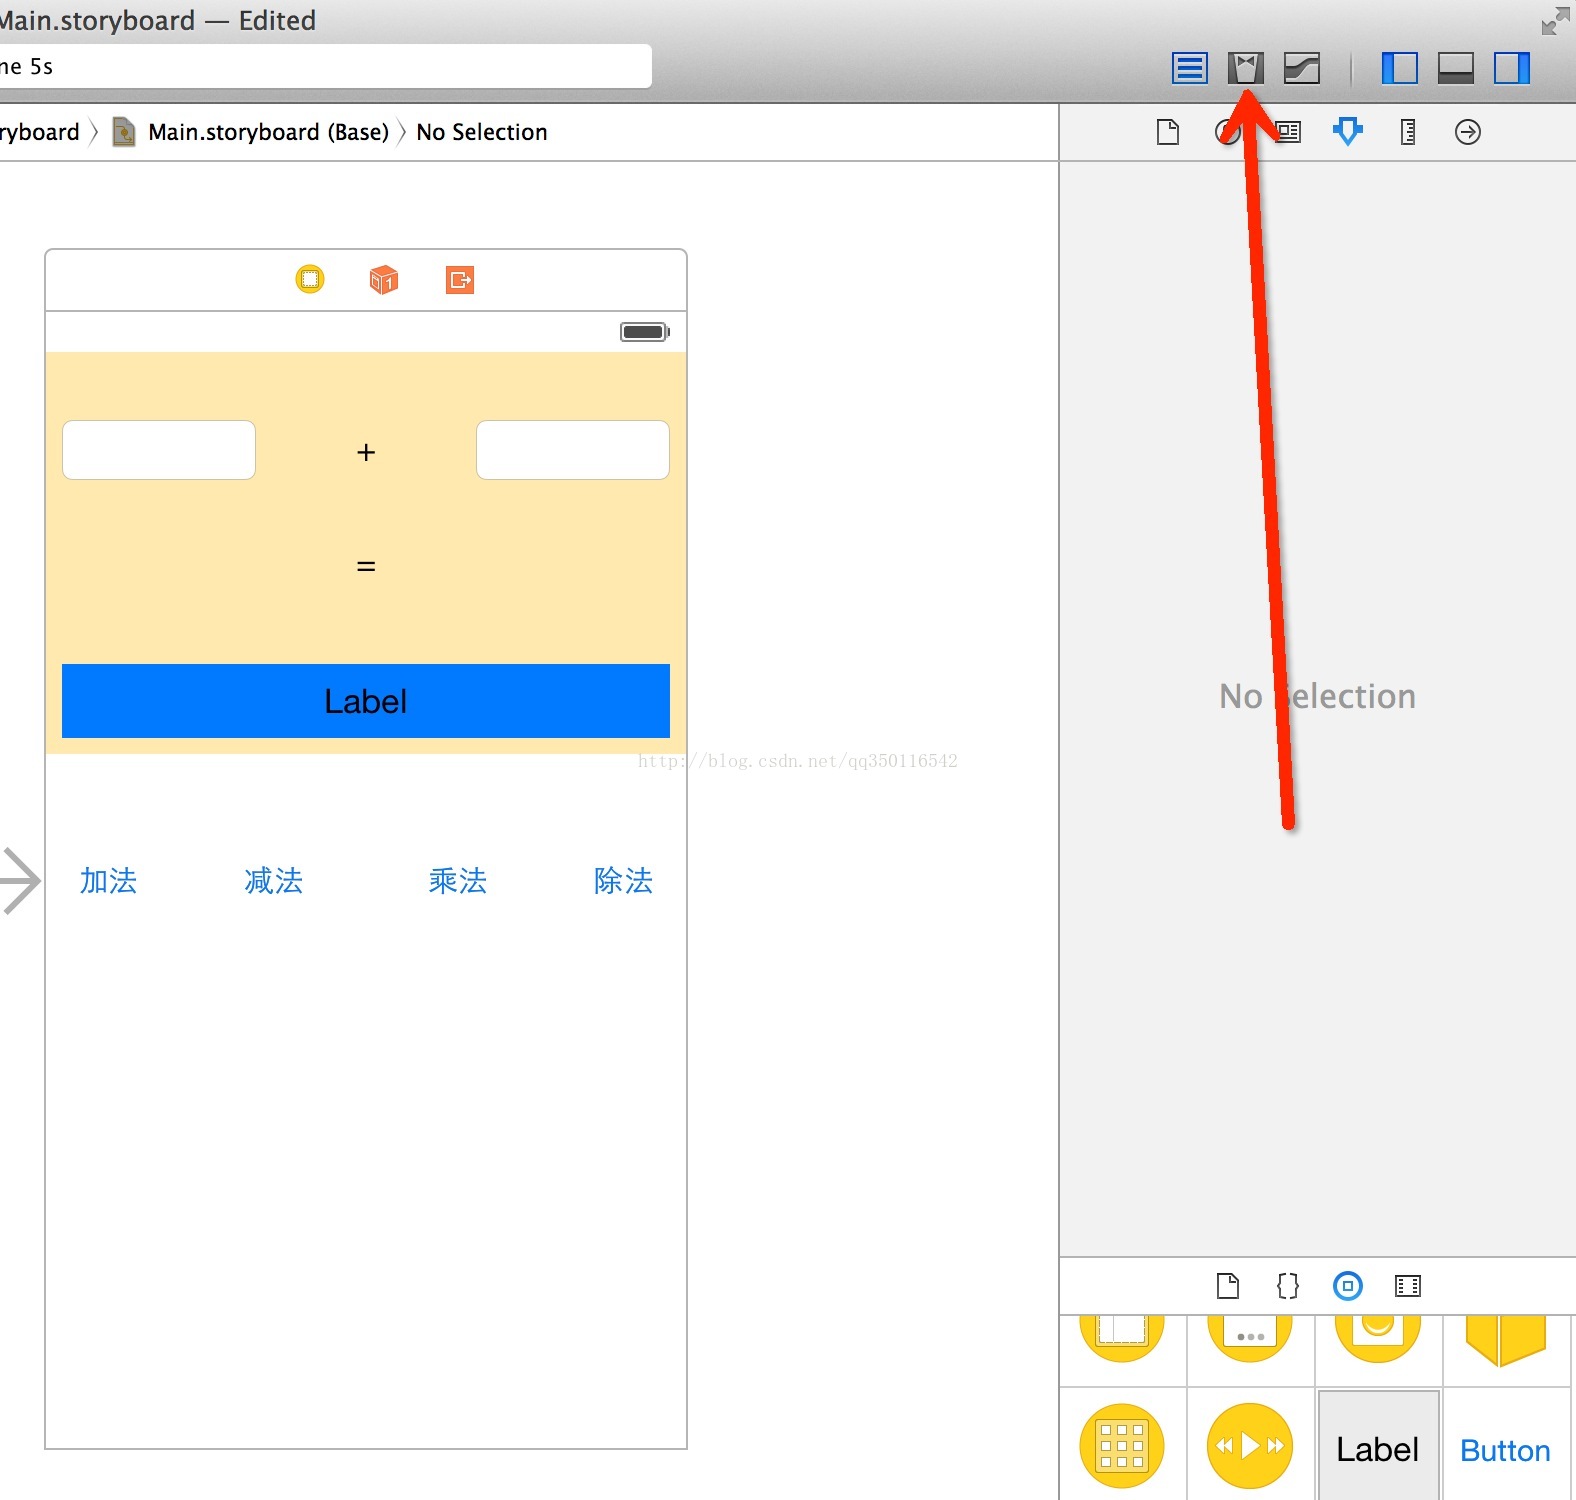
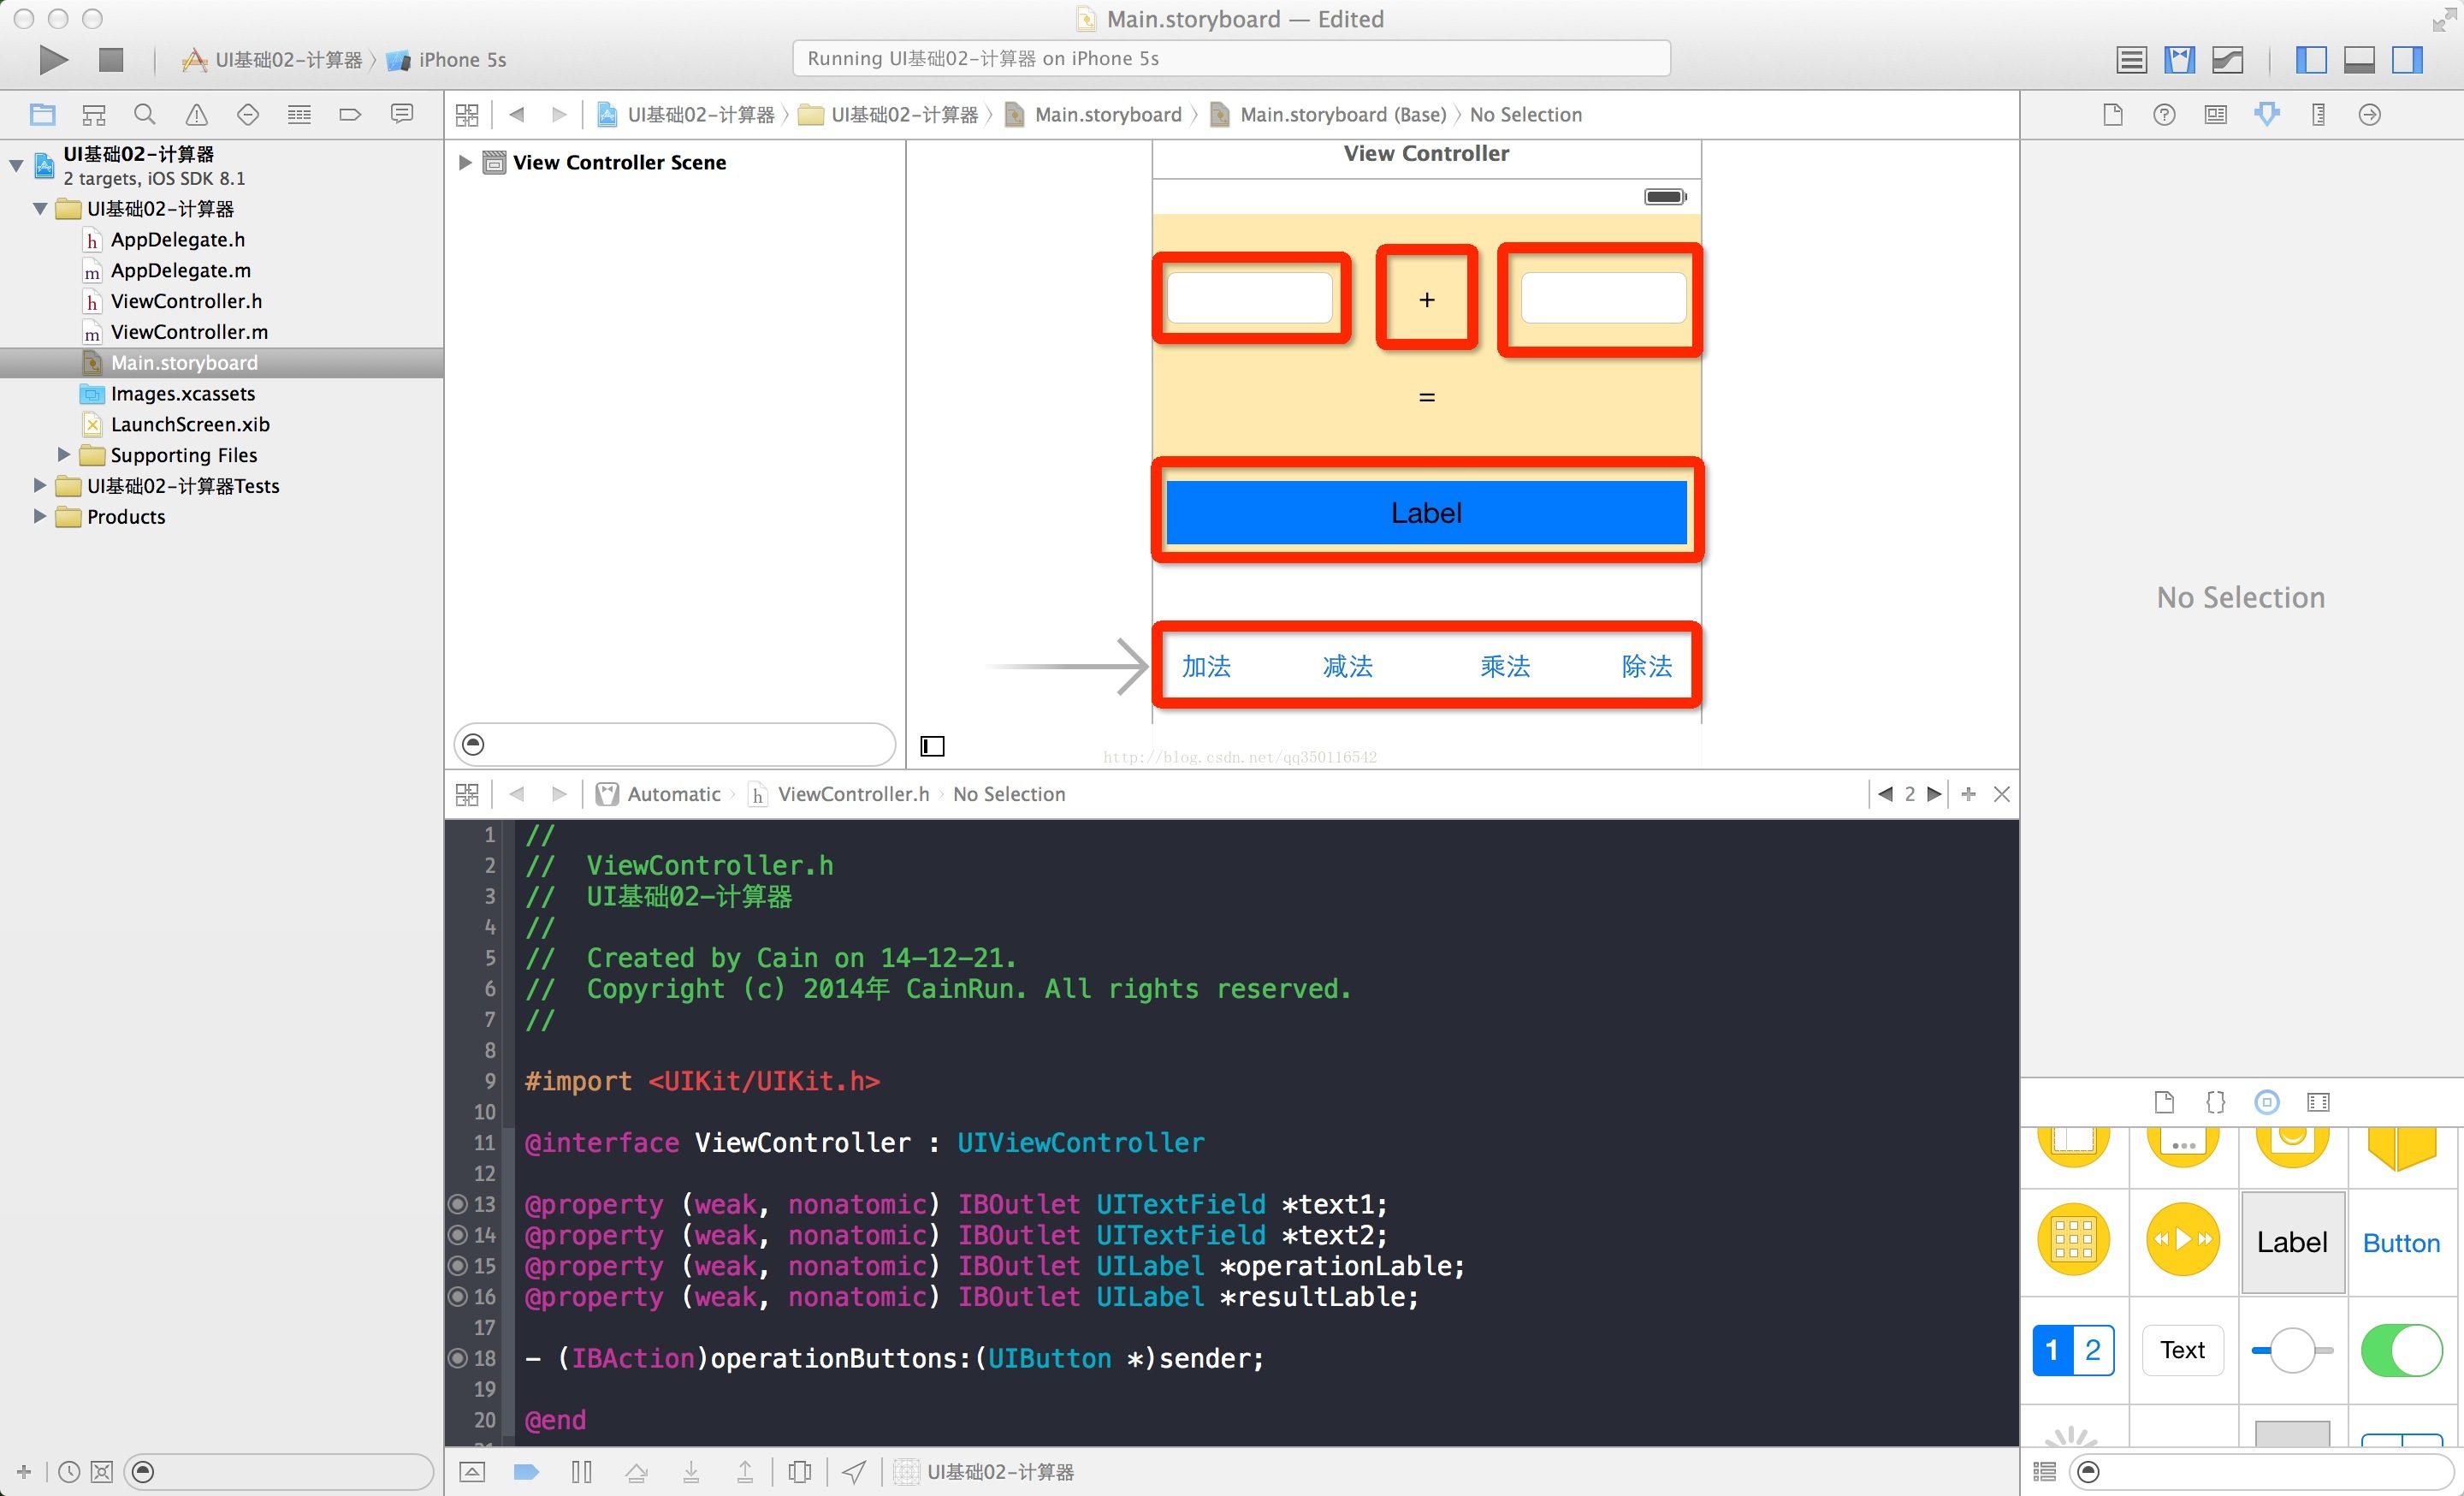
然后把我们需要的控件关联到ViewController.h文件里
PS: 这里我把四个UIButton关联到一个方法里去, 下面会有详细讲解.
关联完之后, 我们还需要设置一下UIButton的小细节, 就是Tag值:

当StoryBoard的所有细节完成了之后, 我们就切换到ViewController.m文件. 把我们的方法实现:
解释一下上面的代码:
1. 取出输入两个TextField所输入的数字.
2. 将取出的数字转换成NSInteger类型
3. 在switch里, 根据sender的tag值来进行运算(也就是我们刚刚在StoryBoard设置的四个UIButton的tag值).
4. 将运算好的结果保存显示到Label上.
最终的效果大家试试看就知道了, 这里只做了整数的计算器, 关于小数也是很简单的, 大家稍微摸索一下就ok了
这里是我的加法效果图

好了, 这次就到这里, 下次我们再见~~
之前我们使用了纯代码的形式做了一个小Demo, 那么这次我们使用StoryBoard来做Demo, 为什么这次会选择StoryBoard呢? 前面我也说过, 纯代码虽然是非常的灵活, 但我们也要劳逸结合, 哪个方便就使用哪个, 要保证效率的情况下选择最优.
开始:
说了要使用StoryBoard来做项目了, 那肯定是少不了拖控件, 还有连线啦, 下面我们就来试试看吧.
我们需要的控件:两个TextField, 三个Label, 四个UIButton, 位置自己调整, 我这里使用的是iPhone5s的分辨率
下面是效果图:
拖拽好以后我们打开辅助编辑器:
然后把我们需要的控件关联到ViewController.h文件里
PS: 这里我把四个UIButton关联到一个方法里去, 下面会有详细讲解.
关联完之后, 我们还需要设置一下UIButton的小细节, 就是Tag值:
当StoryBoard的所有细节完成了之后, 我们就切换到ViewController.m文件. 把我们的方法实现:
- (IBAction)operationButtons:(UIButton *)sender{
NSString *text1 = [_text1 text];
NSString *text2 = [_text2 text];

NSInteger num1 = [text1 integerValue];
NSInteger num2 = [text2 integerValue];

switch (sender.tag) {
case 0:
[_operationLable setText:[NSString stringWithFormat:@"+"]];
[_resultLable setText:[NSString stringWithFormat:@"%ld", num1 + num2]];
break;
case 1:
[_operationLable setText:[NSString stringWithFormat:@"-"]];
[_resultLable setText:[NSString stringWithFormat:@"%ld", num1 - num2]];
break;
case 2:
[_operationLable setText:[NSString stringWithFormat:@"*"]];
[_resultLable setText:[NSString stringWithFormat:@"%ld", num1 * num2]];
break;
case 3:
[_operationLable setText:[NSString stringWithFormat:@"/"]];
[_resultLable setText:[NSString stringWithFormat:@"%ld", num1 / num2]];
break;
default:
break;
}
}
解释一下上面的代码:
1. 取出输入两个TextField所输入的数字.
2. 将取出的数字转换成NSInteger类型
3. 在switch里, 根据sender的tag值来进行运算(也就是我们刚刚在StoryBoard设置的四个UIButton的tag值).
4. 将运算好的结果保存显示到Label上.
最终的效果大家试试看就知道了, 这里只做了整数的计算器, 关于小数也是很简单的, 大家稍微摸索一下就ok了
这里是我的加法效果图
好了, 这次就到这里, 下次我们再见~~

相关文章推荐
- UIKit基础:4.利用UITextField-UILabel-View-UIButton模仿QQ登陆界面
- 基础控件之UILabel、UIButton、UITextField、UIAlertView、 UIImageView
- iOS基础——UI控件之UIView、UITextField、UILabel、UIColor、UIButton、UIImageView
- UILabel,UITextField,UIButton三大基础控件总结
- UI基础-基础控件-0324-浏览图片案例与改进版(UILabel、UIButton、UIImageView的应用)
- iOS开发——基本控件(UIButton,UILabel,UITextField,UISwitch,UISlider,UISegmentedControl)
- 控件 UIView UILabel UITextField UITextView UIButton ;的字体、大小、单位、颜色
- iOS开-UI基础(基础控件UILabel,UIImageIVew,UIButton)
- 【swift_2】swift之三大控件 UILabel、UITextField、UIButton 的使用
- UI_基本控件_UILabel_UITextField_UIButton_UIFont_UIAlertView
- 基础控件使用实例-图片浏览器(UILabel、UIButton、UIImageView及plist)
- iOS-UI基础(常见控件的监听UIButton,UISegmentedControl,UITextField)
- swift系统学习控件篇:UIbutton+UIlabel+UITextField+UISwitch+UISlider
- IOS开发UI系列之常用控件 UILabel, UITextField, UIButton, UIImageView等常用属性与方法
- iOS个人整理06-第一周小结,常用控件UIView,UILabel,UIImageView,UIButton,UITextField
- UILabel、UITextField、UIButton、UIImageView控件
- iOS开发:常用的UIView控件——UILabel、UITextField、UIButton
- 【swift_2】swift之三大控件 UILabel、UITextField、UIButton 的使用
- iOS开发:常用的UIView控件——UILabel、UITextField、UIButton【转】
- UI基本控件-UILabel-UITextField-UIButton-UIAlertView