CentOS-6.6-x86_64本地YUM源配置 推荐
2015-02-07 10:01
375 查看
测试框架
1.关闭selinux,iptables,并设置ntp
采用CentOS-6.6-x86_64.iso进行minimal最小化安装
关闭selinux
停止iptables
设置ntp
创建软件仓库
1.在mirrors.redking.com软件仓库服务器上安装EPEL源及yum-downloadonly和createrepo软件包
2.创建软件仓库地址,选择/data/mirrors目录作为软件仓库目录
3.将Nginx、Puppet软件包存放到软件仓库,采用downloadonly的方式进行更新
puppet不在CentOS的基本源中,需要加入 PuppetLabs 提供的官方源

4.采用createrepo创建仓库文件,如果软件包比较多时可以通过--update参数进行更新

5.在软件仓库服务器前端安装配置Nginx Web来处理安装包请求
6.为软件仓库配置mirrors.redking.com虚拟机
通过上面6步就成功搭建本地软件仓库,在客户端只需要配置repo文件就可以安装此软件仓库中的软件包。
配置YUM本地源
客户端配置mirrors.repo文件,我们也可以使用Puppet的yumrepo资源来指定yum源
安装Puppet
1.Puppet Master服务器端安装puppet-server,自动匹配安装Facter等相关依赖包
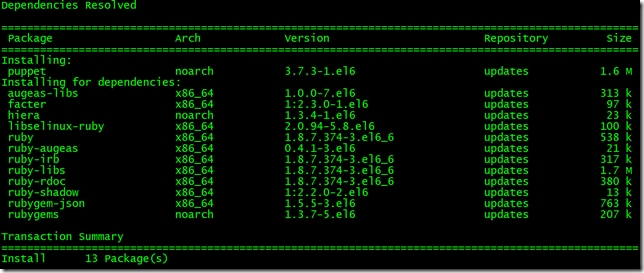
2.Puppet agent客户端安装puppet
=============================END=====================================
mirrors.redking.com 192.168.188.10

master.redking.com 192.168.188.20

agent.redking.com 192.168.188.30
Puppet 要求所有机器有完整的域名(FQDN),如果没有 DNS 服务器提供域名的话,可以在两台机器上设置主机名(注意要先设置主机名再安装 Puppet,因为安装 Puppet 时会把主机名写入证书,客户端和服务端通信需要这个证书),因为我配置了DNS,所以就不用改hosts了,如果没有就需要改hosts文件指定。
1.关闭selinux,iptables,并设置ntp
采用CentOS-6.6-x86_64.iso进行minimal最小化安装
关闭selinux
[root@master ~]# cat /etc/selinux/config

# This file controls the state of SELinux on the system.

# SELINUX= can take one of these three values:

# enforcing - SELinux security policy is enforced.

# permissive - SELinux prints warnings instead of enforcing.

# disabled - No SELinux policy is loaded.

SELINUX=enforcing

# SELINUXTYPE= can take one of these two values:

# targeted - Targeted processes are protected,

# mls - Multi Level Security protection.

SELINUXTYPE=targeted

[root@master ~]# sed -i '/SELINUX/ s/enforcing/disabled/g' /etc/selinux/config

[root@master ~]# cat /etc/selinux/config

# This file controls the state of SELinux on the system.

# SELINUX= can take one of these three values:

# enforcing - SELinux security policy is enforced.

# permissive - SELinux prints warnings instead of enforcing.

# disabled - No SELinux policy is loaded.

SELINUX=disabled

# SELINUXTYPE= can take one of these two values:

# targeted - Targeted processes are protected,

# mls - Multi Level Security protection.

SELINUXTYPE=targeted

[root@master ~]# setenforce 0
停止iptables
[root@node1 ~]# chkconfig --list |grep tables

ip6tables 0:off 1:off 2:on 3:on 4:on 5:on 6:off

iptables 0:off 1:off 2:on 3:on 4:on 5:on 6:off

[root@node1 ~]# chkconfig ip6tables off

[root@node1 ~]# chkconfig iptables off

[root@node1 ~]# service ip6tables stop

ip6tables: Setting chains to policy ACCEPT: filter [ OK ]

ip6tables: Flushing firewall rules: [ OK ]

ip6tables: Unloading modules: [ OK ]

[root@node1 ~]# service iptables stop

iptables: Setting chains to policy ACCEPT: filter [ OK ]

iptables: Flushing firewall rules: [ OK ]

iptables: Unloading modules: [ OK ]

[root@node1 ~]#
设置ntp
[root@master ~]# ntpdate pool.ntp.org

[root@master ~]# chkconfig --list|grep ntp

ntpd 0:off 1:off 2:off 3:off 4:off 5:off 6:off

ntpdate 0:off 1:off 2:off 3:off 4:off 5:off 6:off

[root@master ~]# chkconfig ntpd on

[root@master ~]# service ntpd start

Starting ntpd: [ OK ]

[root@master ~]#
创建软件仓库
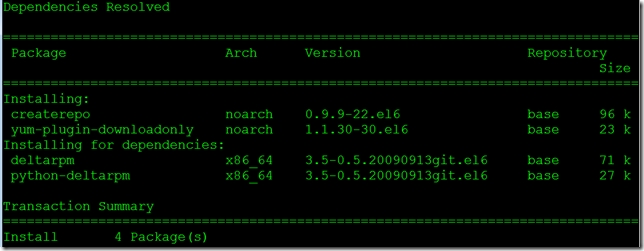
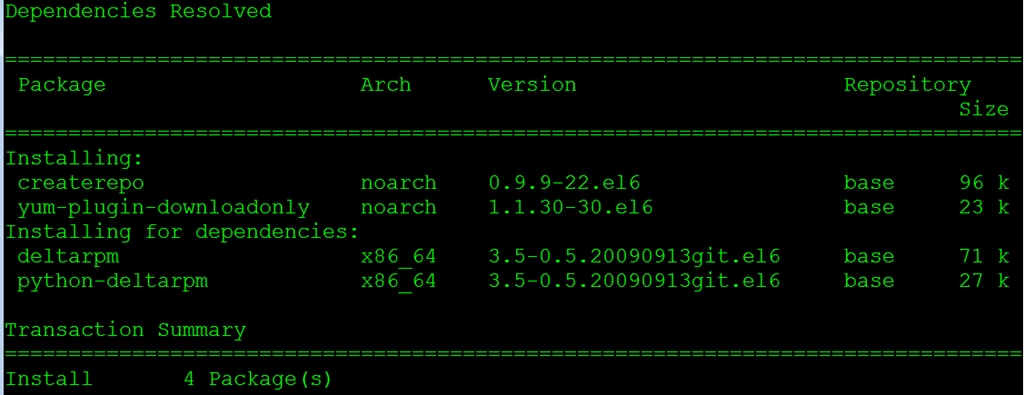
1.在mirrors.redking.com软件仓库服务器上安装EPEL源及yum-downloadonly和createrepo软件包
[root@mirrors ~]# rpm -ivh http://mirrors.sohu.com/fedora-epel/6Server/x86_64/epel-release-6-8.noarch.rpm
Retrieving http://mirrors.sohu.com/fedora-epel/6Server/x86_64/epel-release-6-8.noarch.rpm
warning: /var/tmp/rpm-tmp.2hQx2e: Header V3 RSA/SHA256 Signature, key ID 0608b895: NOKEY

Preparing...                ########################################### [100%]

1:epel-release           ########################################### [100%]

[root@mirrors ~]# yum -y install yum-downloadonly createrepo
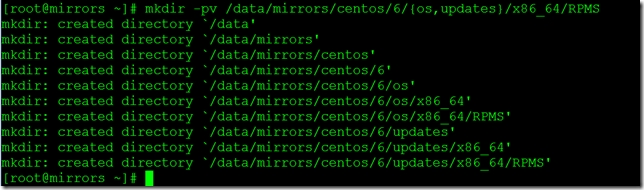
2.创建软件仓库地址,选择/data/mirrors目录作为软件仓库目录
[root@mirrors ~]# mkdir -pv /data/mirrors/centos/6/{os,updates}/x86_64/RPMS

mkdir: created directory `/data'

mkdir: created directory `/data/mirrors'

mkdir: created directory `/data/mirrors/centos'

mkdir: created directory `/data/mirrors/centos/6'

mkdir: created directory `/data/mirrors/centos/6/os'

mkdir: created directory `/data/mirrors/centos/6/os/x86_64'

mkdir: created directory `/data/mirrors/centos/6/os/x86_64/RPMS'

mkdir: created directory `/data/mirrors/centos/6/updates'

mkdir: created directory `/data/mirrors/centos/6/updates/x86_64'

mkdir: created directory `/data/mirrors/centos/6/updates/x86_64/RPMS'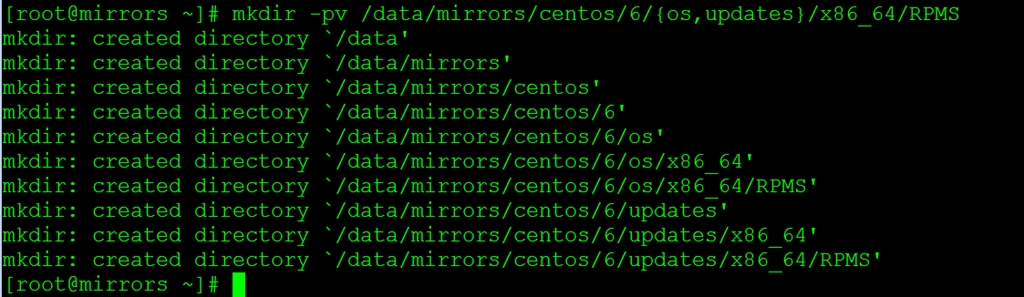
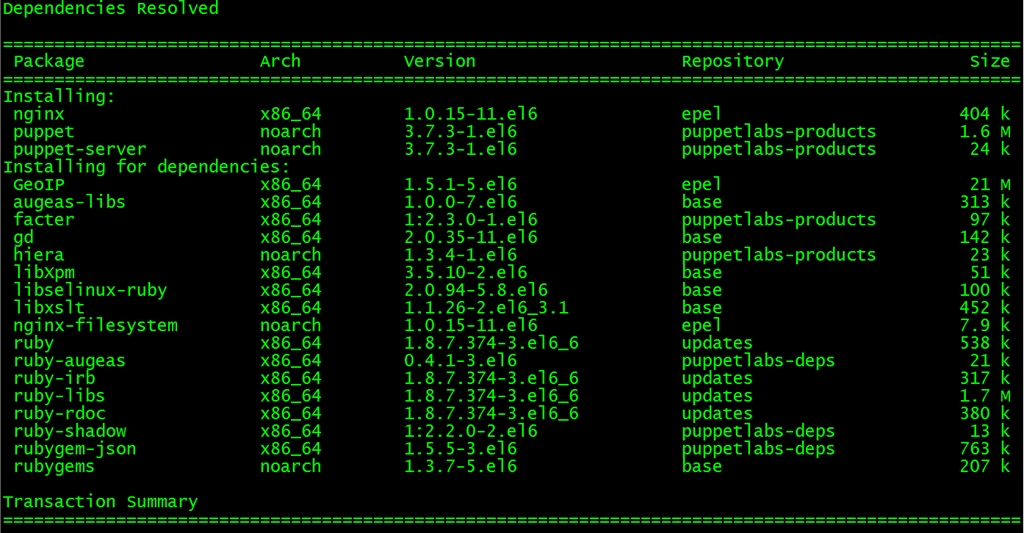
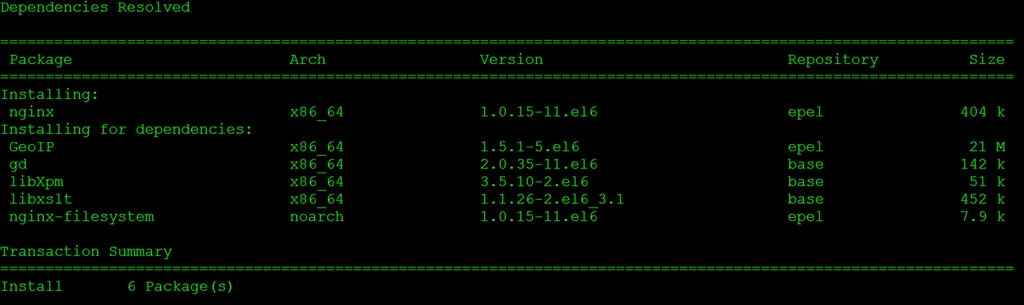
3.将Nginx、Puppet软件包存放到软件仓库,采用downloadonly的方式进行更新
puppet不在CentOS的基本源中,需要加入 PuppetLabs 提供的官方源
[root@mirrors ~]# rpm -ivh http://yum.puppetlabs.com/el/6/products/x86_64/puppetlabs-release-6-7.noarch.rpm
[root@mirrors ~]# yum install nginx puppet-server puppet -y --downloadonly --downloaddir=/data/mirrors/centos/6/updates/x86_64/RPMS/
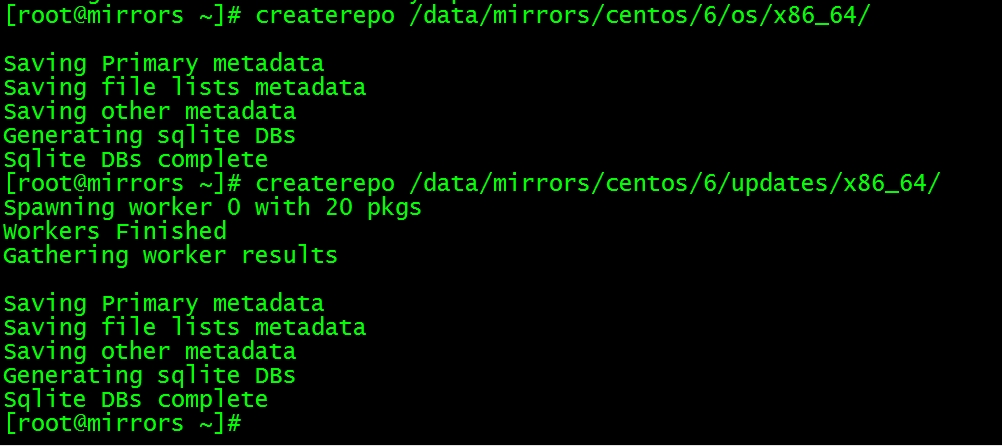
4.采用createrepo创建仓库文件,如果软件包比较多时可以通过--update参数进行更新
[root@mirrors ~]# createrepo /data/mirrors/centos/6/os/x86_64/

[root@mirrors ~]# createrepo /data/mirrors/centos/6/updates/x86_64/
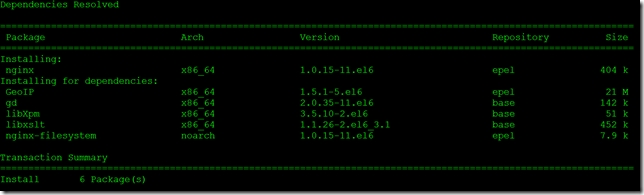
5.在软件仓库服务器前端安装配置Nginx Web来处理安装包请求
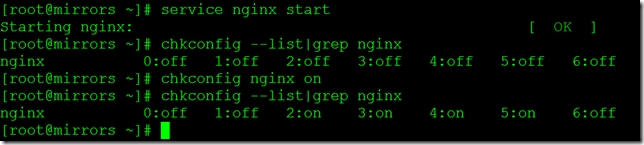
[root@mirrors ~]yum install -y nginx

[root@mirrors ~]# service nginx start

[root@mirrors ~]# chkconfig nginx on

6.为软件仓库配置mirrors.redking.com虚拟机
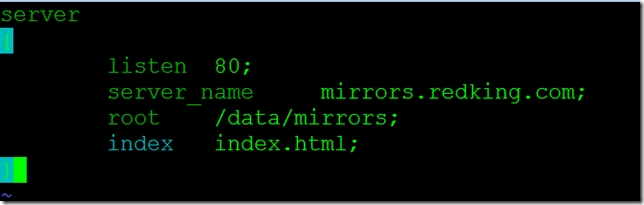
[root@mirrors ~]# vim /etc/nginx/conf.d/mirrors.redking.com.conf

server

{

listen  80;

server_name     mirrors.redking.com;

root    /data/mirrors;

index   index.html;

}

[root@mirrors ~]# service nginx restart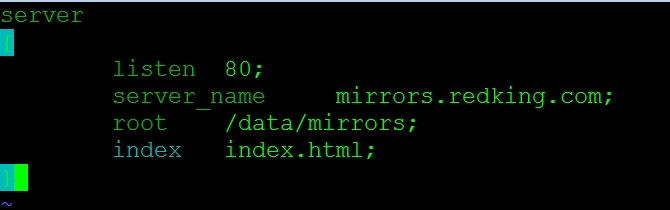
通过上面6步就成功搭建本地软件仓库,在客户端只需要配置repo文件就可以安装此软件仓库中的软件包。
配置YUM本地源
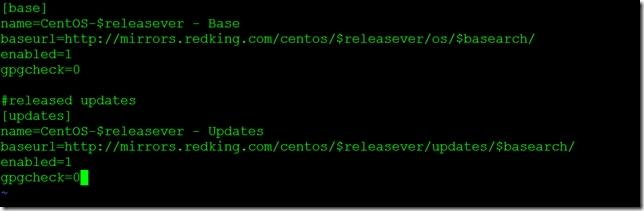
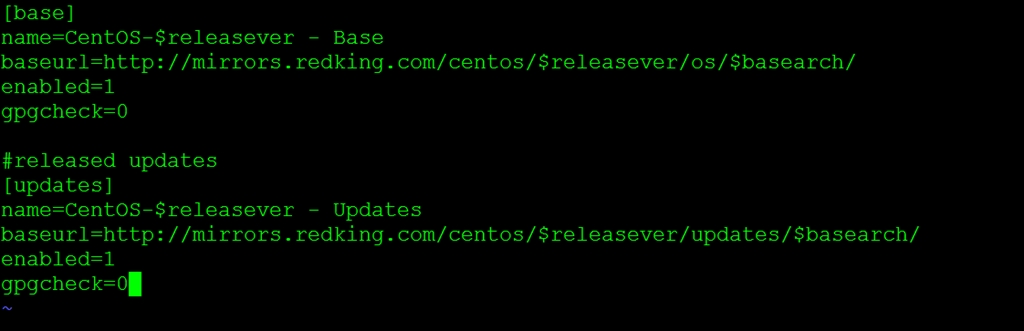
客户端配置mirrors.repo文件,我们也可以使用Puppet的yumrepo资源来指定yum源
[root@master ~]# vim /etc/yum.repos.d/mirrors.repo

[base]

name=CentOS-$releasever - Base

baseurl=http://mirrors.redking.com/centos/$releasever/os/$basearch/

enabled=1

gpgcheck=0

#released updates

[updates]

name=CentOS-$releasever - Updates

baseurl=http://mirrors.redking.com/centos/$releasever/updates/$basearch/

enabled=1

gpgcheck=0
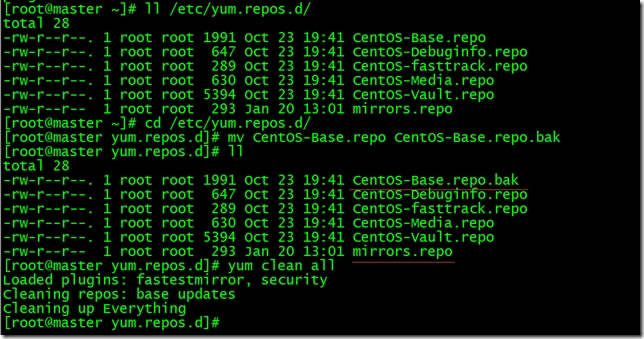
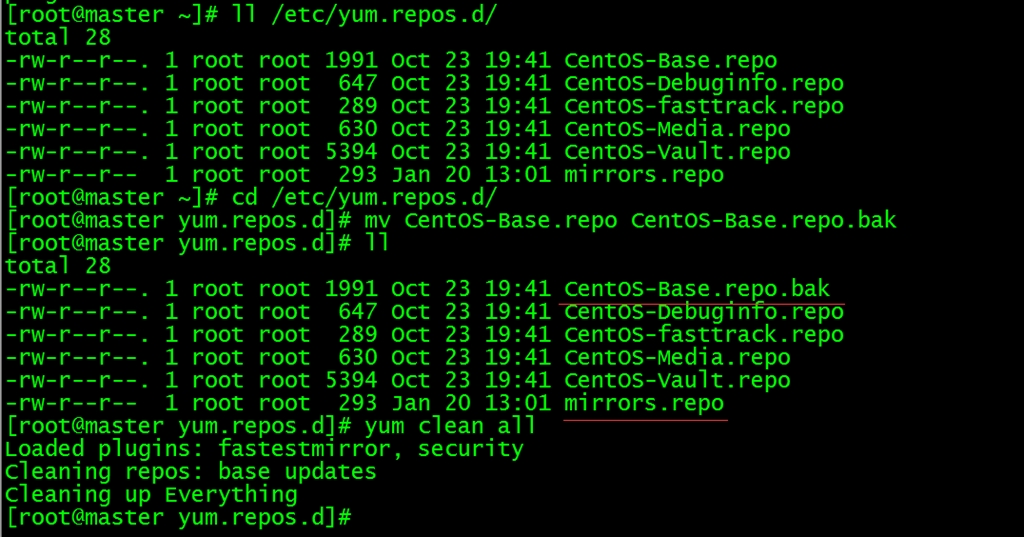
[root@master ~]# cd /etc/yum.repos.d/

[root@master yum.repos.d]# mv CentOS-Base.repo CentOS-Base.repo.bak

[root@master yum.repos.d]# yum clean all
安装Puppet
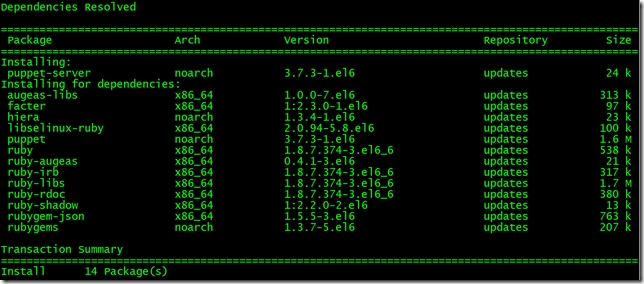
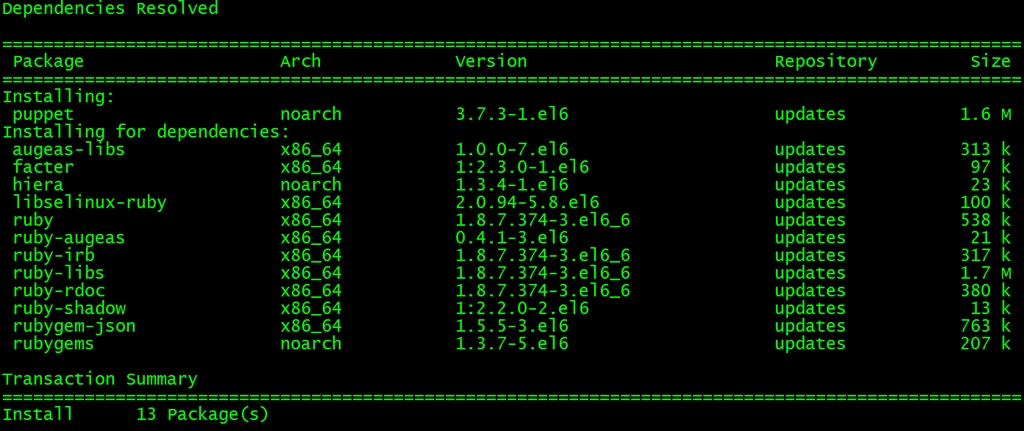
1.Puppet Master服务器端安装puppet-server,自动匹配安装Facter等相关依赖包
[root@master ~]# yum install -y puppet-server

[root@master ~]# chkconfig puppetmaster on

[root@master ~]# service puppetmaster start

2.Puppet agent客户端安装puppet
[root@agent yum.repos.d]# yum install -y puppet

[root@agent yum.repos.d]# chkconfig puppet on

[root@agent yum.repos.d]# service puppet start
=============================END=====================================

相关文章推荐
- Centos 6.6 x86_64 平台上yum的使用
- CentOS 6.5-x86_64的本地yum源配置
- centos6.6 x86_64 install virtualbox 增强功能和ulipad
- Centos6.6 本地 yum 配置
- CentOS 6.6 x86_64升级内核到最新版2.6.32-642.3.1.el6.x86_64
- CentOS 6.6 x86_64平台上rpm命令实践
- 在CentOS 6.6 x86_64上安装SystemTap/Perf+FlameGraph玩转火焰图实录
- 使用yum 使用 CentOS-6.5-x86_64-bin-DVD1.iso 作为本地源
- centos6.6 x86_64 + nginx1.6.2 实现反向代理和负载均衡
- 关于CentOS-6.6-x86_64-bin-DVD安装vsftp问题
- (7) linux 编译并安装mysql-5.6.15.tar.gz ---> CentOS-6.6-x86_64 + mysql-5.6.15.tar.gz
- CentOS6.3 x86_64 yum 源
- Centos 6.6 x86_64 Basic Server 快速安装httpd
- PXE安装Centos 6.6 x86-64 basic server
- centos 6.4 x86_64 yum安装 xen 4.2.2
- how-to-install-ganglia-from-prebuild-rpm-on-centos6.6-x86_64
- Centos 6.2_X86_64 yum方式安装LNMP
- 记录使用vmware workstation11安装CentOS-6.6-x86_64-minimal.iso过程中遇到的问题及解决办法
- centos 6.6 x86_64 安装docker和简单使用