JavaScript Beyond the Web in 2014 http://www.sitepoint.com/javascript-beyond-web-2014/
2014-10-11 09:56
821 查看
Ninja Sphere
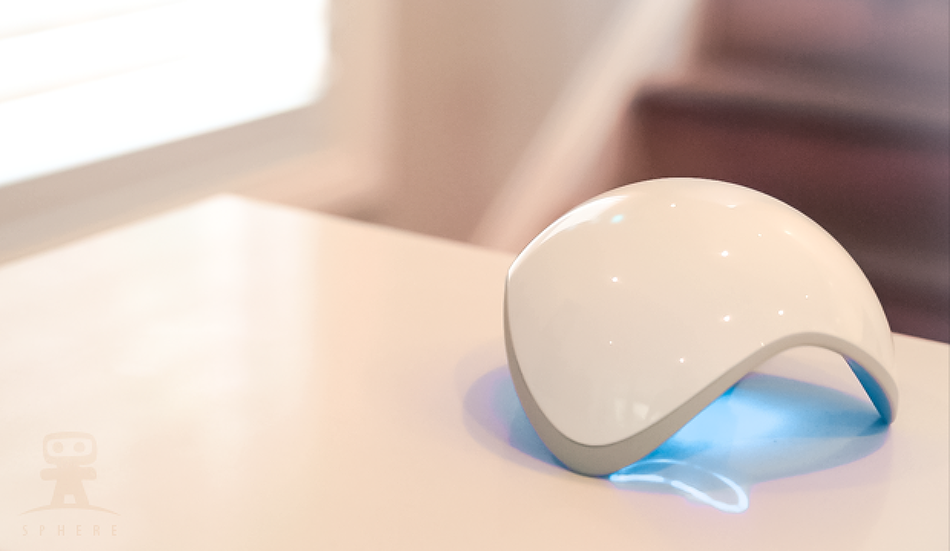
Photo
credit: Ninja Blocks Inc
The Ninja Sphere is the next generation of home automation from the team that brought the world Ninja Blocks. The Ninja Sphere is
replacing the original Ninja Blocks kit and has a bunch of new capabilities, now supporting
Bluetooth Smart devices and the ZigBee framework. It’s basically compatible with a ton of new devices, looks like a sleek
glowing tech ball from a sci-fi movie and even has gesture control.
Getting Involved via JavaScript
Ninja Sphere Node.js library – Applications for the NinjaSphere are all programmed using their official Node.js library. Even drivers and device definitions for the Sphere are in JavaScript files. It’s a JavaScript and IoT fanatic’s dream.
Leap Motion

Photo credit: Leap Motion Inc
The Leap Motion is a wonderful piece of tech that allows you to control applications and devices using hand gestures. It tracks
both hands and all ten fingers giving developers a futuristic alternative to the typical keyboard and mouse.
Since last year, things have stepped up in the world of the Leap Motion to some exciting new possibilities. They’ve got V2 of their hand tracking in beta which fine tunes tracking making it a great deal more reliable. They can now track individual bones in
each finger!
V2 also provides an exciting new use for the Leap Motion – virtual reality. As exciting as virtual reality is, it is a bit offputting that you can’t see your hands. Bring in Leap
Motion’s new Oculus mount and you can attach your Leap Motion to an Oculus VR headset, allowing you to interact with virtual worlds using your hands.
From a JavaScript perspective, the Leap Motion team has provided a JavaScript SDK of a pretty darn high standard with great documentation and examples – already updated with a lot of the V2 functionality.
Getting Involved via JavaScript
Leap Motion JavaScript framework –This brings almost all of the capabilities of the Leap Motion to web applications and Node. A huge amount of the V2 beta is already available for you to develop with in JavaScript, we’re just waiting on the head-mounted tracking capabilities for VR which hopefully
will come soon.
Pebble Watch
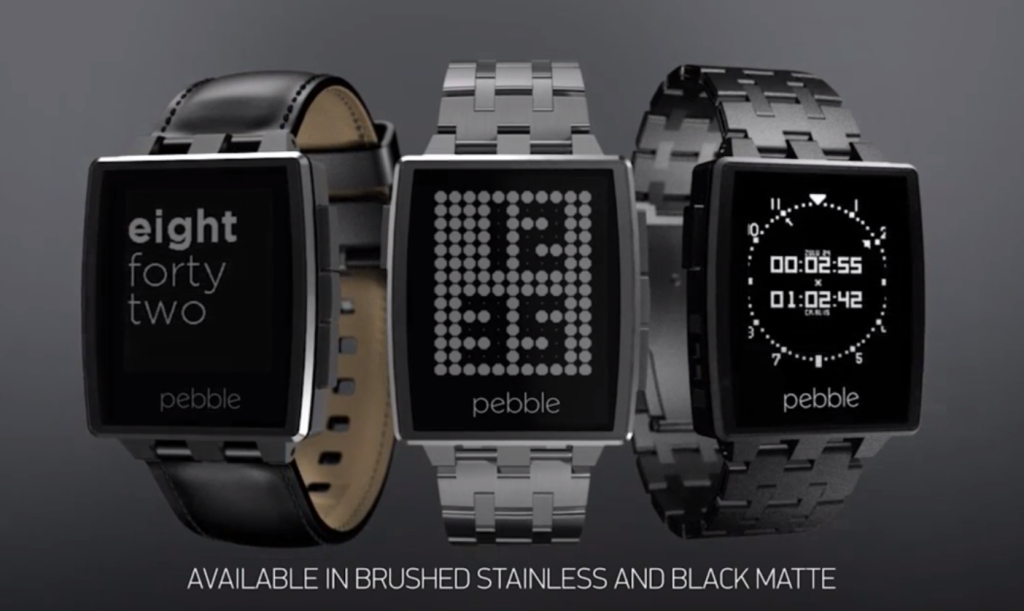
Photo credit: Pebble
Oh the Pebble watch… Don’t get me started on how wonderful this device is. I’m an outspoken Pebble enthusiast and have given entire
talks on why people should get one! In an age before the Apple watch and Android Wear, the Pebble team were pioneering an incredibly functional, easy to use smartwatch that pairs with both iPhones and Android devices via Bluetooth. It uses an e-paper display
making it easy to read in direct sunlight and battery life that lasts about a week between charges.
This year was the release of version 2.0 of the Pebble SDK which brought along with it a Pebble Appstore, a range of new functionality and most exciting of all, the PebbleKit JavaScript framework.
Getting Involved via JavaScript
PebbleKit JavaScript framework – This frameworkallows you to run JavaScript on the phone to pull in data from the web to build rich web enhanced experiences on your watchfaces and apps. It also has access to location data from your phone, so it is possible to create location based web API apps. App development
still requires some C coding for the watch app itself but for those without much C experience, you can take a sample watchface, make minor changes that don’t require too much C knowledge and then build most of the exciting functionality in JavaScript! If you’re
keen to give Pebble development a go, I covered how to get started with Pebble app development from a JavaScript perspective in two SitePoint articles below.
Pebble Watch Development with JavaScript –
My first article covering all the basics.
Advanced Pebble Watch Configuration – How
to add configuration options to Pebble apps using the JavaScript framework.
Pebble.js – While still in beta, this is an official framework for building
Pebble applications completely in JavaScript! Keep an eye out for this in the upcoming months.
Oculus Rift
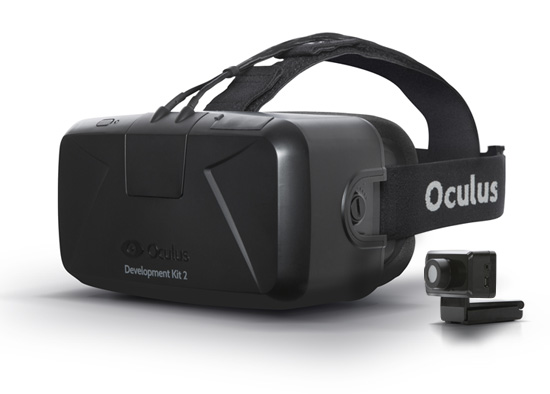
Photo credit: Oculus VR, LLC
The Oculus Rift headset has gotten us closer to easily accessible virtual reality than ever before. The Developer Kit 2 recently
shipped this year with new iterations of the headset on the horizon – the “Crescent Bay” prototypeand a Samsung
Gear VR headset that uses the Samsung Galaxy Note 4.
While there is no official JavaScript API for the Oculus Rift just yet, there are a few options for creating JavaScript powered Oculus experiences.
Getting Involved via JavaScript
OculusBridge – A desktop app and JavaScript library to allowfor Three.js based Oculus Rift web experiences. It has both Windows and Mac OSX installs and works on Chrome 28, Safari 6 and Firefox 22. It doesn’t mention IE, so I’m not sure if it is supported. This is the JS library I’ve gotten to work relatively easily
on my Macbook.
vr.js – A plugin for Chrome and Firefox that provides access to the
Oculus Rift headset, however it runs using NPAPI which Chrome is depreciating, so it might
not be a good long term solution. I’ve been experimenting with OculusBridge instead.
Babylon.js and IE11 – If
you’ve got a PC with IE11, you can create a 3D environment using Babylon.js and then with a single line of code and a driver, pick
up device orientation. From that you’ve got an Oculus Rift VR experience! It apparently doesn’t work for Chrome just yet but fingers crossed that happens soon.
Cylon
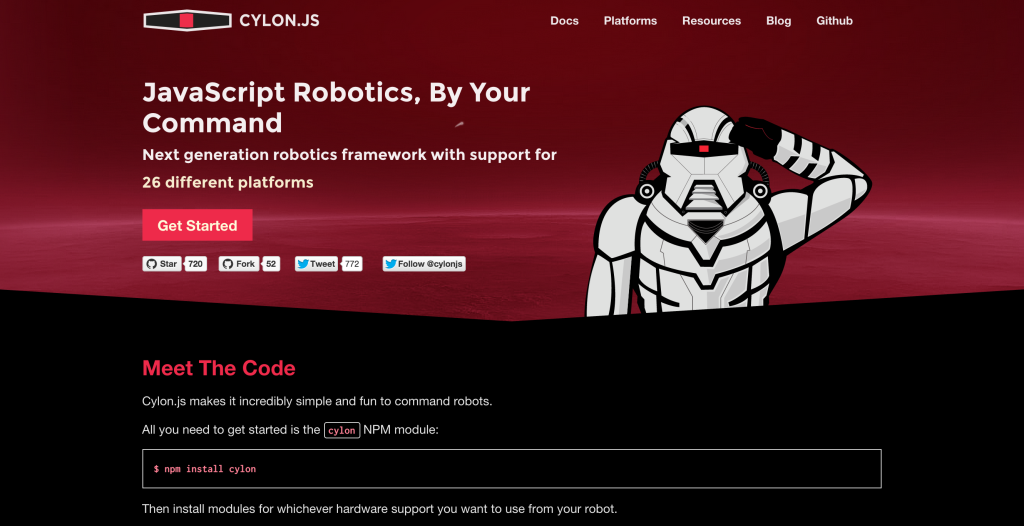
Photo credit: The Hybrid Group
A very useful JavaScript API that has really hit its stride this year is Cylon.js, a JavaScript framework for robotics and the Internet
of Things. It is making some great progress in enabling JavaScript to bridge the gap between devices by allowing you to program a range of devices using the same API structure. It does all of this in an easy to understand way that makes programming for devices
really simple. Cylon.js works by having multiple modules available to support an ever expanding list of devices including the Leap Motion, Pebble watch, Arduinos, Raspberry Pis and more.
Arduino YUN
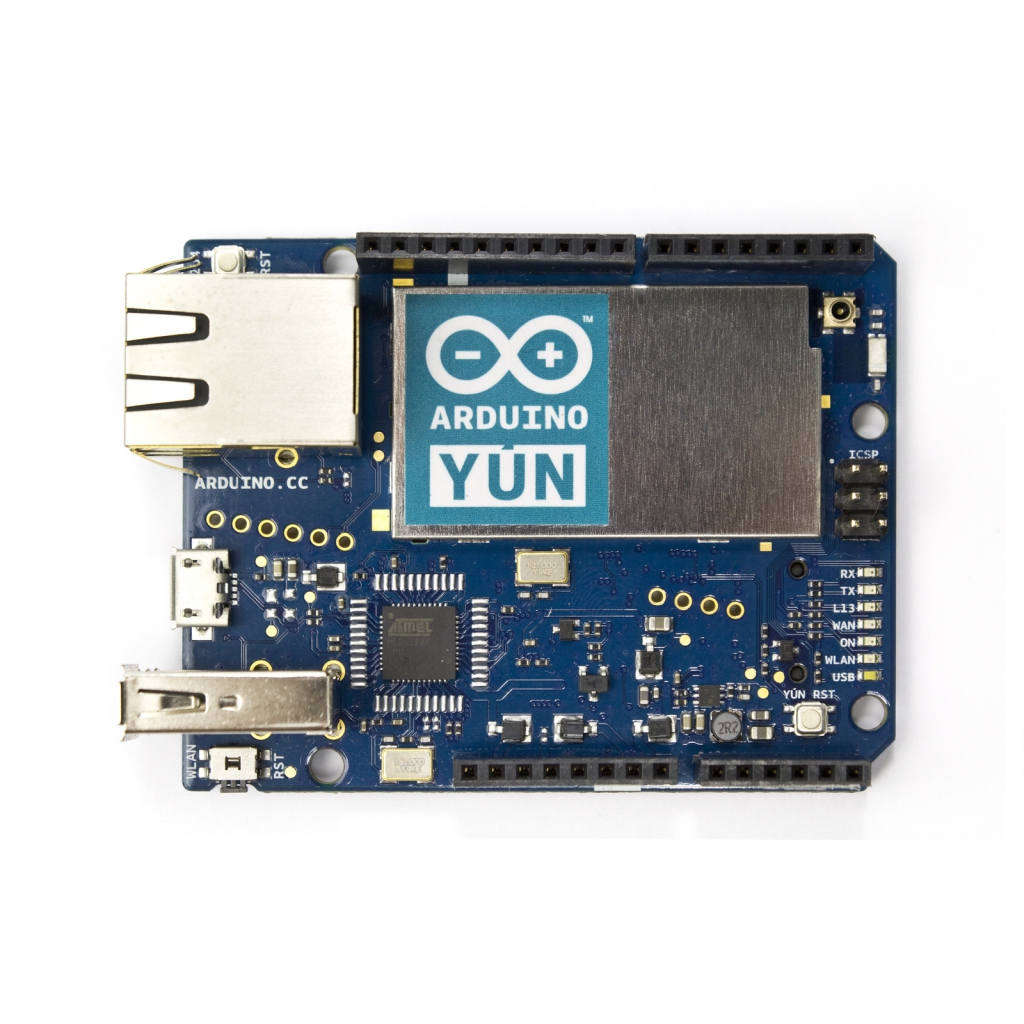
Photo credit: Arduino
We’ve been able to issue commands from remote Node servers to Arduinos a number of different ways over Node for a while now. They’ve always relied on the Arduino running its own C code which understands how to communicate with a Node server. This year saw the
introduction of a new Arduino – the Arduino YUN. This Arduino is the first to have an installation of Linux running
on the board, so you can set up and run a web server on your Arduino that talks to the Arduino itself, eliminating the need for a main server elsewhere to be issuing commands.
Getting Involved via JavaScript
Installing Node.js on the Arduino YUN – For JS developers,this Linux installation means you can install Node.js on the Arduino itself, keeping a huge amount of the running code on the board itself. Basically – your Arduino can run JavaScript!
Cylon.js module – It also has a Cylon.js module of its
own that can be installed on the YUN.
Spark OS
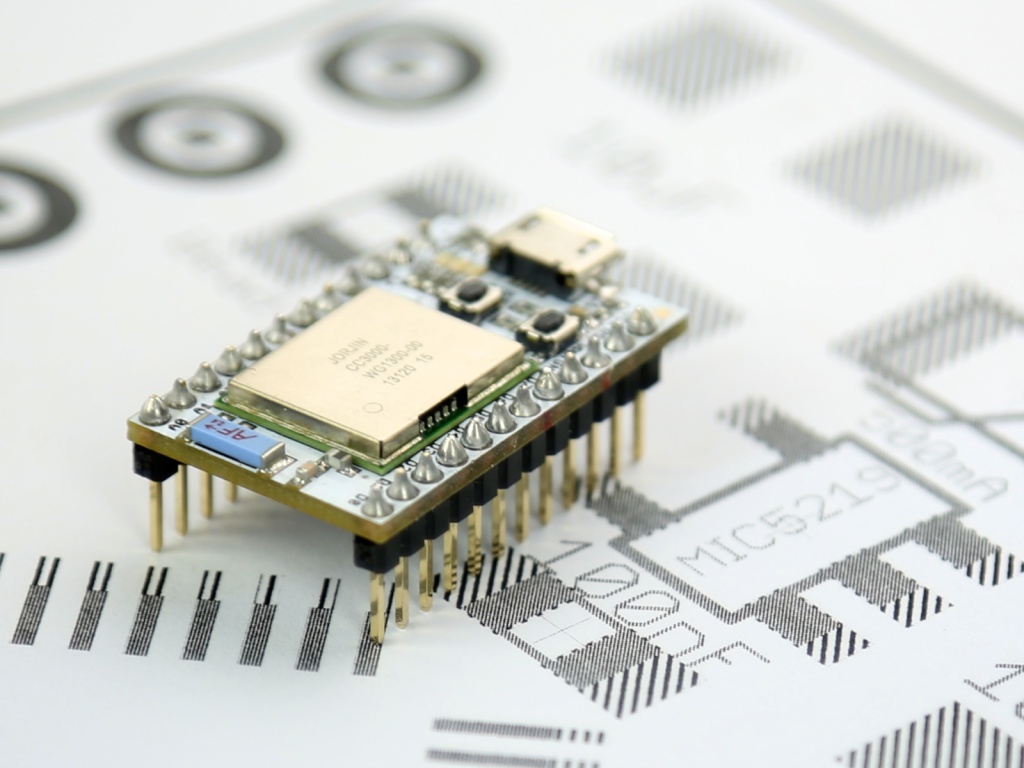
Photo credit: Spark
Spark OS is an operating system in the cloud that allows Internet enabled devices to communicate. They have Spark Cores which are Wi-Fi
enabled microcontroller boards similar to Arduinos (but much smaller than an Arduino Uno). You connect them up to a WiFi network and can send commands to the Spark Core board via their cloud platform. It is the easiest setup process I’ve gone through for an
IoT device and has been the most reliable to hook up and use every time.
Getting Involved via JavaScript
Official Spark JavaScript SDK – Spark have their own JavaScript SDK whichis quite simple to follow, along with various third party libraries below.
spark-io – A module by voodootikigod who also did the Johnny-Five Arduino
Node module.
Sparky – A very simple Node.js library.
Cylon.js module
Tessel
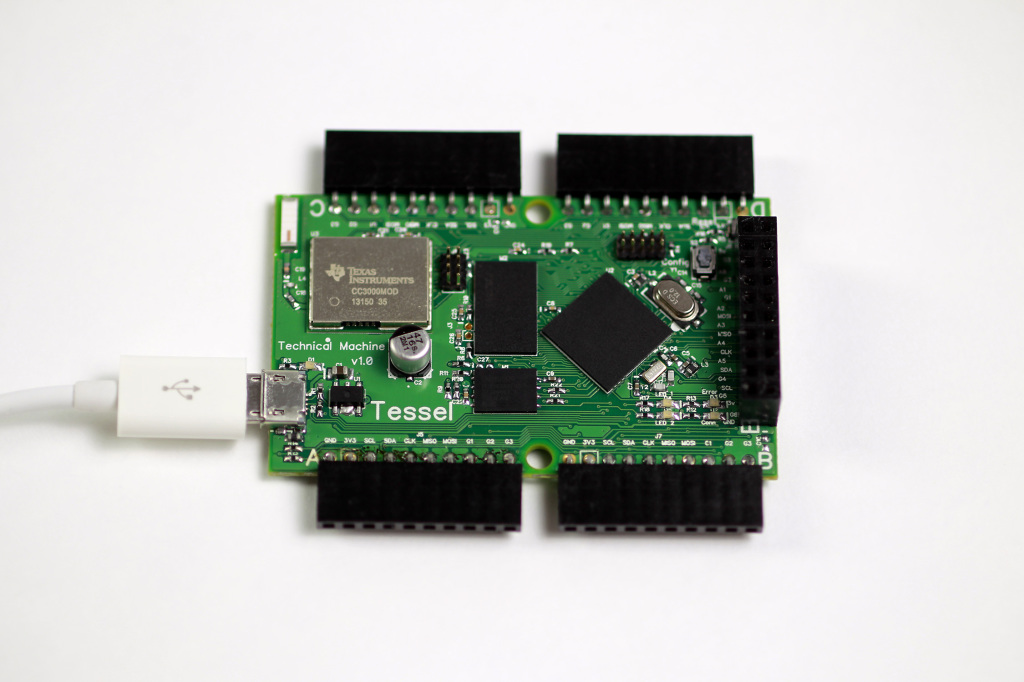
Photo credit: Tessel
This year was also the year that the Tessel shipped to the world. Tessel is a microcontroller like the Arduino and the Spark Core but is
built specifically for JavaScript developers because the board itself runs JavaScript. It is compatible with thousands upon thousands of Node.js packages (but doesn’t run Node itself), developed with the end goal of utilizing all of this existing potential
in the JavaScript ecosystem and in JavaScript developers.
Getting Involved via JavaScript
Official Tessel docs – There are a bunch of examples within the modules sectionof the docs to show how to communicate with each type of module via JavaScript.
Cylon.js module
Espruino
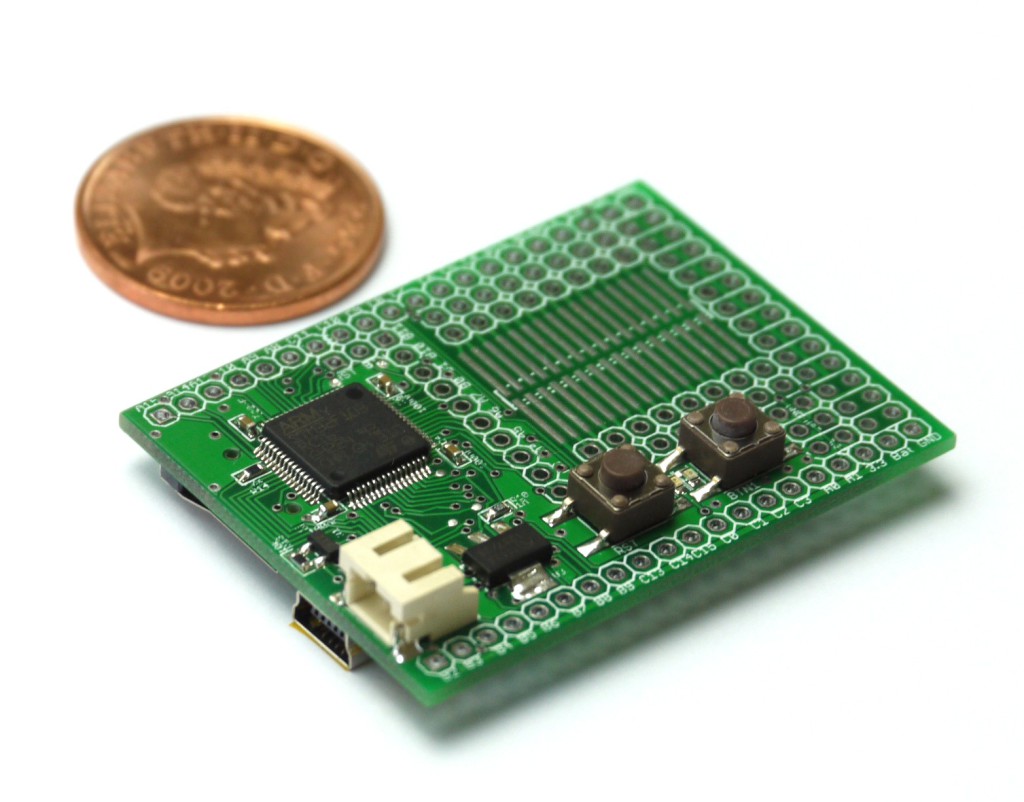
Photo credit: Pur3 Ltd
Earlier this year, another microcontroller that also runs JavaScript was shipped out – the Espruino. This board is tiny, runs on
a single chip and is so energy efficient it can apparently run for years on battery power. It doesn’t really run Node modules and such, instead working via an event-based system where the device can run your JavaScript commands in real time. You run code on
the device from your computer, then when you’re happy with it, you run a command on the Espruino that saves the current functions and configurations. It’s quite a different model than the uploading of code for each change on the Arduino and Tessel.
Getting Involved via JavaScript
Official Espruino docs – A quick start guide followed by a bit morein depth stuff.
node-espruino – A third party Node library for interfacing
with the Espruino via Node.js.
Intel Galileo
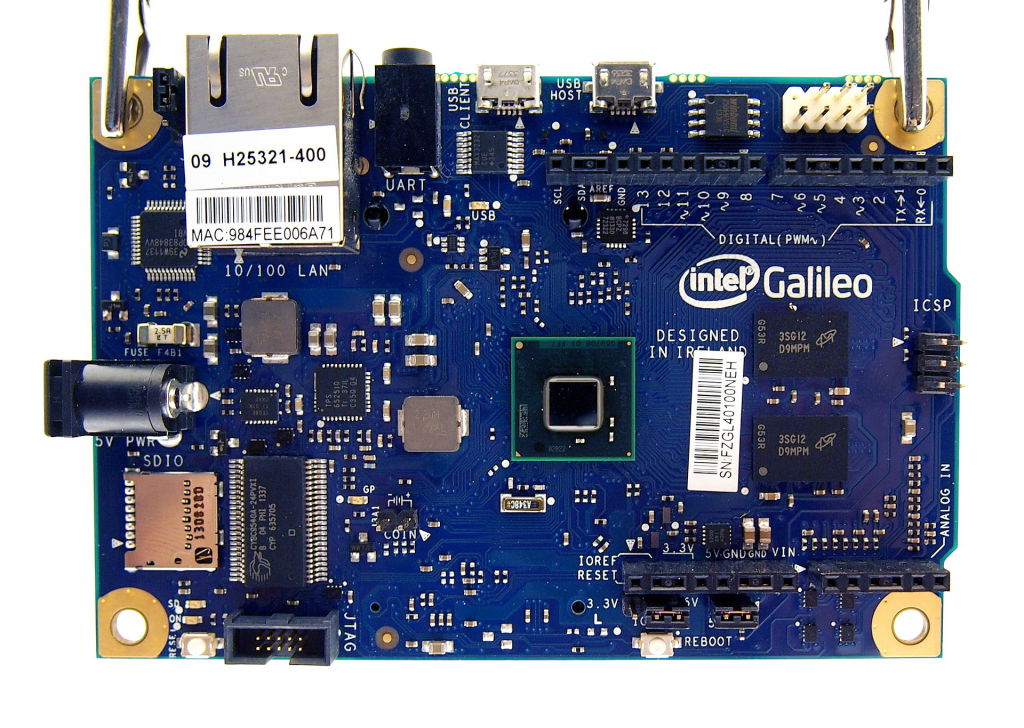
Photo credit: Intel Corporation
The Intel Galileo board is a microcontroller board that uses Intel’s own components but follows the Arduino Uno pin structure so existing Arduino shields can be used. Just like the Arduino YUN, Galileo runs Linux onboard. However, the Linux image used is apparently
quite limited, so a bigger Linux image can be installed by inserting an SD card. This fully fledged Linux contains Node.js and all of its JavaScript capabilities (along with many other non-JS capabilities too).
Getting Involved via JavaScript
The “bigger” Linux imagewith Node.js – A guide from SparkFun on getting started with the SD card Linux option. Definitely the most powerful option with the most potential. It doesn’t cover how to use the Node.js server as it has a Python focus but it is the starting point.
Intel Galileo Programming with JavaScript and Node.js –
This article speaks more in detail on getting involved with Node on the board, showing how to install the Johnny-Five module onto the board itself.
Cylon – Cylon’s module works if you have the SD card with the full powered Linux installed.
Galileo-IO module for Johnny-Five – Just like using the Johnny-Five
module to control Arduinos, the JavaScript controlling happens via a Node server outside of the Galileo board, not installed on the board itself.
Google Cardboard
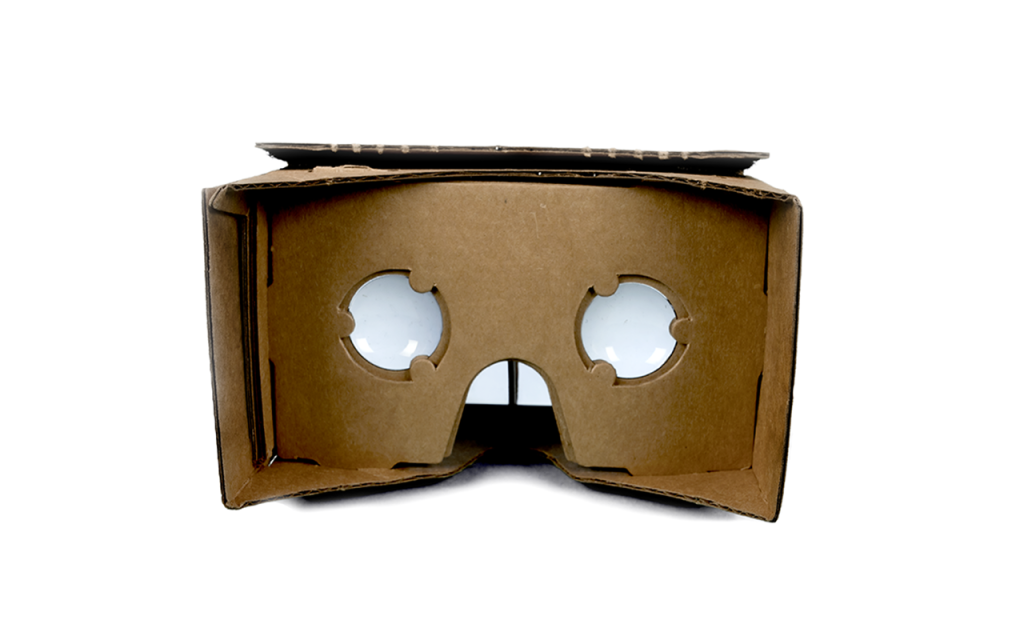
Photo credit: Google Inc
At Google I/O this year, a wildly strange, yet powerful concept was introduced – Google Cardboard. They are a pair
of DIY virtual reality glasses made of cardboard that you connect an Android device to for a rather inexpensive VR experience. Their documentation focuses on native Android development, however there are Chrome experiments too which show potential for web
based virtual reality powered by JavaScript.
Getting Involved via JavaScript
Cardboard Chrome Experiments – Includes a bunch of demos and a code example.View source in the demos to see how it all works.
Myo Armband

Photo credit: Thalmic Labs Inc
The Myo Armband uses the electrical activity in your muscles to control applications via hand gestures completely wirelessly.
It is relatively new and is only just currently shipping its pre-orders. We’ll have a bunch of new developers giving this a go throughout the year and shall see just how well this new device works. I’m eagerly awaiting mine. There’s definitely huge potential
with this technology.
Getting Involved via JavaScript
MyoJS – An unofficial JavaScript framework for the Myo. Sadly, there’sno official support just yet.
Nest

Photo credit: Nest Labs
The Nest team have two smart devices around right now, the Nest thermostat and the Nest Protect (a smoke and carbon monoxide alarm). This
year they opened their Nest Developer Program and Nest API to the public. While they don’t have a specific JavaScript API, they provide examples of how to access their Nest API via JavaScript in two examples.
Getting Involved via JavaScript
Official sample JS for the Nest ThermostatOfficial sample JS for the Nest Protect
Cylon.js module – Seems to focus on the thermostat functionality
so far.
Conclusion
As you can see, the number of devices with JavaScript support in one way or another is growing. There’s much more than I can list within a reasonably sized article! JavaScript developers of the world who’ve yet to try their hand at an IoT device, there’s awhole range of untapped potential in that skill set of yours – get yourself a device and start experimenting!

相关文章推荐
- The absolute uri: http://www.keystudio.com/tags/premission cannot be resolved in either web.xml or t
- Cache Management in ASP.NET(http://www.codeproject.com/KB/web-cache/cachemanagementinaspnet.aspx)
- This absolute uri http://java.sun.com/jsp/jstl/core) cannot be resolved in either web.xml or the ...
- http://www.cisco.com/en/US/docs/wireless/access_point/12.3_8_JA/configuration/guide/s38web.html
- The absolute uri: http://java.sun.com/jsp/jstl/core cannot be resolved in either web.xml or the jar files deployed with this ap
- There is not a header with name ServiceContext and namespace http://schemas.microsoft.com/sharepoint/servicecontext in the messa
- The absolute uri: http://java.sun.com/jsp/jstl/core cannot be resolved in either web.xml or the jar
- 利用webservice和.net技术上传和下载文件--Sending files in chunks with MTOM Web Services and .NET 2.0 from:http://www.codeproject.com/soap/MTO
- The absolute uri: http://java.sun.com/jstl/core cannot be resolved in either web.xml or the jar file
- 类成员初始化与构造函数执行的顺序 转自:http://www.cnblogs.com/anderslly/archive/2008/07/12/why-do-initializers-run-in-the-opposite-order-as-constructors.html
- Hi there,Error:The absolute uri: http://java.sun.com/jsp/jstl/sql cannot be resolved in either web.xml or the jar files deployed
- The absolute uri: http://java.sun.com/jsp/jstl/core cannot be resolved in either web.xml or the jar
- 收集几种解决:The absolute uri: http://java.sun.com/jsp/jstl/core cannot be resolved in either web.xml or t
- The absolute uri: http://java.sun.com/jsp/jstl/core cannot be resolved in either web.xml or the jar
- The absolute uri: http://java.sun.com/jsp/jstl/core cannot be resolved in either web.xml or the jar
- The absolute uri: http://java.sun.com/jsp/jstl/core cannot be resolved in either web.xml or the jar
- Jsp http://java.sun.com/jsp/jstl/core cannot be resolved in either web.xml or the jar
- java tomcat 报错:The absolute uri: http://java.sun.com/jsp/jstl/core cannot be resolved in either web.
- http://java.sun.com/jsp/jstl/core cannot be resolved in either web.xml or the jar files deployed wit
- The absolute uri: http://java.sun.com/jsp/jstl/core cannot be resolved in either web.xml or the jar