Android Camera开发:sdk 14+ 新特新 人脸识别
2014-09-12 10:59
483 查看
必要条件
Camera 人脸检测 需要 android sdk 14+,当开启人脸识别特性时, android.hardware.Camera 类的setWhiteBalance(String)[白平衡], setFocusAreas(List)[一个或多个对焦区域]和setMeteringAreas(List)[ 指定一个或多个区域来计算白平衡 ]不再起作用.当android.hardware.Camera.Parameters.getMaxNumDetectedFaces() 返回值大于0, 表示硬件支持人脸识别
实现FaceDetectionListener接口
关键是重载onFaceDetection(Face[] faces,Camera camera)方法。顾名思义,onFaceDetection方法就是对识别结果的回调/**
* 识别结果的回调 *
* @param faces 检测到的人脸人脸集合
* @param camera 照相机实例
*/
void onFaceDetection(Face[] faces, Camera camera); 例如:
public class SimpleFaceDetect implements FaceDetectionListener {
    private static final String TAG = "FACE";
    private Context mContext;
    private Handler mHander;
    public SimpleFaceDetect(Context context, Handler handler){
        this.mContext = context;
        mHander = handler;
    }

    @Override
    public void onFaceDetection(Face[] faces, Camera camera) {
                        //检测结果集合大小为0,表示未检测到人脸
            Log.v(TAG, "人脸数量:"+faces.length);
                        //发送结果消息
            Message m = mHander.obtainMessage();
            m.what = EventUtil.MSG_FACE;
            m.obj = faces;
            m.sendToTarget();

    }

}
开启人脸检测
/**
     * 开启人脸检测
     * @param faceDetectionListener 检测结果回调
     * @return 是否开启成功
     */
    public boolean startFaceDetection(FaceDetectionListener faceDetectionListener){
        boolean bool=false;
        if(mParams.getMaxNumDetectedFaces() > 0){

            mCamera.setFaceDetectionListener(faceDetectionListener);
            /**
             * 当启用面部检测特性时,setWhiteBalance(String), setFocusAreas(List) 和setMeteringAreas(List)不再起作用.
             */
            mCamera.startFaceDetection();

            bool=true;
        }

        return bool;
    }
调用此方法应注意时机,有的人喜欢在Activity的onCreate方法调用导致人脸检测开启不了,其实google在API
方法注释里已经对如何在恰当的时候开启检测进行了详细说明,具体实现方法是native的,有兴趣可以深入了解下
void android.hardware.Camera.startFaceDetection()

Starts the face detection. This should be called after preview is started. The camera will notify FaceDetectionListener of the detected faces in the preview frame. The detected faces may be the same as the previous ones. Applications should call stopFaceDetection to stop the face detection. This method is supported if Parameters.getMaxNumDetectedFaces() returns a number larger than 0. If the face detection has started, apps should not call this again.

When the face detection is running, Parameters.setWhiteBalance(String), Parameters.setFocusAreas(List), and Parameters.setMeteringAreas(List) have no effect. The camera uses the detected faces to do auto-white balance, auto exposure, and autofocus.

If the apps call autoFocus(AutoFocusCallback), the camera will stop sending face callbacks. The last face callback indicates the areas used to do autofocus. After focus completes, face detection will resume sending face callbacks. If the apps call cancelAutoFocus(), the face callbacks will also resume.

After calling takePicture(Camera.ShutterCallback, Camera.PictureCallback, Camera.PictureCallback) or stopPreview(), and then resuming preview with startPreview(), the apps should call this method again to resume face detection.
简单来说就是要在
每次相机
预览开始以后才能调用:
/**
     * 开启预览
     * @param holder
     * @param previewRate
     */
    public void startPreview(SurfaceHolder holder, float previewRate){
    ...相机参数设置略...
    handler.sendEmptyMessage(MSG_STARTED_PREVIEW);//发送消息通知开启人脸检测
        }
    }
关闭人脸检测
关闭预览时关闭/**
* 关闭人脸检测
*/
public boolean stopFaceDetection( ){
boolean bool=false;
if(mParams.getMaxNumDetectedFaces() > 0){
mCamera.setFaceDetectionListener(null);
mCamera.stopFaceDetection();
bool=true;
}
return bool;
} 在预览界面绘制人脸位置框
布局文件中增加<com.longyuan.camerademo.ui.FaceView
android:id="@+id/face_view"
android:layout_width="match_parent"
android:layout_height="match_parent" /> 代码:
public class FaceView extends ImageView {
    private static final String TAG = "FACE";
    private Context mContext;
    private Face[] mFaces;
    private Matrix mMatrix = new Matrix();
    private RectF mRect = new RectF();
    private Drawable mFaceIndicator = null;
    public FaceView(Context context, AttributeSet attrs) {
        super(context, attrs);
        mContext = context;
        mFaceIndicator = getResources().getDrawable(R.drawable.ic_face_find_1);
    }

    public void setFaces(Face[] faces){
        this.mFaces = faces;
        invalidate();
    }
    public void clearFaces(){
        mFaces = null;
        invalidate();
    }

    @Override
    protected void onDraw(Canvas canvas) {
        if(mFaces == null || mFaces.length < 1){
            return;
        }
        boolean isMirror = false;
        int Id =CameraInterface.getInstance().getCameraId();
        if(Id == CameraInfo.CAMERA_FACING_BACK){
            isMirror = false; //后置Camera无需mirror
        }else if(Id == CameraInfo.CAMERA_FACING_FRONT){
            isMirror = true;  //前置Camera需要mirror
        }
        Util.prepareMatrix(mMatrix, isMirror, 90, getWidth(), getHeight());
        canvas.save();
        mMatrix.postRotate(0); //Matrix.postRotate默认是顺时针
        canvas.rotate(-0);   //Canvas.rotate()默认是逆时针
        for(int i = 0; i< mFaces.length; i++){
            mRect.set(mFaces[i].rect);
            mMatrix.mapRect(mRect);
            mFaceIndicator.setBounds(Math.round(mRect.left), Math.round(mRect.top),
                    Math.round(mRect.right), Math.round(mRect.bottom));
            mFaceIndicator.draw(canvas);  }
        canvas.restore();
        super.onDraw(canvas);
    }

}
在UI线程更新界面
case MSG_FACE:
                    final Face[] faces = (Face[]) msg.obj;
                    faceView.setFaces(faces);    break;
No picture say J8.

再来一张

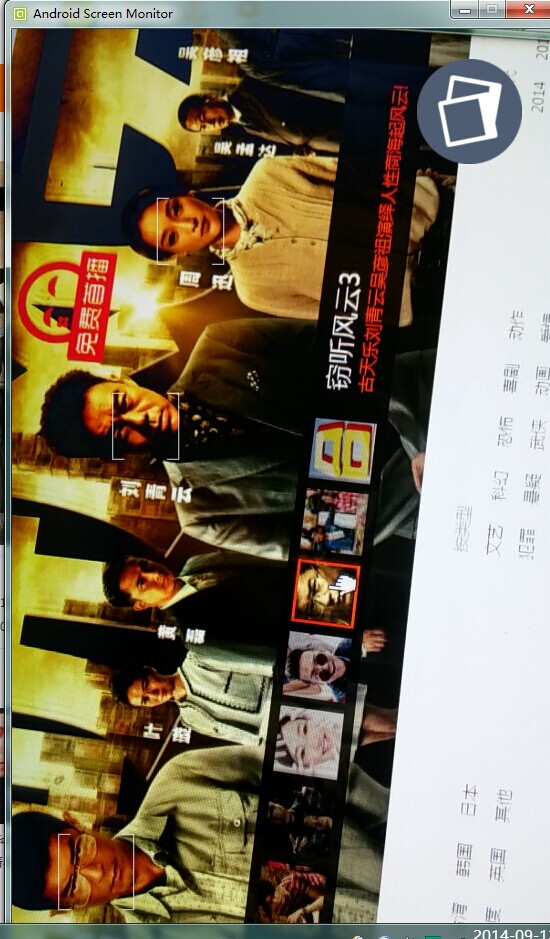
测试机 : 中兴 天机 S291
已知华为荣耀X1不支持
结果还可以哈 闪~
资料:
各版API中引入的常用相机特性表
| Feature | API Level | Description |
| Face Detection | 14 | 检测人脸位置并用结果来计算焦点,测光和白平衡 |
| Metering Areas | 14 | 在一个图像内指定一个或多个区域来计算白平衡 |
| Focus Areas | 14 | 在一个图像中设置一个或多个聚焦区域 |
| White Balance Lock | 14 | 停止或开始自动白平衡调整 |
| Exposure Lock | 14 | 停止或开始自动曝光调整 |
| Video Snapshot | 14 | 在拍视频时抓取一个图像 |
| Time Lapse Video | 11 | 定时录像 |
| Multiple Cameras | 9 | 在一个设备上支持一个或多个相机,包括正面和反面的相机。 |
| Focus Distance | 9 | 焦距 |
| Zoom | 8 | 设置图像的放大率 |
| Exposure Compensation | 8 | 减小或增大曝光级别 |
| GPS Data | 5 | 图像中包含或不包含地理位置信息 |
| White Balance | 5 | 设置白平衡的模式 |
| Focus Mode | 5 | 设置在一个物体上如何聚焦,比如自动,固定,微距,无限远. |
| Scene Mode | 5 | 场景模式,比如晚上,海滩,雪地或烛光. |
| JPEG Quality | 5 | 设置JPEG图像的压缩级别. |
| Flash Mode | 5 | 设置闪光灯开,关或自动. |
| Color Effects | 5 | 应用一个颜色效果到图像,比如黑白,褐色,反色. |
| Anti-Banding | 5 | 减少在JPEG压缩时的颜色渐变的边缘效应. |
| Picture Format | 1 | 指定图像的文件格式 |
| Picture Size | 1 | 指定图像的宽和高 |
http://blog.csdn.net/qq69696698/article/details/7325772

相关文章推荐
- Android人脸识别开发入门–基于虹软免费SDK实现
- iOS/Android开发人脸识别SDK列表
- Android人脸识别开发入门--基于虹软免费SDK实现
- iOS/Android开发人脸识别SDK列表
- Android开发学习---template requires a minimum SDK version of at least 7,build target API version of 14
- C++开发人脸性别识别教程(14)——灰度图像识别BUG处理
- Android/iOS身份证识别SDK/开发包/API/接口
- Android虹软人脸识别sdk使用工具类
- OpenCV-2.4.6-android-sdk 人脸识别demo搭建
- Android开发中人脸识别(静态)
- Android身份证识别SDK开发包/iOS身份证识别OCR
- Android开发中人脸识别(静态)
- 3、基于Face++开发的一款人脸识别App:Android-HowOld
- Android证件识别开发包/iOS证件识别SDK
- Android开发学习之使用百度语音识别SDK实现语音识别(上)
- Android使用Face++ SDK进行人脸识别和年龄检测
- Android camera实时预览 实时处理,人脸识别示例
- OpenCV-2.4.6-android-sdk 人脸识别demo搭建
- Android开发实现人脸识别
- [置顶] Android移动开发-在Android项目里集成face++人脸识别的实现