U盘安装CentOS 6.2 32位系统(有图有真相)
2012-08-06 19:16
381 查看
转载自系统运维 www.osyunwei.com,但经伍哥反复多次的实际安装,确保了本操作实际可行。
U盘安装CentOS 6.2 32位系统
所需工具:
一、UltraISO(用来制作U盘启动)
二、CentOS 6.2 32位系统镜像

系统安装只需要下载DVD1,DVD2是附带的软件包。
下载地址:http://mirrors.ustc.edu.cn/centos/6.2/isos/i386/CentOS-6.2-i386-bin-DVD1.iso
三、U盘一只
要求:U盘容量大于4G(因为CentOS 6.2 32位系统镜像文件需要3.55G的空间)
安装步骤:
一、制作U盘启动引导盘
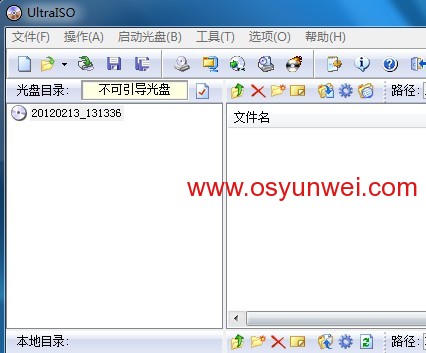
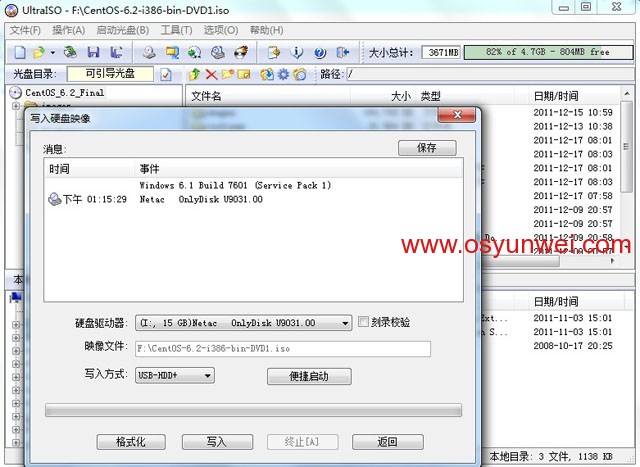
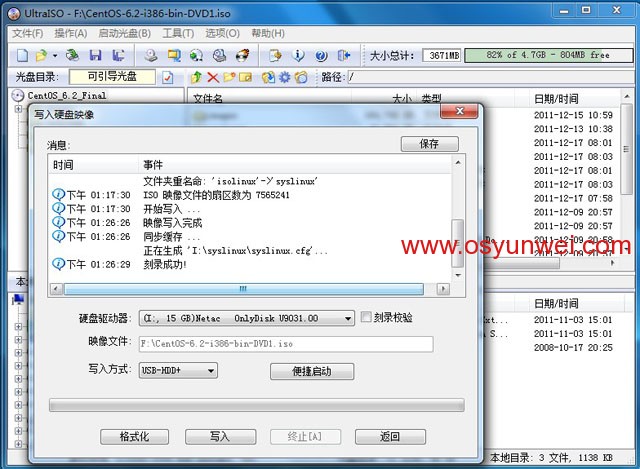
1、电脑插上U盘,打开UltraISO软件,文件—打开,选择你下载好的CentOS-6.2-i386-bin-DVD1.iso文件,
点启动光盘–写入硬盘镜像,在硬盘驱动器里面选择你的U盘(看清楚,千万别选错),写入方式默认为:USB-HDD+,然后点格式化。
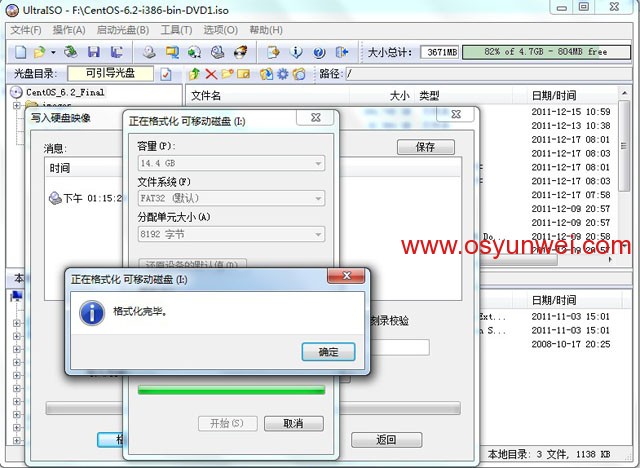
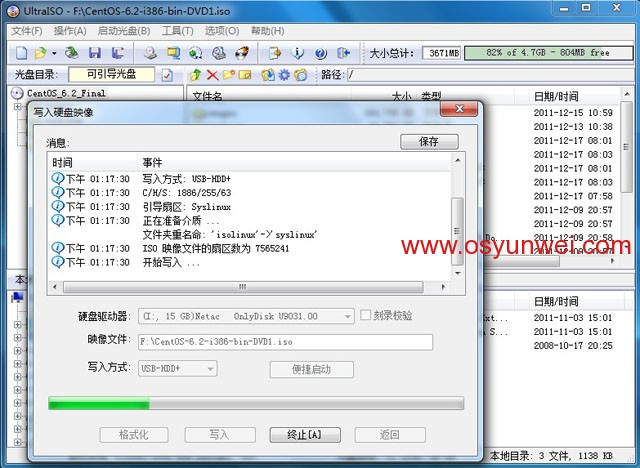
格式化完成后,关闭对话框,然后再点写入,等几分钟,完成后,点返回,然后关闭UltraISO

2、打开U盘根目录,把isolinux文件夹名字改为syslinux。
3、删除U盘根目录下面的Packages文件夹
4、把下载好的系统镜像CentOS-6.2-i386-bin-DVD1.iso复制到U盘根目录下面。
至此,U盘启动盘制作完成,然后退出U盘,这个U盘现在已经可以用来安装CentOS 6.2了。
二、安装CentOS 6.2
开机设置U盘第一启动,重启之后会出来安装界面:
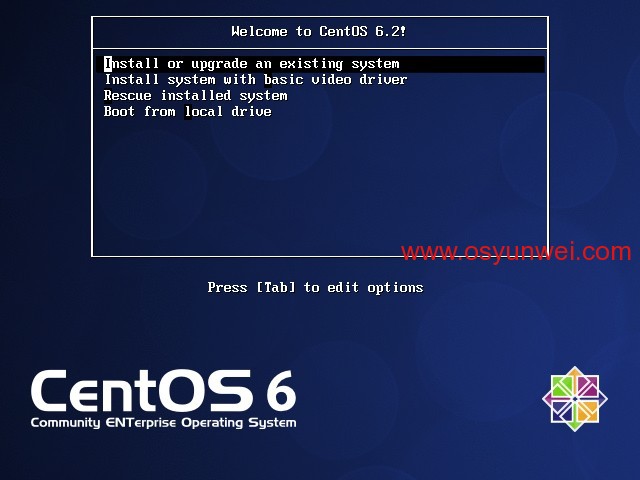
默认选择第一项,回车。
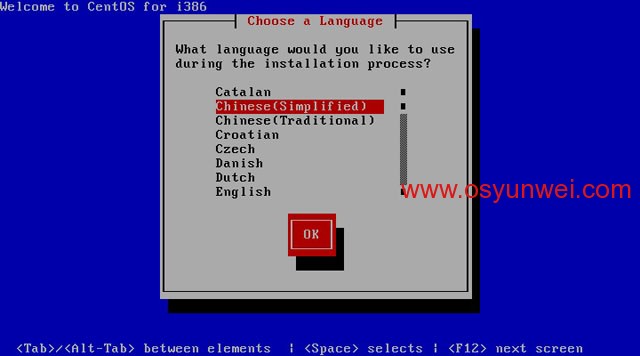
选择Chinese(Simplified),简体中文,然后回车
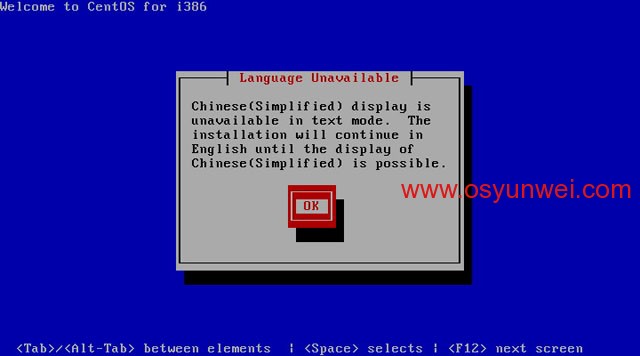

选择键盘模式,默认
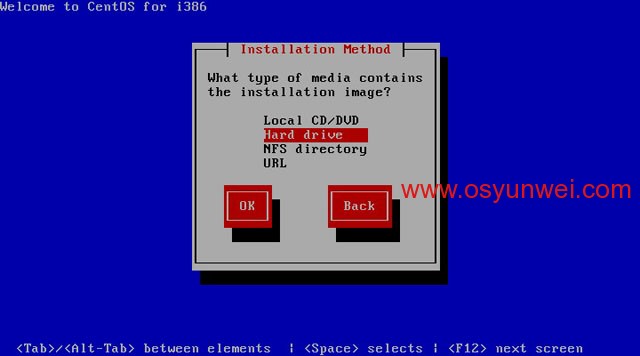
这一步是成败的关键步骤之一,移动光标,定位在Hard drive上, 选择OK,按回车,会出现下面的界面:
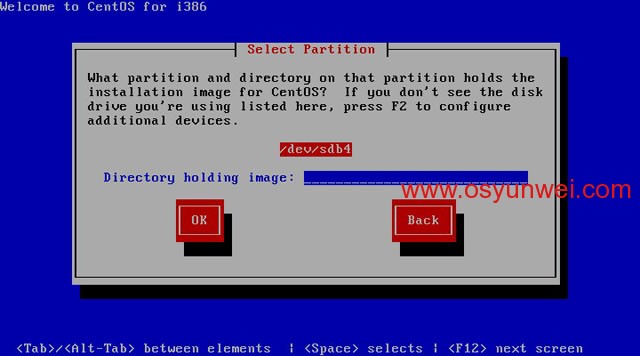
这里的/dev/sdb4代表你的U盘分区,我们前面已经把系统镜像拷贝到U盘根目录下面了,这里系统会自动识别
直接点OK,会出现下面的安装界面:
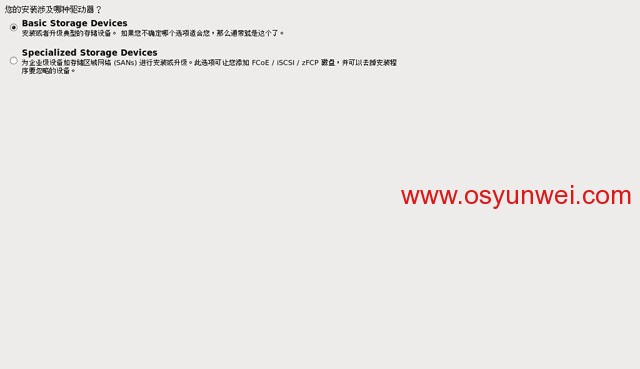
选择第一项
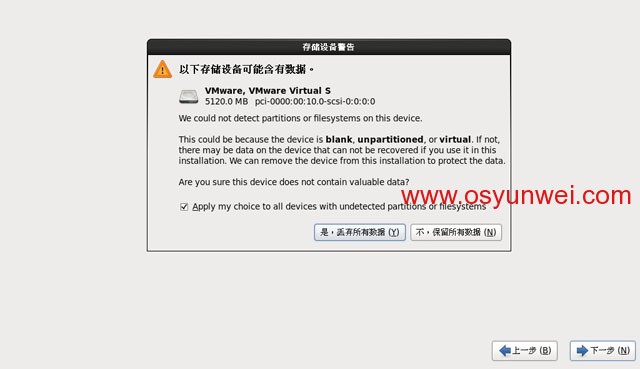
选择第一项:是,丢弃所有数据
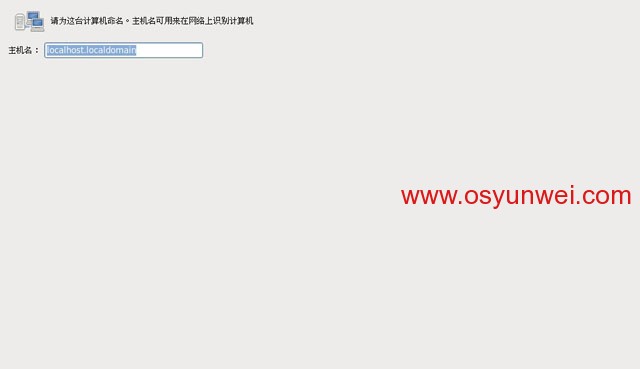
设置计算机名,默认即可
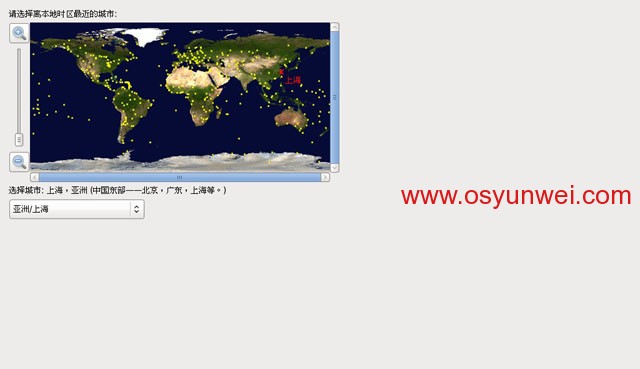
时区选择,默认即可。

设置root密码

注意:如果你使用的密码过于简单,系统会自动提示,这里选择“仍然使用”
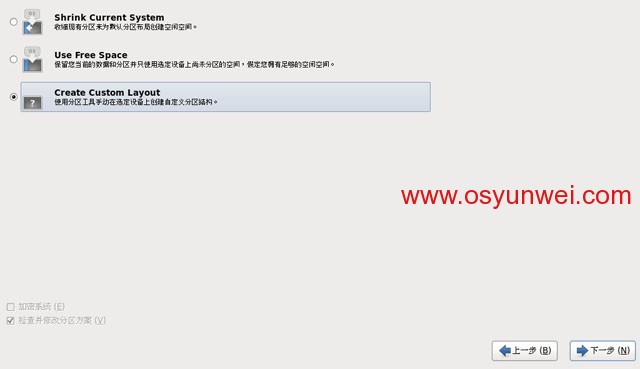
选择最后一项,自定义分区。
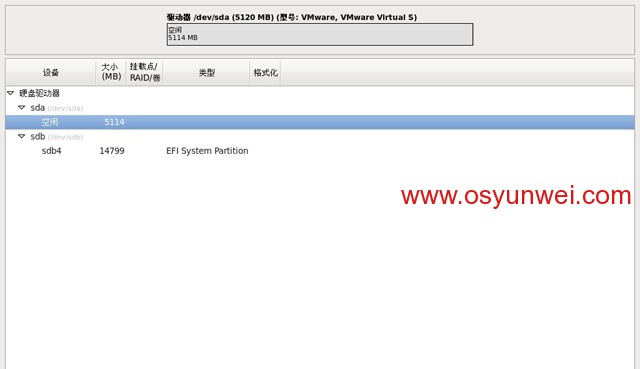
注意:这里可以看到磁盘信息,sda代表本机磁盘,sdb代表U盘,(也可能a和b倒过来,自己千万看仔细咯) 切忌选择sda进行分区,否则会把U盘格式化
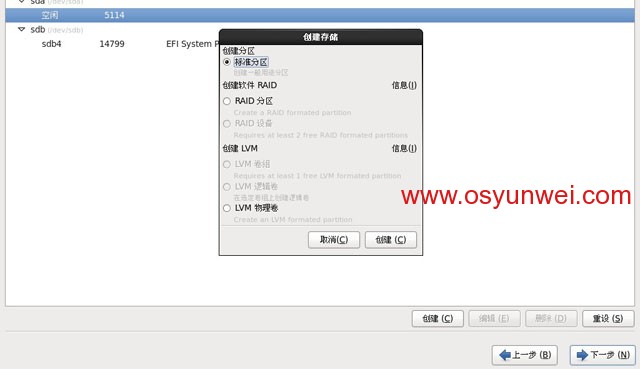
点创建,选择标准分区,点确定
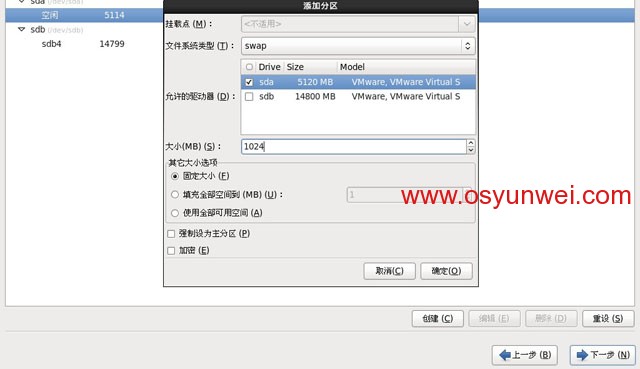
文件系统类型:选择swap
允许的驱动器:只勾选sda前面的复选框
大小:1024(一般为内存大小的2倍)
其它大小选项:固定大小
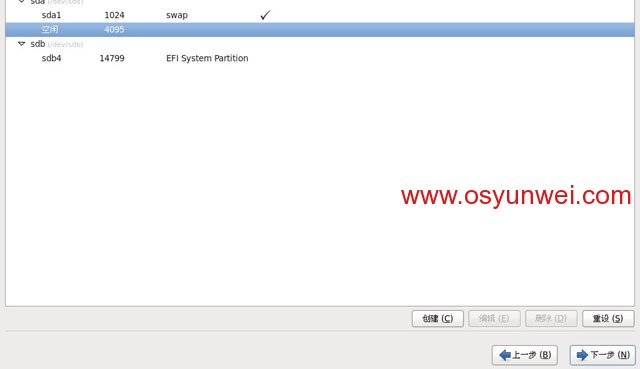
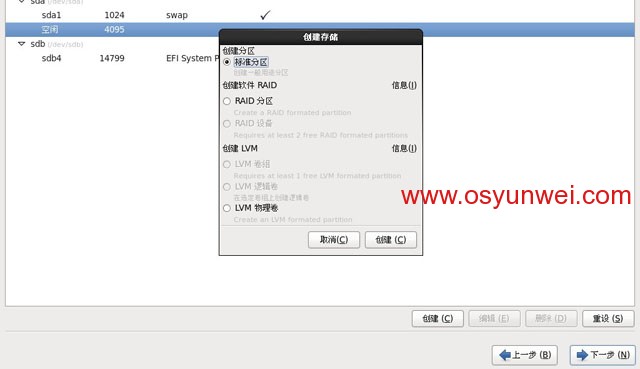
点创建,选择标准分区,点确定
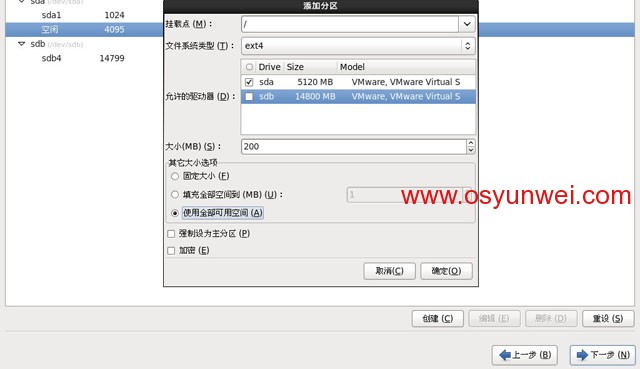
挂载点: /
文件系统类型:ext4
允许的驱动器:只勾选sda前面的复选框
大小:默认
其它大小选项:使用全部可用空间

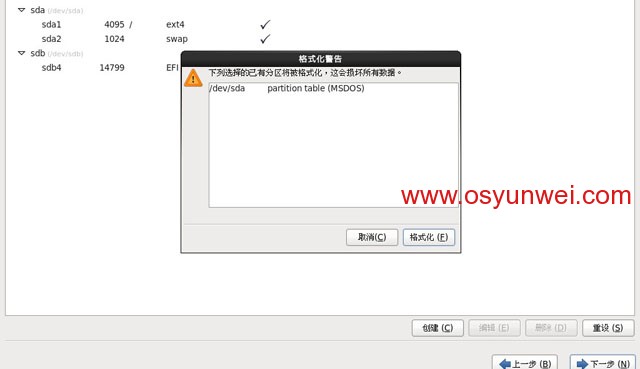
点格式化
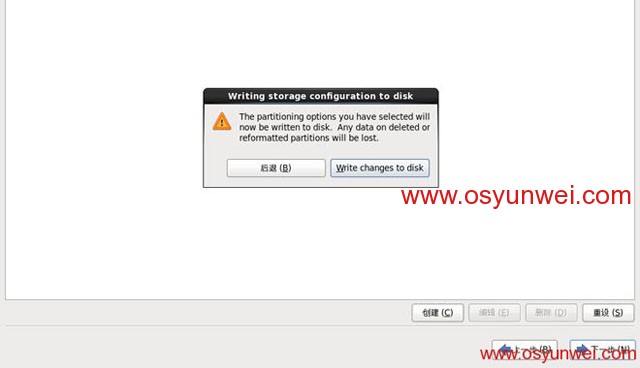
选择第二项,将修改写入磁盘
注意:分区之前,自己先要规划好怎么分区?
我这里的分区如下:
硬盘总共5G
/4G
Swap 1G(一般为内存大小的2倍)
特别说明:用于正式生产的服务器,切记必须把数据盘单独分区,防止系统出问题时,保证数据的完整性。
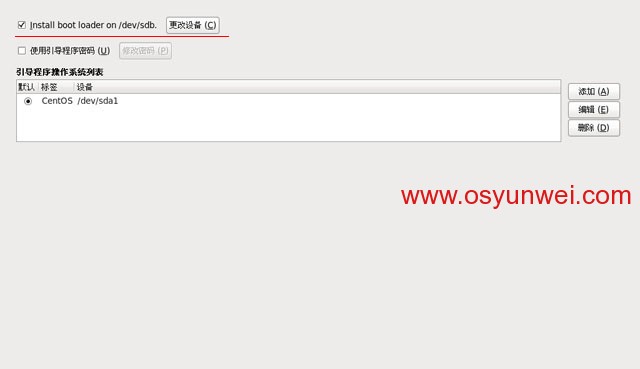
特别提示:系统安装成败的关键步骤!!!
点更改设备
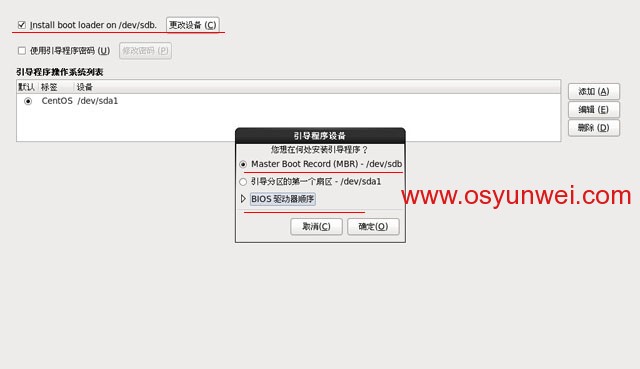
点BIOS驱动器顺序

第一BIOS驱动器:选择sda(本地磁盘驱动器)
第二BIOS驱动器:选择sdb(U盘驱动器)
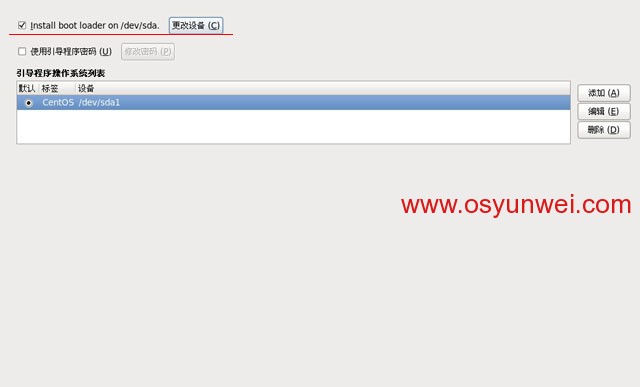
点确定
说明:这一步至关重要,如果按照默认方式安装,会把系统启动引导安装到U盘里面,这也就是很多网友安装完系统之后,只要把U盘拔了,系统就启动不了,插上U盘系统又能正常启动的原因了!
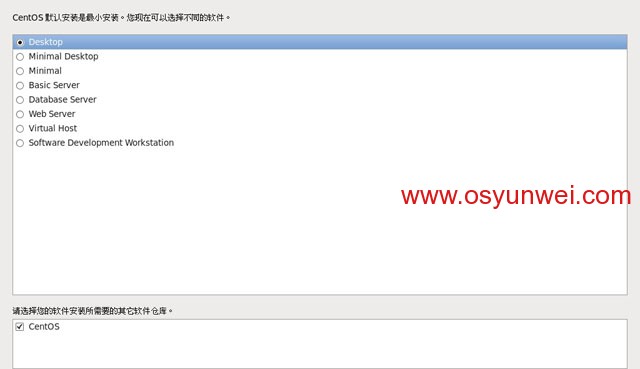
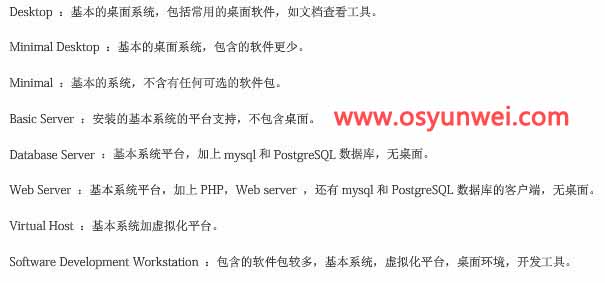
默认是第三个,这里选择第一个Desktop,桌面安装。如果是安装服务器的话,请选Web Server。
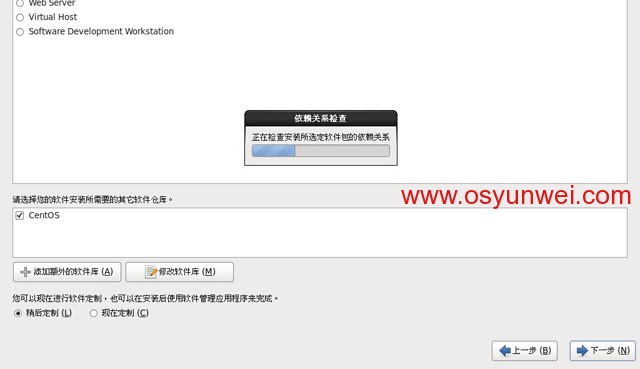
下一步
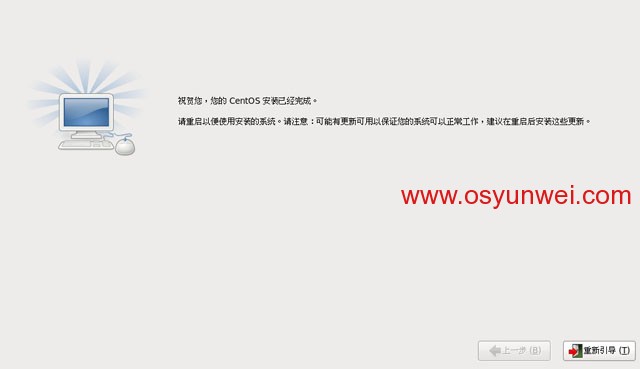
点重新引导

前进
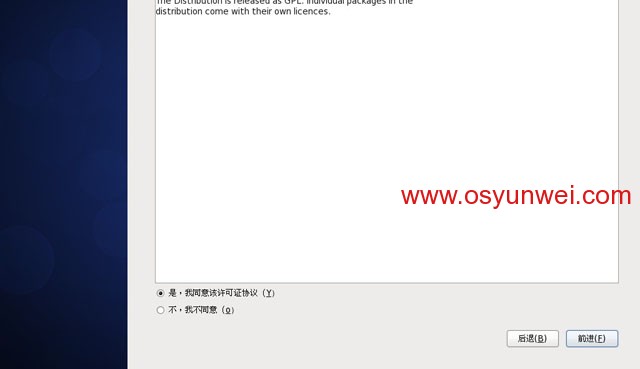
选择第一项,同意许可协议,前进
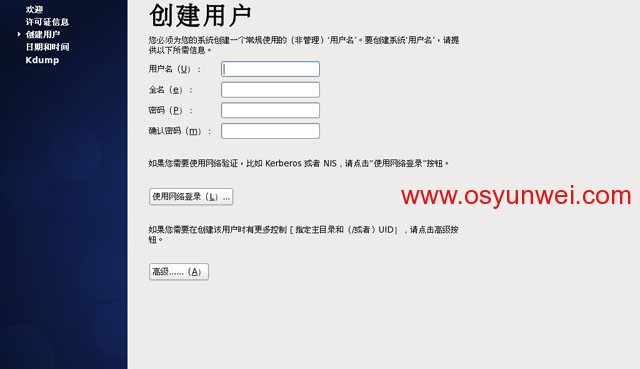
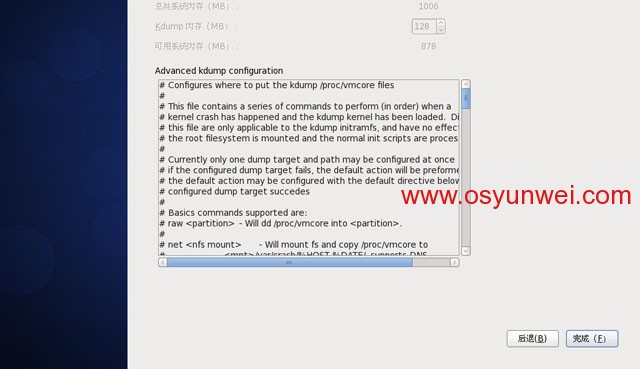
这里是创建普通账号,可以不用创建,前进
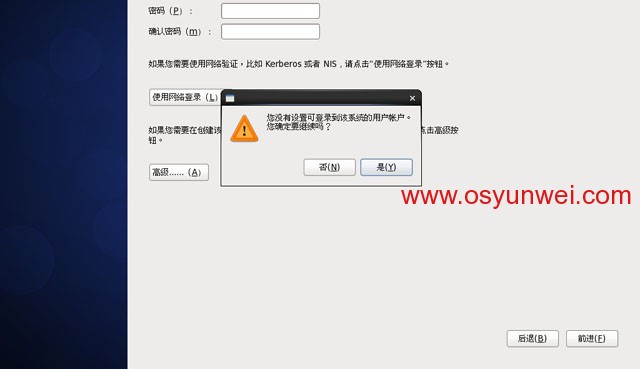
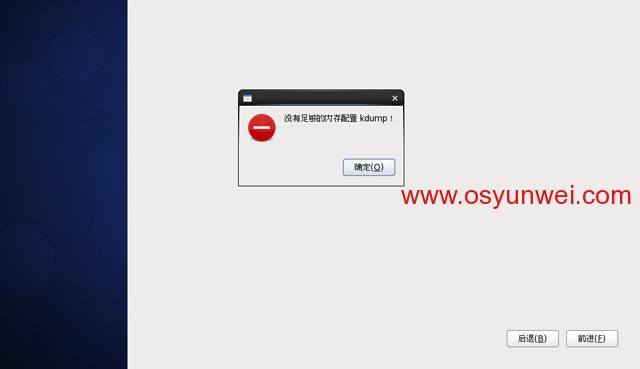
点“是”,前进
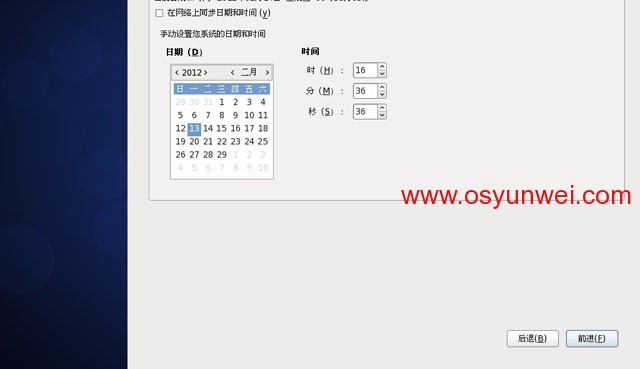
设置时间,默认
确定
完成 ,进入登录界面
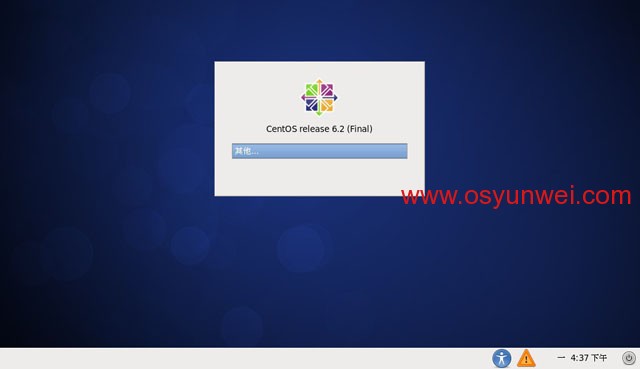
点“其他”
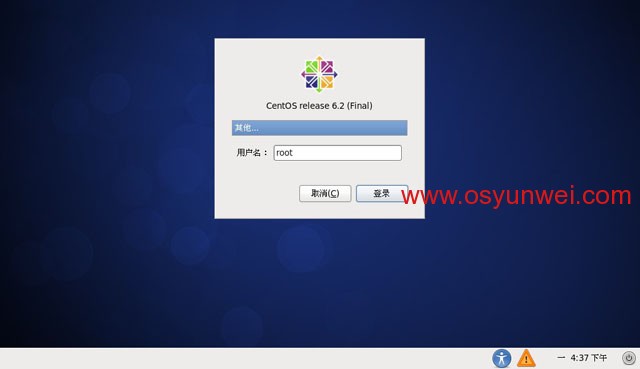
用户名输入:root
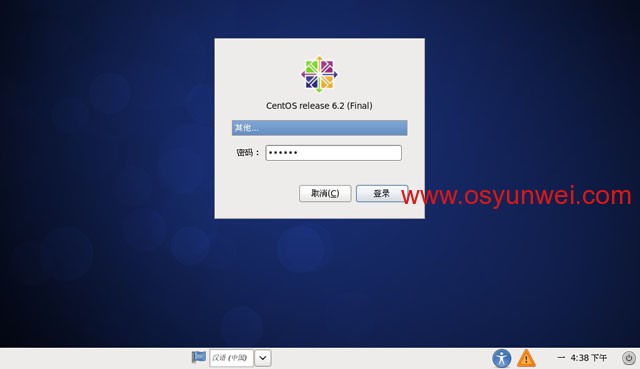
输入你root账号的密码
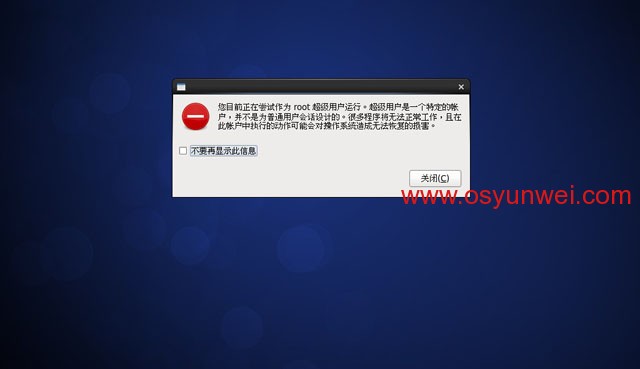
点“关闭”
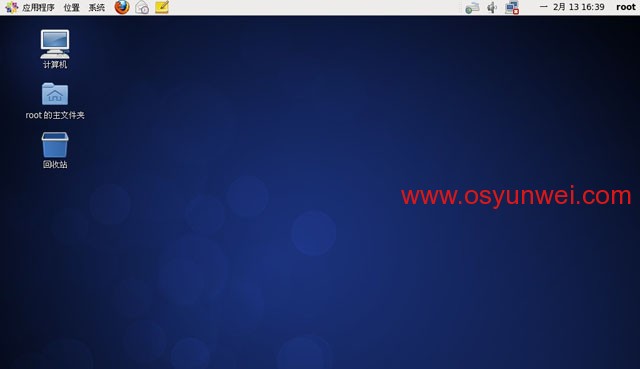
现在已经登录系统桌面了
至此,用U盘安装CentOS 6.2完成。
关于iso镜像大于4G的安装说明:如果你的CentOS系统镜像大于4G,U盘fat32格式不支持大于4G以上的文件,系统镜像无法拷贝到U盘根目录,可以参考下面这篇文档:http://www.osyunwei.com/archives/280.html
U盘安装CentOS 6.2 32位系统
所需工具:
一、UltraISO(用来制作U盘启动)
二、CentOS 6.2 32位系统镜像
系统安装只需要下载DVD1,DVD2是附带的软件包。
下载地址:http://mirrors.ustc.edu.cn/centos/6.2/isos/i386/CentOS-6.2-i386-bin-DVD1.iso
三、U盘一只
要求:U盘容量大于4G(因为CentOS 6.2 32位系统镜像文件需要3.55G的空间)
安装步骤:
一、制作U盘启动引导盘
1、电脑插上U盘,打开UltraISO软件,文件—打开,选择你下载好的CentOS-6.2-i386-bin-DVD1.iso文件,
点启动光盘–写入硬盘镜像,在硬盘驱动器里面选择你的U盘(看清楚,千万别选错),写入方式默认为:USB-HDD+,然后点格式化。
格式化完成后,关闭对话框,然后再点写入,等几分钟,完成后,点返回,然后关闭UltraISO
2、打开U盘根目录,把isolinux文件夹名字改为syslinux。
3、删除U盘根目录下面的Packages文件夹
4、把下载好的系统镜像CentOS-6.2-i386-bin-DVD1.iso复制到U盘根目录下面。
至此,U盘启动盘制作完成,然后退出U盘,这个U盘现在已经可以用来安装CentOS 6.2了。
二、安装CentOS 6.2
开机设置U盘第一启动,重启之后会出来安装界面:
默认选择第一项,回车。
选择Chinese(Simplified),简体中文,然后回车
选择键盘模式,默认
这一步是成败的关键步骤之一,移动光标,定位在Hard drive上, 选择OK,按回车,会出现下面的界面:
这里的/dev/sdb4代表你的U盘分区,我们前面已经把系统镜像拷贝到U盘根目录下面了,这里系统会自动识别
直接点OK,会出现下面的安装界面:
选择第一项
选择第一项:是,丢弃所有数据
设置计算机名,默认即可
时区选择,默认即可。
设置root密码
注意:如果你使用的密码过于简单,系统会自动提示,这里选择“仍然使用”
选择最后一项,自定义分区。
注意:这里可以看到磁盘信息,sda代表本机磁盘,sdb代表U盘,(也可能a和b倒过来,自己千万看仔细咯) 切忌选择sda进行分区,否则会把U盘格式化
点创建,选择标准分区,点确定
文件系统类型:选择swap
允许的驱动器:只勾选sda前面的复选框
大小:1024(一般为内存大小的2倍)
其它大小选项:固定大小
点创建,选择标准分区,点确定
挂载点: /
文件系统类型:ext4
允许的驱动器:只勾选sda前面的复选框
大小:默认
其它大小选项:使用全部可用空间
点格式化
选择第二项,将修改写入磁盘
注意:分区之前,自己先要规划好怎么分区?
我这里的分区如下:
硬盘总共5G
/4G
Swap 1G(一般为内存大小的2倍)
特别说明:用于正式生产的服务器,切记必须把数据盘单独分区,防止系统出问题时,保证数据的完整性。
特别提示:系统安装成败的关键步骤!!!
点更改设备
点BIOS驱动器顺序
第一BIOS驱动器:选择sda(本地磁盘驱动器)
第二BIOS驱动器:选择sdb(U盘驱动器)
点确定
说明:这一步至关重要,如果按照默认方式安装,会把系统启动引导安装到U盘里面,这也就是很多网友安装完系统之后,只要把U盘拔了,系统就启动不了,插上U盘系统又能正常启动的原因了!
默认是第三个,这里选择第一个Desktop,桌面安装。如果是安装服务器的话,请选Web Server。
下一步
点重新引导
前进
选择第一项,同意许可协议,前进
这里是创建普通账号,可以不用创建,前进
点“是”,前进
设置时间,默认
确定
完成 ,进入登录界面
点“其他”
用户名输入:root
输入你root账号的密码
点“关闭”
现在已经登录系统桌面了
至此,用U盘安装CentOS 6.2完成。
关于iso镜像大于4G的安装说明:如果你的CentOS系统镜像大于4G,U盘fat32格式不支持大于4G以上的文件,系统镜像无法拷贝到U盘根目录,可以参考下面这篇文档:http://www.osyunwei.com/archives/280.html

相关文章推荐
- [centos6.2] centos6.2系统全自动安装u盘的制作
- 使用u盘安装linux系统—Centos6.2_i386
- CentOS 6.2 x86_64 el6 全新系统安装Adspot小记
- Windows 7硬盘安装CentOS 6.4 双系统 (WIN7硬盘安装Linux(Fedora 16,CentOS 6.2,Ubuntu 12.04))
- U盘安装CentOS 6.2(超级详细图解教程)
- U盘安装CentOS 6.4 + Windows 7双系统 (Windows 7下安装 CentOS 6.4)
- U盘安装CentOS 6.4 + Windows 7双系统 (Windows 7下安装 CentOS 6.4)
- CentOS5.4 64/32位系统 ---源码安装mysql5.5
- U盘安装CentOS无法进入Centos系统解决办法
- XP系统下面安装CentOS6.2
- Centos6.2(64位)系统VNC安装文档
- 在虚拟机中安装centOS6.6 32位系统
- CentOS 64位系统 yum安装32位软件包的方法
- 32位系统下使用Windows 7 USB DVD Download Tool创建64位win7系统安装U盘
- CentOs5.4 64/32位系统 ---安装JDK1.6
- Centos 6.2 32位安装zabbix
- U盘制作centos7系统并安装
- 安装CENTOS 6.5 32位(CentOS-6.5-i386)+postfix+dovecot+openwebmail passwd验证的邮件系统
- U盘安装 Centos6.2
- 64位CentOS系统中安装32位开发库